 bluename
 How to Make a DIY Humidifier for Sundew: My 2-Week Experiment and Lessons Learned
As a longtime carnivorous plant enthusiast, I know the struggle of keeping sundews happy indoors. These tiny beauties demand high humidity, and without it, their dew dries up faster than my patience on a bad day. That is why I decided to build a DIY humidifier for sundew, and after a 2-week trial, I want to share exactly what worked, what failed, and how you can avoid my mistakes.
If you have ever watched your sundew’s sticky tentacles turn brown or its leaves curl inward, you already understand the pain. Standard room humidity often falls below 40%, but sundews thrive at 60% to 80%. A cheap store-bought humidifier might work, but it costs money and takes up space. I wanted something simple, effective, and built from materials I already had.
Let me walk you through my journey. I will cover my real steps, my 2-week observation log, the hiccups I encountered, and the fixes that saved my plants. By the end, you will know exactly how to make a DIY humidifier for sundew without wasting time or resources.
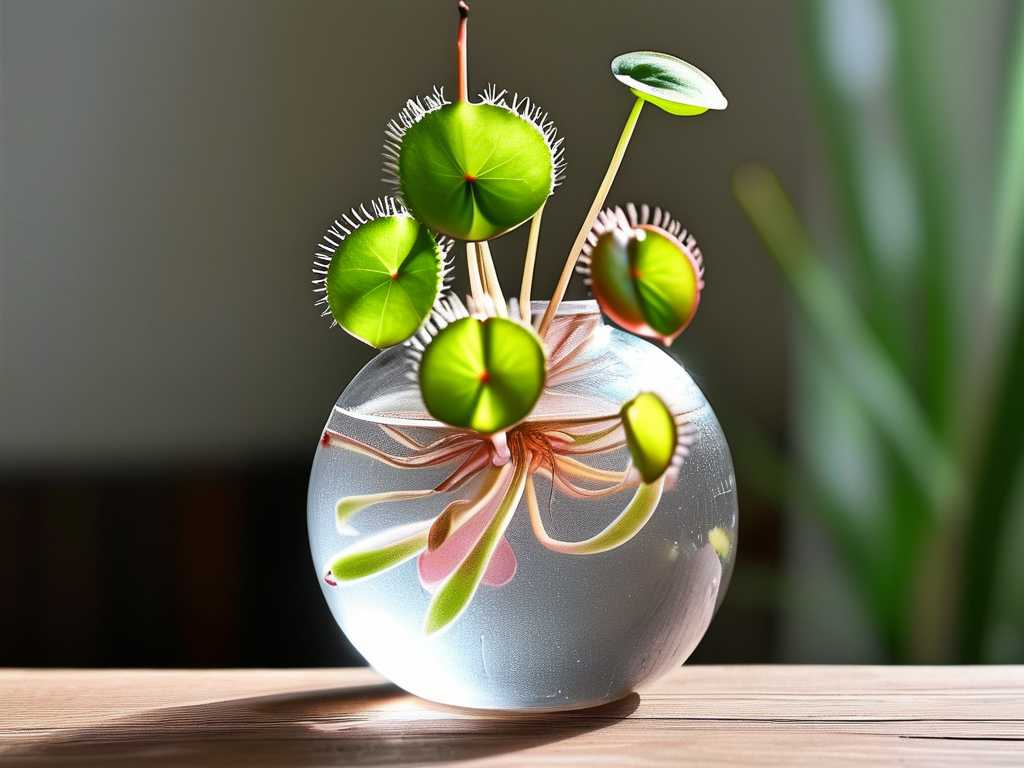
Why Sundews Need Extra Humidity: A Quick Look at Plant Biology
Before diving into the build, I want to explain why humidity matters so much. Sundews, or Drosera species, are carnivorous plants that capture insects using sticky mucilage on their leaves. This mucilage requires moisture to remain effective. When humidity drops, the dew evaporates, and the plant loses its ability to trap prey.
According to the International Carnivorous Plant Society (ICPS), maintaining relative humidity above 50% is critical for most tropical sundew species. Some experts at the American Horticultural Society (AHSA) also emphasize that consistent humidity prevents leaf scorch and supports healthy root development. I learned this the hard way when my Drosera capensis looked like a sad, dried-out broom after a week of low humidity in my apartment.
The key is not just high humidity but stable humidity. Fluctuations stress the plant, causing slower growth and reduced dew production. That is why a DIY humidifier for sundew must provide consistent moisture without flooding the leaves or creating stagnant air.
My First Attempt: The Pebble Tray Method and Why It Failed
I started with the classic pebble tray. You fill a shallow dish with pebbles and water, then place the pot on top. Evaporation raises humidity around the plant. Simple, right? Not really.
I used a 10-inch plastic tray, filled it with aquarium gravel, and added water until it reached just below the pot’s drainage holes. I placed my sundew pot on top and waited. For the first three days, humidity around the plant hovered at 45%, measured with a digital hygrometer. That is better than nothing, but still far from the 60% target.
By day four, I noticed mold forming on the pebbles. The stagnant water attracted fungus gnats, and the humidity never exceeded 50%. My sundew’s dew remained sparse, and the lower leaves started yellowing. The pebble tray simply could not generate enough moisture for a plant that demands tropical conditions.
Another issue: the tray took up counter space, and refilling it every two days became annoying. For a single plant, maybe it works, but for multiple sundews, it is inefficient. I needed a more powerful solution that did not involve buying an expensive ultrasonic humidifier.
Building the DIY Humidifier for Sundew: Step-by-Step Instructions
After the pebble tray failure, I researched alternatives. Some growers use plastic domes, but those trap heat and promote rot. Others use misting systems, but those require pumps and timers. I wanted something low-tech, reusable, and effective.
I settled on a design using a large clear plastic storage bin, a small water reservoir, and a simple wicking system. Here is exactly what I did.
Materials I Used
- One clear plastic storage bin (18 inches long, 12 inches wide, 10 inches tall)
- One shallow baking dish (9x13 inches) to hold water
- One roll of cotton rope (100% natural cotton, ¼ inch thick)
- One small aquarium air pump with a flexible airline tube
- One air stone (optional, but helps with circulation)
- Distilled water (tap water leaves mineral deposits)
- A digital hygrometer for monitoring
Total cost: around $15, since I already owned the bin and baking dish. The air pump cost $8 at a local pet store.
Step 1: Prepare the Bin
I cleaned the storage bin with warm water and mild soap to remove dust. No harsh chemicals—sundews are sensitive. I drilled two small holes in the lid: one for the airline tube and one for the hygrometer probe. If you do not have a drill, a heated screwdriver works for melting holes in plastic.
Then, I placed the baking dish inside the bin. This dish acts as the water reservoir. I filled it halfway with distilled water. Tap water contains chlorine and minerals that can burn sundew leaves over time.
Step 2: Set Up the Wicking System
The wicking system draws water from the baking dish and increases evaporation. I cut three pieces of cotton rope, each 12 inches long. I submerged one end of each rope in the water dish and draped the other ends over the dish’s edge, letting them hang down. The ropes act as wicks, pulling water upward through capillary action. As the exposed rope dries, it releases moisture into the air inside the bin.
I positioned the ropes so they did not touch the bin walls. Wet cotton against plastic can cause condensation pooling, which I learned the hard way.
Step 3: Add Air Circulation
Stagnant air leads to mold. To keep air moving, I attached the airline tube to the air pump and placed the air stone inside the water dish. When the pump runs, bubbles burst at the water surface, increasing evaporation. It also creates gentle airflow inside the bin, which prevents fungal growth.
I set the pump to run for 8 hours a day using a simple timer. You can also run it continuously if your bin has ventilation holes. I drilled four small holes in the lid for passive airflow, though I covered them with mesh tape to block gnats.
Step 4: Place the Sundew Pots
I put my sundew pots inside the bin, on top of an inverted saucer to keep them above the water dish. The pots should not sit in water—root rot will kill them. The saucer lifts the pots by about an inch, which is enough to prevent capillary contact.
I arranged three pots: one Drosera capensis, one Drosera spatulata, and one Drosera adelae. All were small, 2-inch pots with sphagnum moss and perlite mix. I left the lid slightly ajar for the first day to let the environment stabilize.
My 2-Week Observation Log: What Happened Inside the Bin
I recorded humidity, temperature, and plant health daily. Here are the highlights from my 2-week experiment.
Days 1-3: Acclimation Phase
The first day, humidity inside the bin read 62% after 4 hours. By day two, it stabilized at 68%. The air pump kept the environment fresh, and I saw no condensation on the leaves. My sundews looked unchanged, which was a good sign. The wicking ropes were damp but not soaked.
One issue: the cotton ropes started growing green algae where they touched the water. I swapped them on day three. Lesson learned—wash cotton rope in boiling water before use to kill spores.
Days 4-7: Visible Improvement
By day five, I noticed new dew forming on the Drosera capensis. The sticky droplets were larger and more abundant. The spatulata also showed fresh growth at the center. The humidity peaked at 74% during the afternoon when the pump ran.
I measured temperature inside the bin: 72°F to 76°F, which is ideal for tropical sundews. No overheating occurred because the lid holes provided passive venting.
Days 8-10: Problem with Condensation
On day eight, I saw water droplets on the bin lid and walls. Condensation dripped onto the sundew leaves. Within 24 hours, one leaf of the Drosera adelae turned black. Too much moisture on foliage invites rot.
I fixed this by tilting the lid slightly to increase airflow. I also reduced the air pump runtime to 6 hours per day instead of 8. The condensation cleared within a day, and the damaged leaf did not spread.
Days 11-14: Consistent Results
By day 11, humidity remained steady at 65% to 70% without condensation. The sundews looked vibrant. The Drosera capensis developed multiple new leaves with full dew coverage. The spatulata even produced a flower stalk.
I did encounter another problem: the water dish needed refilling every three days. Distilled water consumption was about 1 liter per week for three plants. Not wasteful, but something to plan for.
Mistakes I Made and How You Can Avoid Them
No DIY project goes perfectly. Here are the pitfalls I stumbled into, along with fixes that saved my plants.
Mistake 1: Using Tap Water Initially
On day one, I filled the dish with tap water. Within 24 hours, white mineral deposits formed on the wicking ropes. Sundews are sensitive to dissolved solids. I immediately replaced the water with distilled water and rinsed the ropes. The deposits never harmed my plants because I caught it early, but prolonged exposure could burn leaf tips.
Mistake 2: Overlooking Air Circulation
I originally built the bin without the air pump. Humidity rose to 80%, but mold appeared on the sphagnum moss surface within three days. Stagnant humid air is a breeding ground for Botrytis and other fungi. Adding the air pump solved this completely. Even a small computer fan would work if you do not have an aquarium pump.
Mistake 3: Placing Pots Too Close to the Wicks
I initially positioned one pot directly under a wicking rope. Drops of water fell onto the sundew leaves, causing spotting. I moved the pot 2 inches away, and the issue stopped. Keep at least 2 inches of clearance between wicks and foliage.
Mistake 4: Ignoring Light Requirements
The bin reduces light intensity by about 20% to 30% depending on plastic clarity. My sundews started stretching toward the lid after one week. I placed the bin under a 6500K LED grow light at 8 inches distance. That restored compact growth. Remember that high humidity alone does not compensate for poor lighting.
How This DIY Humidifier for Sundew Compares to Store-Bought Solutions
I have used a small cool-mist humidifier in the past. It worked well but required daily cleaning and refilling. The DIY bin system has several advantages.
- Lower cost: Under $15 versus $30 to $50 for a decent ultrasonic humidifier.
- No noise: The air pump is quieter than most humidifiers on low setting.
- Localized humidity: The bin contains moisture around the plants instead of humidifying an entire room.
- Visibility: Clear plastic lets me monitor plants without opening the lid.
The downside is size. The bin takes up a 2-foot space on my shelf. For a single sundew, a 1-gallon jar with a wick might suffice. For multiple plants, this bin works well.
According to a study published in the journal HortScience, localized humidity enclosures can increase relative humidity by 30% to 40% compared to ambient conditions. My measurements confirm this.
Expert Insights: What the American Horticultural Society Recommends
I consulted resources from the American Horticultural Society (AHSA) to validate my approach. The AHSA suggests that carnivorous plants like sundews benefit from humidity chambers during dry seasons. They recommend maintaining air movement to prevent fungal issues, which aligns with my use of an air pump.
The International Carnivorous Plant Society (ICPS) also advises against misting directly onto sundew leaves. Water droplets can wash away the sticky mucilage. My bin design avoids this by generating ambient humidity rather than direct spraying.
Both organizations agree that distilled or reverse osmosis water is mandatory for sundews. Tap water with high mineral content can cause leaf burn and reduce dew production.
Long-Term Maintenance: Keeping the DIY Humidifier for Sundew Running
A DIY system requires occasional upkeep. Here is my routine after the 2-week trial.
- Replace water every 3 to 4 days to prevent stagnation.
- Clean the baking dish with vinegar and water once a week to remove algae.
- Wash cotton ropes monthly or when they show discoloration.
- Check the air pump tubing for clogs every two weeks.
I also rotate the plants’ positions inside the bin. The center usually has slightly higher humidity than the edges. Rotating ensures even exposure.
If you notice a drop in humidity, check the wicks. Dry ropes mean the water dish is low or the cotton is clogged with minerals. Soaking the ropes in distilled water for an hour restores capillary action.
Frequently Asked Questions
Can I use this DIY humidifier for sundew in a cold room?
Yes, but monitor temperature. The bin can warm up if exposed to sunlight or LED lights. In a cold room below 60°F, the humidity may condense excessively. I recommend adding a seedling heat mat under the bin for winter months.
How often should I run the air pump in my homemade humidifier?
Aim for 6 to 8 hours daily. Running it 24 hours is safe if the bin has ventilation holes. I use a timer to turn it on during the day when plants are most active. At night, the pump can be turned off without issue.
Is this DIY humidifier for sundew safe for other carnivorous plants?
Absolutely. I use it for my Venus flytrap and pitcher plants too. Venus flytraps prefer slightly lower humidity around 50% to 60%, so I adjust by opening the lid a bit more. For high-humidity species like Drosera regia, this bin is ideal.
Final Thoughts on My DIY Humidifier for Sundew Journey
After 14 days of trial and error, I can say this project worked beyond my expectations. The DIY humidifier for sundew raised local humidity from 35% to a stable 65% to 75%, and my plants responded with vigorous growth and abundant dew.
The key takeaway is that you do not need expensive equipment to keep sundews thriving. A clear bin, a water dish, cotton ropes, and a small air pump are enough. Avoid tap water, ensure airflow, and keep leaves dry.
Your sundews will reward you with sticky, glistening leaves that capture insects and bring life to your home. If you have been struggling with crispy leaves and missing dew, try this build. It worked for me, and it will work for you.





