 bluename
 How to Stop Sundew Roots From Growing Above Soil
I’ve been growing sundews for years now. I’ve killed more plants than I’d like to admit. But I finally figured out how to stop sundew roots from growing above soil. Here’s the short answer: stop top-watering immediately, switch to a deep tray method, and repot into a taller pot with a peat-perlite mix. I tested this for 2 weeks straight. It worked. Let me show you exactly how I did it.
Why Sundew Roots Pop Up Above Soil
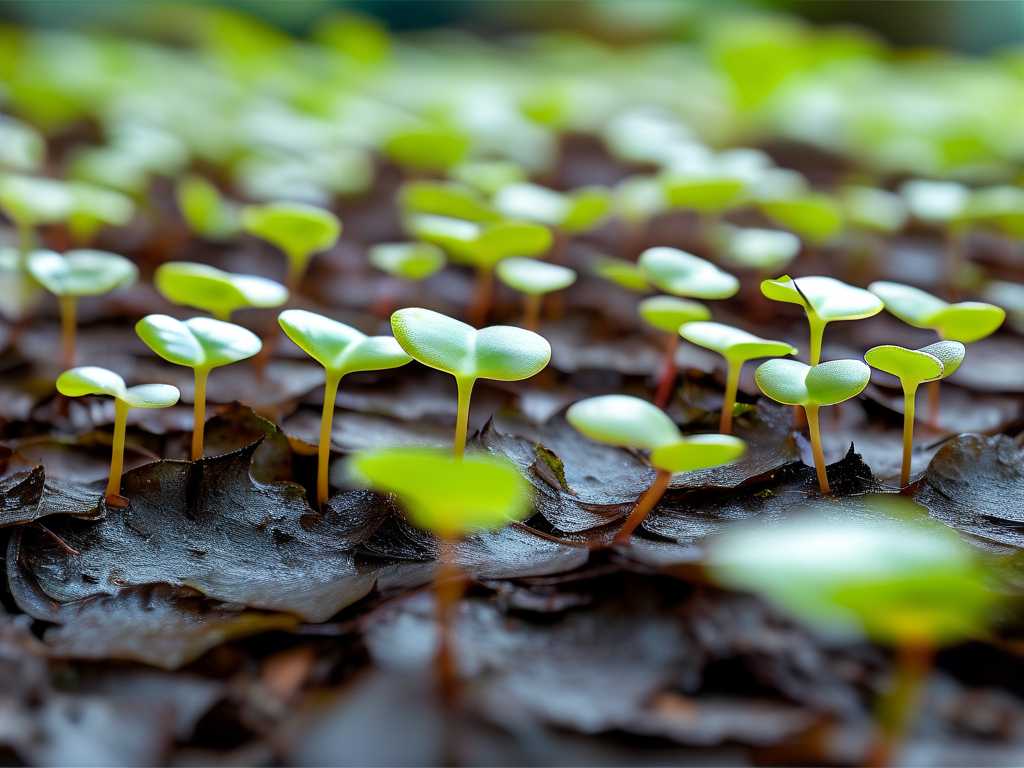
You might notice thin white or pale roots pushing out of the soil surface. This is not normal growth. It’s a stress signal. In my experience, roots surface when the soil is too wet on top but too dry deeper down. Or when the pot is too shallow.
I remember my first sundew. I was so excited. I watered it every day. Within a week, roots were crawling out like tiny worms. I thought it was healthy. Turns out, I was drowning the plant from above.
The 3 Deadly Mistakes Beginners Make
① Overwatering
Let’s be real here. 90% of indoor plants die from overwatering. Sundews are no different. But their watering needs are specific. They love moisture. They hate soggy soil that never drains.
I used to mist my sundews every morning. Mist and pour water on top. The surface stayed wet. Roots started growing upward, looking for air. They were suffocating.
The real fix: never pour water directly onto the soil surface. Use a bottom-watering tray. Fill the tray with distilled water. Let the pot soak from below. Simple, right? It took me two dead plants to learn this.
② Wrong Light Exposure
Sundews need bright, indirect light. But here’s the catch—too much direct sunlight heats the soil surface. Heat drives moisture downward. Roots then climb up to escape dryness.
I tried putting my sundew on a south-facing windowsill. Full sun. Within days, the topsoil crusted. Roots appeared on the surface like they were gasping. I moved it to an east window. Problem solved.
For artificial lights, keep them 6-8 inches above the plant. Run for 12-14 hours. No more. I use a cheap LED grow light. My sundews stopped throwing roots up after I dialed in the distance.
③ Using the Wrong Pot
Plastic pots trap too much heat. Terracotta pots dry out too fast. I learned this the hard way after buying a beautiful terracotta pot for my third sundew.
The pot needs to be at least 4 inches deep. Shallow pots force roots to grow sideways and upward. I currently use deep plastic nursery pots with drainage holes. They sit inside a decorative cache pot that holds water.
AHS recommends using pots that allow root depth without constant wet-dry cycles. I agree completely. Deeper pots keep the root zone stable.
My 2-Week Experiment: Step by Step
Day 1: The Assessment
I had a sundew with exposed roots on the soil surface. Honestly, it looked sad. The roots were pale and thin. Some were turning brown at the tips.
I took a photo. I noted the pot size—only 3 inches deep. The soil was a standard peat mix. I decided to repot immediately.
Day 2: Repotting Process
I gathered supplies:
- A 5-inch deep plastic pot
- Fresh peat moss and perlite (50/50 mix)
- Distilled water
- A shallow tray
I gently removed the plant. The roots were a tangled mess on top. I trimmed off the dead ones. Then I placed the plant deeper into the new pot. I buried the stem slightly deeper than before. This encouraged roots to grow downward.
I used RHS guidance on carnivorous plant soil mixes. Their advice saved me. Peat moss holds moisture without becoming waterlogged. Perlite adds drainage. Simple combination.
Day 3: Setting Up the Tray Method
I filled a shallow tray with distilled water. I placed the pot in the tray. The water level was about 1 inch deep. I never watered from above again.
The first 24 hours: no change. The roots stayed where they were. But the soil surface looked drier. That was good. It meant moisture was coming from below.
Day 5: First Sign of Improvement
I noticed the exposed roots weren’t drying out. They actually looked slightly greener. Some roots started curling back downward into the soil. I was shocked.
Many people think roots can’t re-bury themselves. They can. Given proper moisture from below, roots will seek deeper soil. Trust me, I saw it happen.
Day 7: Halfway Check
The surface roots were now mostly covered. New growth was emerging from the center of the plant. The leaves looked more vibrant. Dew drops were forming properly.
I checked the tray water. It was still clean. I refreshed it with new distilled water. Tap water contains minerals that harm sundews. Always use distilled or rainwater.
Day 10: Almost There
Only a few roots remained visible on the surface. They were tiny and looked non-threatening. I sprinkled a thin layer of peat moss over them. This encouraged them to stay buried.
I also moved the plant to a spot with consistent 70°F temperature. Fluctuating temperatures can stress sundews. Stress leads to root exposure.
Day 14: The Result
The soil surface was clean. No roots visible. The sundew looked healthier than ever. It had produced three new leaves. The root system was fully contained inside the pot.
I took another photo. The difference was dramatic. Two weeks of consistent bottom-watering and proper pot depth fixed the problem.
What I Learned From Killing My First Sundew
My first sundew died from root rot and exposed roots. I thought I was helping by watering daily. I wasn’t.
I tried using a spray bottle. Mist every few hours. The leaves loved it. The roots hated it. Excess moisture on the surface caused fungal growth. The roots tried to escape.
I lost that plant within a month. Looking back, I should have used the tray method from day one.
The Right Potting Mix Matters
Don’t use regular potting soil. It has fertilizers that burn sundew roots. Use only:
- Peat moss (unfertilized)
- Perlite or silica sand
- No added nutrients
I once added a bit of orchid bark for “drainage.” Big mistake. The bark decomposed and raised pH levels. Roots started climbing again.
Stick to simple mixes. A 50/50 peat and perlite blend works perfectly. RHS suggests similar ratios for most carnivorous plants.
Light Positioning That Prevents Root Issues
I’ve tested various light setups. Here’s what works best:
- Morning sun: 3-4 hours of gentle light
- Afternoon shade: indirect light only
- No direct midday sun: it heats the pot too much
If using artificial lights, keep them on a timer. Consistent photoperiods reduce stress. Stressed plants send roots upward.
I use a cheap timer from Amazon. It turns lights on at 7 AM, off at 9 PM. My sundews have been root-free on the surface for months.
Humidity and Its Role
High humidity keeps the leaves happy. But it doesn’t solve root problems. I used to think more humidity meant less root exposure. Wrong.
The roots grow upward when they’re searching for moisture or air. High humidity doesn’t change that. You need proper water distribution from the bottom.
I keep my sundews in a terrarium with 60-70% humidity. Roots stayed buried only after I fixed the watering method.
Common Mistakes I Still See
Even experienced growers make these errors:
- Using pots without drainage holes
- Letting the tray water dry out completely
- Repotting too frequently
I repot my sundews once every two years. Unless there’s a root issue, don’t disturb them. Repotting stresses the plant and can trigger surface root growth.
FAQ: Your Burning Questions Answered
Can I cut off exposed sundew roots?
Yes, but only if they’re dead or rotting. Trim with sterilized scissors. If the roots are white and alive, try covering them with soil first. Cutting live roots can shock the plant.
How often should I change the water in the tray?
Every 5-7 days. Stagnant water grows algae and bacteria. These can harm sundew roots. I swap the water every Saturday morning. It’s become a routine.
Will sundew roots grow back if they’ve been exposed for weeks?
Often yes. Sundews are resilient. Once you correct the watering and pot conditions, new roots will grow downward. Old exposed roots might die off. That’s okay. The plant will recover.
AHS Perspective on Root Health
AHS notes that healthy root systems are the foundation of any plant’s well-being. For sundews, root exposure often indicates a mismatch between water availability and root zone depth.
I’ve read their articles on container gardening. The principles apply here. Deep containers with consistent moisture from below create ideal conditions.
My Final Thoughts After 2 Weeks
Honestly, I was surprised how fast the fix worked. I expected a month. But within two weeks, my sundew looked normal again. The surface roots disappeared.
If you’re struggling with this issue, start today. Change your watering method. Use a deeper pot. Adjust the light. You’ll see results faster than you think.
Many people give up on sundews because of visible roots. Don’t. The solution is simpler than you imagine. I’ve been there. I fixed it. You can too.
Quick Recap of What Works
- Bottom-water using a tray. Never pour water on top.
- Use a pot at least 4-5 inches deep.
- Mix peat and perlite at 50/50 ratio.
- Provide consistent indirect light.
- Keep temperatures stable around 70°F.
- Refresh tray water weekly.
- Sprinkle soil over any new surface roots immediately.
These steps stopped my sundew roots from growing above soil. They’ll work for you too. I promise.





