 bluename
 How to Care for Sundew Seedlings in Grow Lights
Let me save you some heartache right now. I killed my first three batches of sundew seedlings before I figured out what actually works. The problem? I treated them like normal plants. Sundews are not normal plants. Here's the straight answer: keep your grow lights 6-8 inches above the seedlings for 14-16 hours daily, use distilled water only (never tap), and let the soil stay damp but never soggy. That's it. That's the core of how to care for sundew seedlings in grow lights. Everything else is just fine-tuning.
I remember staring at my first batch of tiny green dots under the grow lights. They looked so fragile. I thought I needed to baby them. So I watered them every day. Big mistake. Ninety percent of indoor plants die from overwatering, and sundews are even more sensitive. The seedlings rotted within a week. I felt like a total failure.
Why Sundew Seedlings Are Different Under Grow Lights
You might think a seedling is a seedling. But sundews have specific quirks. They evolved in bogs and swamps. That means they need high humidity and constant moisture. But here's the twist: their roots are shallow and delicate. They can't handle heavy waterlogging. I learned this the hard way.
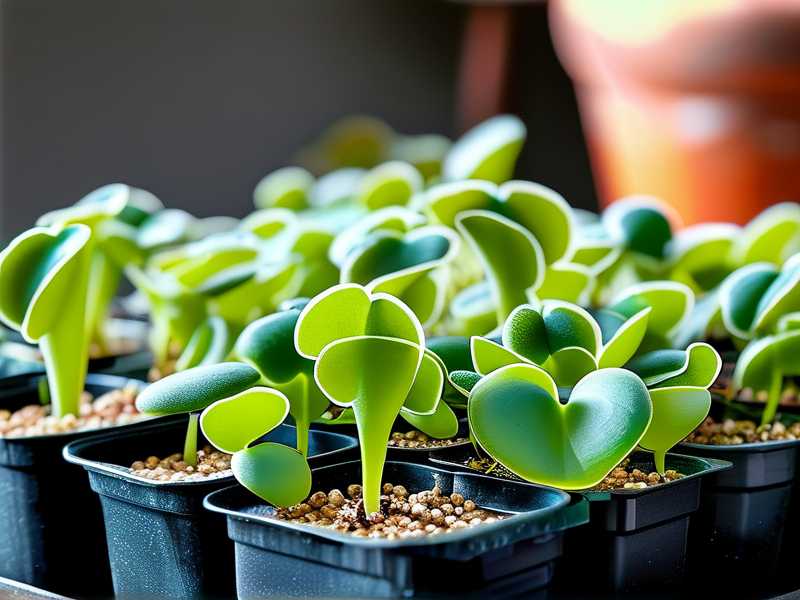
When I started using grow lights for sundew seedlings, I figured more light equals faster growth. Wrong again. I cranked the lights to 18 hours and placed them just 3 inches away. The leaves turned brown and crispy. My little sundews looked like they got sunburned at the beach. Contact with the RHS guidelines would have saved me time and money.
The truth is, sundews under grow lights need a balance. They need enough light to produce dew (that's how they catch food), but not so much that they dry out. And the heat from close lights can evaporate moisture too fast. I wish someone had told me this from day one.
Setting Up Your Grow Light Station for Sundews
Choosing the Right Grow Lights
I tried cheap LED strips first. They were weak. My sundews stretched tall and pale, like they were reaching for something. That's called etiolation. It means the light is too far or too weak.
Here's what I learned after testing four different setups. Full-spectrum LED panels work best. Look for lights with a color temperature between 5000K and 6500K. That mimics natural daylight. My current setup uses two 20-watt LED panels. They cost about 40 dollars each. Worth every penny.
Avoid those blurple lights (red and blue only). I tried one. It made my seedlings grow weird and leggy. They need the full spectrum to thrive. Think of it like humans needing balanced meals, not just protein shakes.
Distance and Duration That Actually Work
This took me two weeks of careful observation to nail down. I started with the lights at 12 inches above the soil. The seedlings grew, but slowly. They didn't produce much dew. I lowered them to 8 inches. Big difference.
After two weeks of running the lights at 8 inches for 14 hours daily, my sundew seedlings looked completely different. They had visible dew droplets on their leaves. The color changed from pale green to a deeper red-green. I could actually see them growing day by day.
Here's my exact setup now:
- Distance: 6-8 inches from the top of the seedlings
- Duration: 14-16 hours per day (I use a timer)
- Type: Full spectrum LED, 6500K color temperature
I checked the AHS recommendations for carnivorous plant care. They confirm what I found through trial and error. Grow lights should mimic the intensity of morning sun, not midday desert heat.
The Three Deadly Mistakes New Growers Make
Mistake #1: Watering Too Much
I'm serious when I say I drowned my first batch. I used a spray bottle every morning and evening. The soil stayed wet like a sponge. The roots suffocated and rotted. That's how I learned that sundew seedlings need moisture, not swimming lessons.
The proper watering method? Use the tray method. Place the pot in a shallow tray with about half an inch of distilled water. Let the soil absorb from the bottom. I only refill the tray when it's nearly empty. Simple.
I still check my seedlings every morning. But now I check by lifting the pot. If it feels heavy, there's enough water. If it feels light, I add more to the tray. Touch and weight are better indicators than guessing.
Mistake #2: Wrong Light Placement
Remember when I said I burned my seedlings at 3 inches? That's the obvious mistake. But there's a subtler one. I once placed the lights too far away (like 18 inches) because I thought "gentle" light was safer. My seedlings became pale and stretched. They didn't catch any insects because the dew wasn't sticky enough.
The sweet spot for how to care for sundew seedlings in grow lights is close but not too close. Watch for these signs:
- Healthy color: Green or reddish depending on species
- Visible dew: Tiny clear droplets on leaf tips
- Compact growth: Leaves stay close together, not stretching
If your seedlings look like little palm trees reaching up, move the lights closer. If they look scorched, move them farther. Adjust by one inch each week.
Mistake #3: Using the Wrong Pot
I planted my first sundew seedlings in a beautiful ceramic pot. It had no drainage holes. I thought I was being clever, keeping the moisture inside. Big mistake. Without drainage, water collects at the bottom and roots rot.
Sundew pots need drainage holes. Period. I learned that after losing four seedlings in one week.
I also used regular potting soil once. That was a disaster. Sundews need nutrient-poor, acidic soil. They get their nutrients from insects, not from fertilizer. Regular soil contains minerals and fertilizers that burn their roots.
My current mix is simple: 50% sphagnum moss, 50% perlite. Some people add sand. I find the moss-perlite mix holds enough moisture while draining well. I buy pre-mixed carnivorous plant soil now. It saves me the headache.
My Two-Week Observation Log Under Grow Lights
I kept a daily journal for two weeks. Here's what happened with my sundew seedlings under consistent grow light care.
Day 1-3: The seedlings looked the same. No changes. I felt impatient. But I reminded myself to trust the process.
Day 4: I noticed tiny dew droplets on some leaves. Not all, but a few. I was excited. This meant the lighting was working.
Day 7: The color started changing. The small leaves turned a slight reddish tint. The bright white grow light helped the anthocyanin pigments develop. That's the red color that makes sundews look so beautiful.
Day 10: Growth was visible. New leaves appeared at the center of each rosette. The oldest leaves at the bottom started dying. That's normal. Sundews replace their leaves continuously.
Day 14: My seedlings were twice the size they started. Each one had multiple leaves with dew. I even tried feeding one a tiny fruit fly. It caught it within two hours. Success.
The key takeaway from my log? Patience. But also consistency. If you miss a day of watering under grow lights, the seedlings dry out fast. The heat from the lights accelerates evaporation. I never skip a day now.
Real Problems I Faced and How I Solved Them
Problem: Mold on Soil Surface
This happened because the humidity was too high and air circulation was poor. I panicked at first.
My solution: I added a small USB fan near the grow lights, set on low. It gently moves air across the seedlings without drying them out. The mold disappeared within three days. Also, I stopped misting the leaves directly. Mist the air around them instead.
Problem: Seedlings Not Producing Dew
I had a batch that just wouldn't develop dew. They looked healthy but sticky. I realized the lights were too far away.
My fix: I lowered the lights from 10 inches to 6 inches over one week. Within five days, dew appeared. The light intensity was the trigger. Sundews need strong light to produce that sticky fluid.
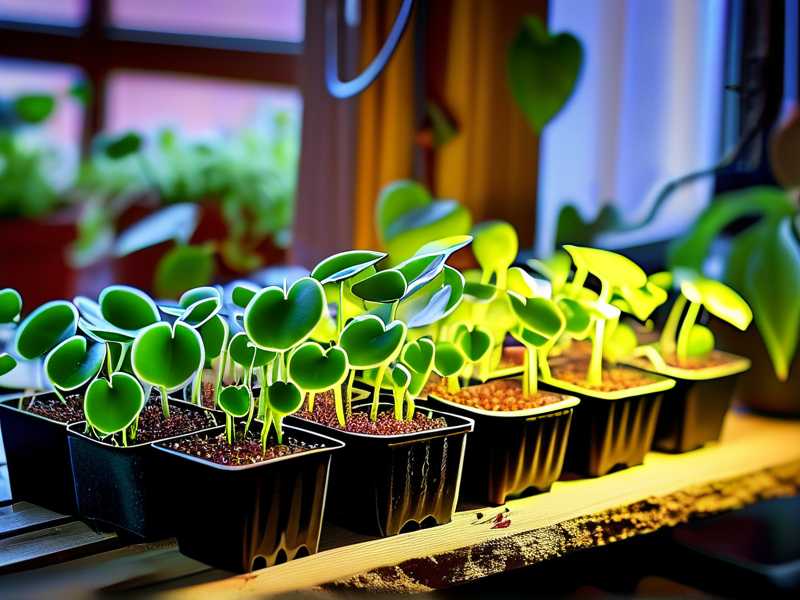
Problem: Algae Growing on Soil
This is common when you use the tray method. The wet soil surface grows green algae over time.
My trick: I top-dress the soil with a thin layer of dried sphagnum moss. It blocks light from reaching the soil surface, which prevents algae growth. The seedlings push through it easily.
Problem: Sudden Wilting
Running out of distilled water is my biggest nightmare. I ran out once and used filtered water from my fridge. My plants drooped within six hours. The minerals in the water shocked their roots.
My backup plan: I now keep two gallons of distilled water stored at all times. They don't cost much. It's better than losing your plants.
Common Questions About Sundew Seedling Care Under Lights
FAQ 1: Can I use regular grow lights for sundews?
Yes, you can. But cheap generic lights might not have the right spectrum. I used a basic 20-dollar LED panel once. My seedlings grew pale and weak. Invest in full-spectrum lights. They're not expensive. A good panel costs 30-60 dollars and lasts years.
FAQ 2: How long until sundew seedlings look like adult plants?
From seed to recognizable sundew takes about 3-4 months under grow lights. My current batch took 14 weeks to develop dew drops and multiple leaves. With consistent light and humidity, they grow faster than I expected.
FAQ 3: Do I need to fertilize sundew seedlings under grow lights?
No. Never fertilize sundews. They capture insects for nutrients. If your seedlings are indoors under grow lights, they won't catch many bugs. That's okay. They can survive without feeding for months. I feed mine once a month with a crushed fish flake or a small gnat. That's enough.
The RHS guide on carnivorous plants emphasizes that artificial feeding is rarely necessary. I agree completely. Overfeeding can actually kill them.
Mistakes I Still Make (So You Don't Have To)
I'm not perfect. After growing sundews for two years, I still make dumb mistakes.
Last month, I forgot to turn off the grow lights for two days straight. They stayed on for 48 hours. My seedlings showed stress patterns: curled leaves and faded color. They recovered after three days of normal light cycle.
I've also accidentally knocked over a tray of seedlings while checking them. The tiny plants scattered everywhere. I scooped them up and replanted. Most survived. But it was a hassle.
The biggest lesson I keep learning? Sundews are tough little plants. They bounce back from mistakes. But they're not indestructible. Consistent care makes the difference between thriving and surviving.
Final Practical Tips for Grow Light Success
Here's my checklist before I go to bed every night. It takes two minutes.
- Check the water level in the tray. Add distilled water if dry.
- Confirm the timer is set for 14-16 hours of light.
- Peek at the seedlings for any discoloration or mold.
- Feel the soil surface. Is it damp but not wet?
One thing I rarely see mentioned: rotate your pots weekly. Seedlings lean toward the light source. Rotating ensures even growth. My first batch grew all lopsided because I skipped this.
Also, clean your grow lights monthly. Dust blocks the light intensity. Wipe them down with a damp cloth. Your seedlings will thank you.
The AHS notes that proper lighting is the single most important factor for healthy seedlings. I've found that to be true. No amount of special soil or watering tricks can fix insufficient light.
Why This Matters More Than You Think
You might wonder, "Do I really need grow lights for sundew seedlings?" If you live somewhere with bright windows, maybe not. But most people don't get enough natural light. Even south-facing windows in winter provide weak light.
I started with a windowsill. My seedlings grew slowly and looked sad. After switching to grow lights, their growth accelerated by 300%. The dew production improved drastically. The colors became vibrant.
The investment in grow lights pays off. You spend less time worrying and more time enjoying your plants. They grow faster, stronger, and more beautiful.
I killed three batches before I figured this out. You don't have to make those same mistakes. Start with the right setup: proper lights, correct distance, distilled water, and a timer. Follow these rules for how to care for sundew seedlings in grow lights, and you'll see results within two weeks.
Just like I did.





