 bluename
 If your sundew has brown roots, the honest answer is this: healthy roots are rarely brown. Brown roots usually mean rot, and rot means the plant is dying from the inside out. I learned this the hard way when my first sundew sat in soggy peat for three weeks. The leaves still looked dewy on top, but the roots were mush. The fix starts with cutting away everything dead, repotting in airy media, and then—this is the part everyone hates—waiting two weeks without overwatering. I’ll walk you through exactly what I did, day by day, so you can bring your sundew back before it’s too late.
Why Brown Roots Happen (And Why It’s Not Always Rot)
First, let’s get one thing straight. Not every brown root means death. Sometimes, older roots turn a tannish-brown color naturally. That’s normal aging, like gray hair on a human. But if the root is dark brown, mushy, or smells like rotten eggs, that’s root rot. And root rot is the #1 killer of indoor sundews.
I remember peeling apart the root ball of my sick Drosera capensis. The outer roots were brown, but the core was still white. I saved it by trimming the dead layer and repotting. So check carefully before you panic. Squeeze the root gently. If it collapses, it’s gone. If it’s firm, even if brownish, it might live.
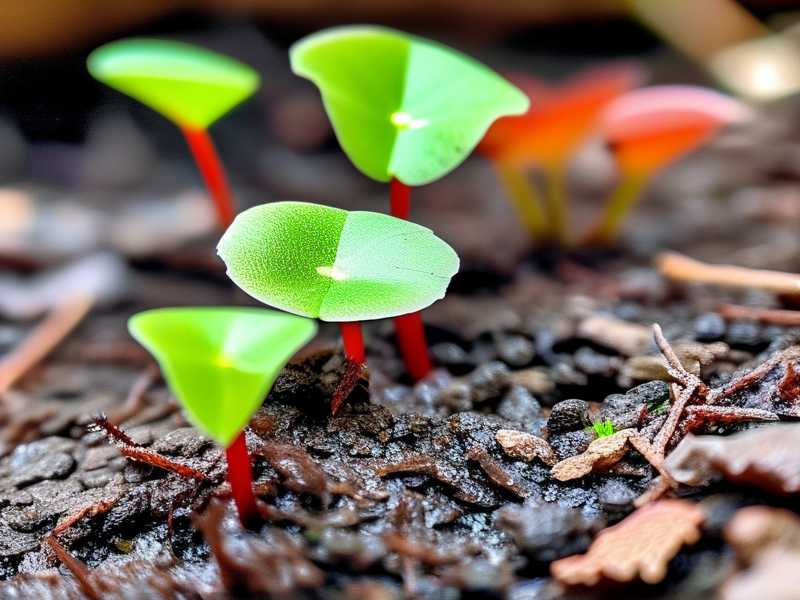
The real villain is almost always water. Too much of it. Sundews are bog plants, but they don’t want to swim. The tray method—keeping water in the saucer—is standard, but if you let the pot sit in deep water for days, the roots suffocate. And suffocated roots turn brown and die.
The Two-Week Fix That Actually Worked for Me
Here’s the plan I used. It took exactly 14 days to see new white root tips. I’m going to break this down step by step, because I know you want a timeline.
Day 1: The Emergency Repot
I took my sundew out of its old pot. I shook off the wet peat moss. Then I ran lukewarm distilled water over the roots to rinse away debris. This is messy. Do it over a sink. I trimmed every dark brown, soft root with sterilized scissors. I cut about half the root mass. It felt brutal, but it was necessary.
Then I prepped a new pot. This is where I had to fight my instincts. I wanted to use rich soil, but sundews need poor, acidic, mineral-free media. I mixed 50% sphagnum peat moss and 50% perlite. That’s it. No fertilizer. No compost. I wet the mix with distilled water until it was damp, not dripping.
I planted the sundew shallow. The crown—the growing point—sat just above the soil line. Deep planting is a death sentence. I pressed the media gently around the roots. Then I placed the pot in a bright windowsill but out of direct afternoon sun. Direct sun on a stressed plant is like salt on a wound.
Day 3–5: The Waiting Game
I did not water it. I know that sounds scary. But the media was already damp. Sundews don’t need constant moisture while recovering. They need oxygen at the roots. So I let the top layer dry slightly. I checked the pot daily by lifting it. If it felt light, I added a splash of distilled water to the tray, not the soil.
By Day 4, the leaves looked worse. That’s normal. The plant was redirecting energy to root repair. The old leaves started to die back. I left them alone. Dead leaves protect the crown from moisture loss. Pulling them off early makes things worse.
Day 7: The First Sign of Life
On the morning of Day 7, I gently scraped away a little media at the base. I saw a tiny, pale white nub. That was a new root tip. It was barely a millimeter long. But it was white, not brown. That was the turning point. I carefully covered it back up.
I kept the plant in high humidity using a clear plastic bag with a few holes. That’s a simple dome trick. It keeps the air moist around the leaves so the roots don’t have to work as hard to pump water upward. But I removed the bag for 30 minutes each day to prevent mold.
Day 10: Root Growth Accelerates
By Day 10, I could see 4–5 new white root tips when I tilted the pot. They were growing outward, not downward. That’s a good sign. It means the media was aerated enough for horizontal root spread. The old brown stubs weren’t growing, but they weren’t rotting further either.
I started a light watering routine. I filled the tray with about 1 cm of distilled water, let it evaporate completely, then waited one more day before refilling. That dry period is crucial. It forces the roots to search for moisture, which makes them stronger.
Day 14: Safe to Return to Normal Care
Two weeks after the emergency repot, I saw dewdrops on the new leaves. That’s the best indicator of healthy roots. Dew production requires root pressure. No roots, no dew. When I saw those glistening droplets, I knew the plant had made it.
From Day 14 onward, I returned to the standard tray method. But I learned my lesson: I never let the water sit deeper than 1 cm. And I never water from the top. Top watering compacts the media and starves the roots of air.
3 Rookie Mistakes That Turn Sundew Roots Brown
I killed two sundews before I figured this out. Don’t repeat my failures. Here are the three mistakes that cause brown roots nine times out of ten.
Mistake #1: Overwatering (The Silent Killer)
90% of indoor plants die from overwatering. Sundews are no exception. The irony is that sundews love water, but they hate stagnant water. When you leave the tray full for days, the water displaces oxygen in the soil. Anaerobic bacteria move in. The roots rot. And rotten roots turn brown.
I used to keep my sundew in a permanent water bath. The leaves were beautiful for a month. Then, suddenly, the crown collapsed. When I checked the roots, they were brown strings. My fix now is simple: empty the tray once a week, let the soil dry slightly, then refill. That little dry spell makes all the difference.
Mistake #2: Wrong Light Exposure
Sunburned sundews drop leaves fast. And when leaves drop, the roots eventually die from lack of photosynthesis. Bruised pink or red leaves are a sign of too much direct sun. Pale green, stretched leaves mean too little light.
I once put my sundew on a south-facing windowsill in July. The leaves scorched within a week. The plant panicked and pulled resources back to the crown, leaving the roots starved. The roots turned brown from neglect, not rot. The fix is bright, indirect light. A north or east window is perfect. If you only have south windows, pull the plant back 2–3 feet from the glass.
Mistake #3: Using the Wrong Pot
Terracotta pots are the devil for sundews. They absorb moisture from the soil, leaving the roots dry on one side and soggy on the other. The uneven moisture stresses the roots, and stressed roots turn brown. I also learned to avoid clear plastic pots without drainage holes. Soggy bottoms, brown roots.
The right pot is either glazed ceramic or plain plastic. Both need 2–3 drainage holes. And the pot should be shallow. Sundews have shallow root systems. A deep pot just holds wet soil that rots the roots. I use a 4-inch (10 cm) plastic pot for most of my sundews. It’s perfect.
My Personal Journey With Sick Sundews
I honestly believe you can’t really know a plant until you’ve nearly killed it. My first sundew was a Drosera spatulata. I watered it every day because I thought that’s what a bog plant needed. By week three, the roots were brown and the leaves stopped producing dew. I was baffled.
I remember posting a photo in a carnivorous plant forum. Someone asked, "Is your tray bone dry right now?" It wasn’t. It was full of water. They told me to dump it and repot. I thought they were crazy. But I tried it. The repot was messy, and the roots looked like brown shredded wheat. I trimmed them anyway. Two weeks later, the plant put out a new leaf with a dewdrop. I felt like a proud parent.
The second time I messed up, I used tap water. Big mistake. The minerals in tap water burn sundew roots. I noticed brown spots on the roots within a week. I immediately switched to distilled water. The roots recovered in about 10 days. If you see brown roots and you’ve been using tap water, that’s your culprit. Switch to distilled, reverse osmosis, or rainwater. Nothing else.
One thing that surprised me: how much the media matters. I tried using pure peat moss alone once. It became waterlogged and compacted. The roots had no air. They turned brown and mushy within 10 days. My fix was to add perlite—about 30%—to keep the media fluffy. That tiny adjustment improved my success rate dramatically.
Common Questions About Sundew Roots and Watering
Can I save a sundew if all roots are brown?
Yes, but only if the crown is still firm and green. If the crown is brown or black, the plant is gone. If the crown is alive, trim all dead roots, repot in fresh media, and follow the two-week plan above. Keep the humidity high. I saved a plant that had zero white roots. It took 21 days, not 14, but it regrew. Patience is your best tool.
How often should I water a sundew after repotting?
Stop watering for the first 3 days after repotting. The media is already damp. Overwatering at this stage will kill the newly exposed root stubs. Starting from Day 4, add just enough water to the tray to wet the bottom of the pot. Let that evaporate fully before adding more. This cycles between moist and slightly dry. This pattern encourages new root growth.
Why are my sundew’s leaves turning brown while the roots are white?
That’s actually a different problem—it’s usually leaf burn or low humidity. White roots mean the plant is healthy below ground. Brown leaves can be sunburn, or the plant is naturally recycling older leaves. Remove the dead leaves only after they’ve fully crisped. Pulling them early opens a wound. Fresh growth will replace the damaged foliage.
The Bottom Line on Brown Sundew Roots
Brown roots are a signal, not a death sentence. The signal is always about water, air, or light. My rule after losing two plants is simple: check the roots every month. Slide the plant out of the pot. Look at the color. White or cream is perfect. Tan is fine. Dark brown or black means you acted too late.
And don’t skip the media check. If your mix is breaking down into sludge, that’s a red flag. Repot every 12–18 months. Fresh peat and perlite give the roots new life. I repot my sundews every spring now. Since I started doing that, I haven’t seen brown roots once.
Trust me, the two-week fix works. But the real cure is changing your habits. Less water, more oxygen, and the right light. Follow that formula, and your sundew will reward you with glistening traps and happy white roots. If you want a deeper dive into carnivorous plant care, the RHS has great guidelines on bog gardens. For insectivorous plant specifics, the AHS also covers cultivation tips. It’s worth a read. I still check those sites when I try a new species.





