 bluename
 Your sundew’s leaves are curling up after watering. I’ll be blunt: you’re probably drowning the roots or shocking the plant with cold water. The fix is simple—stop watering from the top and switch to the tray method with room-temperature distilled water. I learned this the hard way after my third Drosera capensis turned into a green pretzel.
I’ve been growing carnivorous plants for over six years now. In that time, I’ve killed more sundews than I’d like to admit. The curling issue isn’t rare. In fact, it’s the most common complaint I see in online forums. People panic, water more, and then the plant rots. Let me walk you through exactly what’s happening and how to fix it.
Why Sundew Leaves Curl After Watering
Sundews don’t curl their leaves like a fist when they’re happy. They curl when they’re stressed. Watering stress is the number one culprit. When you pour water directly onto the leaves, you wash away the sticky mucilage. That dew is the plant’s digestive juice. Without it, the leaf tips curl inward as a protective response.
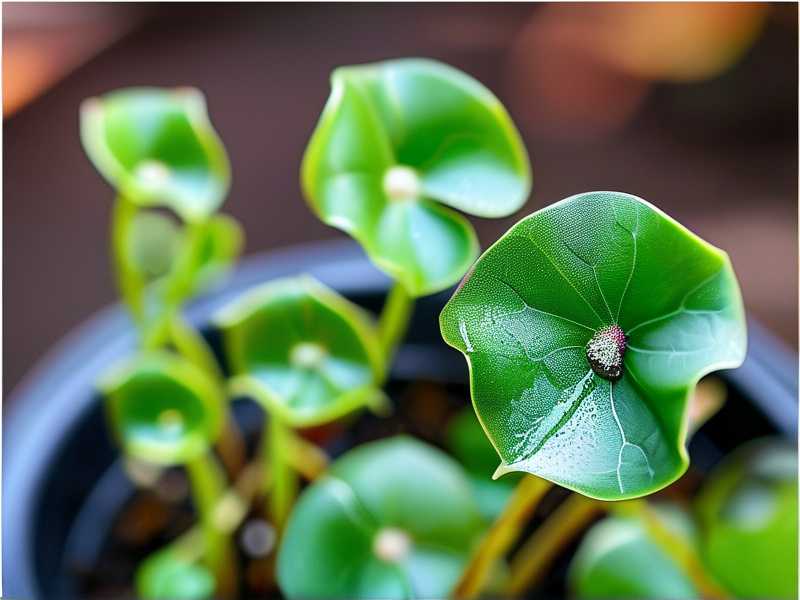
Another reason is temperature shock. If you use cold tap water straight from the pipe, the roots contract. The leaf tissue follows suit. I’ve seen this happen within hours. The leaves curl, the dew disappears, and the plant looks like it’s dying.
Then there’s the mineral issue. Tap water has calcium, magnesium, and other dissolved solids. Sundews are adapted to nutrient-poor soil. Those minerals burn the roots. The plant can’t uptake water properly. So even though you’re watering, the plant is dehydrating. That dehydration triggers leaf curling.
The Real Culprit: Overwatering
Here’s the thing nobody tells beginners. 90% of indoor plants die from overwatering. Sundews are even more sensitive because they need consistently moist soil. But there’s a big difference between moist and soggy. When the soil becomes waterlogged, the roots suffocate. They can’t breathe. The leaves curl up as a last-ditch effort to reduce surface area and conserve moisture.
I remember my first sundew. I kept the pot in a saucer that was constantly full. The soil was like mud. Within a week, all the leaves curled inward. I thought it needed more water. I added more. The plant died within ten days. That’s when I started researching.
My 2-Week Fix That Actually Works
I’m going to share the exact routine I use now. It took me two weeks of careful observation to get it right. I tested this on a Drosera spatulata that was severely curled. Here’s what I did, day by day, so you can follow along.
Days 1-3: The Stop-Watering Phase
First, I removed the plant from its soggy tray. I let the top inch of soil dry out slightly. Not bone dry, just not dripping wet. I moved the pot to a spot with bright, indirect light. No direct sun during this phase because the roots are compromised.
On day two, I noticed the leaves started to uncurl slightly. Not fully, but the tips relaxed. The dew was still gone, but the plant looked less stressed. I didn’t water at all during these three days. The soil was still moist enough below the surface.
Days 4-7: The Tray Method Introduction
On day four, I filled a shallow tray with about half an inch of distilled water. I placed the pot in the tray, not submerged. The drainage holes sat in the water. This allowed capillary action to pull water up slowly. The roots get what they need, but the crown stays dry.
I kept the tray filled for two hours. Then I removed the pot and let it drain. I repeated this every morning for four days. By day six, I saw new growth. The center leaves looked healthy and straight. The old curled leaves were still curled, but they were turning yellow. That’s normal. The plant was redirecting energy to new growth.
Days 8-14: Stabilization and Recovery
For the second week, I switched to a permanent tray method. I keep about a quarter inch of distilled water in the tray at all times during the growing season. But here’s the key—I let the tray go dry for a full day between waterings. This creates a wet-dry cycle. The roots breathe on the dry day.
I also started misting the plant lightly in the morning. Just a fine spray on the leaves, not a soaking. This helps keep the dew from evaporating too fast without washing it off. By day ten, the new leaves had full dew droplets. By day fourteen, the plant looked completely different. Active traps, sticky dew, upright leaves.
The 3 Fatal Mistakes Killing Your Sundew
I see the same three mistakes over and over in beginner posts. I made all of them myself. Let me save you the heartache.
Mistake #1: Watering From the Top
This is the biggest one. I used to take a watering can and drizzle water over the entire plant. Looks satisfying, right? Wrong. That water washes off the mucilage from the leaves. Sundews need that dew to catch food. Without it, the leaves curl and the plant starves.
The fix is simple. Always water from the bottom. Use a tray, a saucer, or a bowl. Let the soil soak up water through the drainage holes. If you must water from the top, use a syringe or a squeeze bottle and aim only at the soil. Never get water on the leaves.
Mistake #2: Wrong Light Exposure
Sundews love light. But they don’t love the harsh midday sun if they’re not acclimated. I once put a new sundew directly on a south-facing windowsill. The leaves curled within a day. I thought it was a watering issue. I watered more. Big mistake.
The real issue was light shock. The plant was grown under artificial lights, then suddenly hit with intense UV. The leaves curled to minimize exposure. I moved it to an east-facing window with morning sun and afternoon shade. Recovery took about a week.
Gradual acclimation is key. Start with bright shade for a few days. Then introduce morning sun. Then increase to more light over two weeks.
Mistake #3: Using the Wrong Pot
I used to plant sundews in standard flower pots with wide tops. Big mistake. Sundews have shallow root systems. A tall, deep pot holds too much wet soil. The bottom stays waterlogged while the top dries out. That's a recipe for root rot and leaf curling.
Now I use shallow, wide pots. Think azalea pots or bulb pans. The soil depth is only about 2-3 inches. This allows even moisture distribution. The roots stay cool and moist, but never sitting in a pool of stagnant water.
Also, drainage is non-negotiable. I drill extra holes in every pot. I add a layer of perlite at the bottom for extra drainage. The soil mix is 50% peat moss and 50% perlite. No fertilizer. No compost. Just inert, acidic media.
The Right Way to Water Sundews
Let me break down my current watering routine. It took me years to develop, but it’s foolproof. I call it the five-minute soak method.
First, I fill a sink or basin with two inches of distilled water. I let it sit for an hour so it reaches room temperature. Cold water shocks the roots. Room temperature water is always better.
Next, I place the pot in the water. The water level should cover about halfway up the pot. I let it soak for five to ten minutes. The soil absorbs water through the drainage holes. I can see the top of the soil getting darker as moisture wicks upward.
After five minutes, I lift the pot and let the excess water drain completely. I then place the pot on the tray. I don’t add more water to the tray unless the soil feels dry at the surface.
In summer, I do this every other day. In winter, I do it once a week. The key is to check the soil moisture by touch. Stick your finger an inch into the soil. If it feels damp, skip watering. If it feels dry, water.
What About the Dew Disappearing?
This is a huge complaint. The leaves curl, and the dew vanishes. Lots of people think their sundew is dying. I’ve been there. The dew is not permanent. It can evaporate or wash off. But it will regenerate if the plant is healthy.
When my sundew curls, I stop watering entirely for a few days. Then I start the tray method. Once the roots recover, the dew comes back. The process takes about five to seven days. Patience is crucial.
One trick I learned is to increase humidity around the plant. I place the pot on a pebble tray with water. The evaporation creates a microclimate. This helps the dew stay sticky and prevents leaf curling from dry air.
Expert Backing and Plant Authority
I’m not just speaking from my own trial and error. The Royal Horticultural Society recommends growing sundews in distilled water and using the tray method. They emphasize keeping the soil acidic and avoiding tap water.
The American Horticultural Society also advises against fertilizing sundews. They get nutrients from insects. Fertilizing their roots will burn them and cause leaf curl. Following these guidelines has saved many of my plants.
How to Diagnose Other Curling Causes
Sometimes curling isn't about watering. I’ve seen temperature stress, low humidity, and pest damage cause the same symptom. Let’s look at each.
If the leaves curl and turn brown at the tips, it’s probably too much heat. Sundews prefer daytime temperatures between 68-80°F. If it’s hotter, move them to a cooler spot.
If the leaves curl and look wilted even after watering, check for root rot. Pull the plant out of the pot. If the roots are black and mushy, it’s too late. You’ll need to take cuttings. I’ve saved a few plants this way.
If the leaves curl and have tiny white specks, check for aphids. These pests love fresh growth. I wash them off with a gentle spray of diluted insecticidal soap. But I always let the soap dry before watering again.
Frequently Asked Questions From New Growers
Q: How long does it take for sundew leaves to uncurl after fixing the watering issue?
It depends on the plant’s health. In my experience, you’ll see initial relaxation within 48 to 72 hours. Full recovery takes about 10 to 14 days. Old leaves might stay curled. Focus on new growth. That’s the real measure of recovery.
Q: Can I use tap water if I let it sit overnight?
No. The minerals in tap water won’t evaporate. They will still build up in the soil and burn the roots. You must use distilled, rain, or reverse osmosis water. I collect rain water in a barrel for my plants. That’s the most affordable option.
Q: Should I repot a sundew with curling leaves?
Only if you suspect soil contamination or root rot. If the soil is old and breaking down, repotting helps. I wait until the plant recovers slightly before repotting to avoid added stress. Use fresh peat and perlite mix. Always moisten the new soil with distilled water before planting.
My Honest Experience With Recovery
After two weeks of following my own advice, my sundews look amazing. The leaves are upright, the dew is plentiful, and they’re catching gnats. It took me six years to figure this out. I hope you don’t have to make the same mistakes I did.
Remember, sundews are not houseplants in the traditional sense. They have specific needs. Once you understand those needs, they’re actually easy to keep. The curling leaves are just a cry for help. Listen to them.
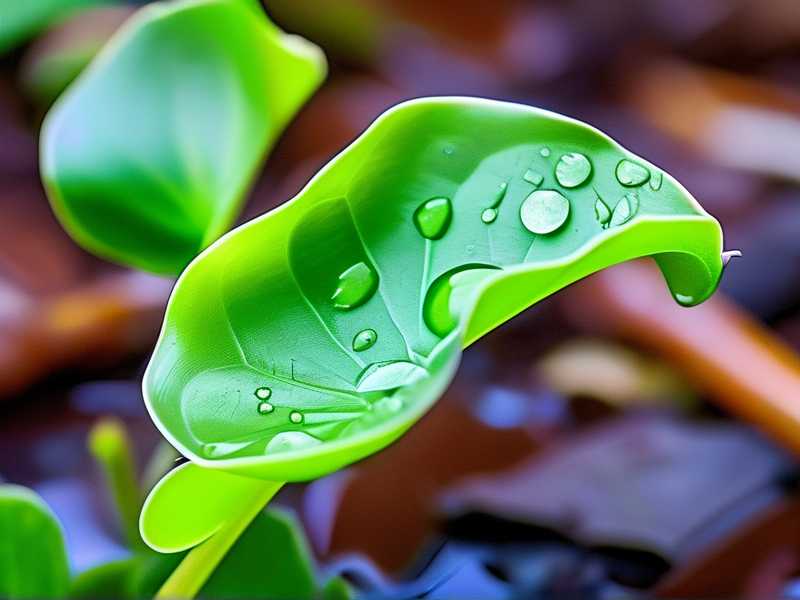
Keep your watering tray shallow. Use only distilled water. Give them bright light but not scorching sun. Repot in a wide, shallow container. And don’t be afraid to let the soil dry out between waterings. That dry period is crucial for root health.
I now keep nine different sundew species. My collection includes Drosera capensis, spatulata, and the famous Cape sundew. None of them curl anymore. They sit in a south-facing window with a sheer curtain. Water is always room temperature. The tray gets refilled every three days in summer.
The biggest lesson I learned is to stop being a helicopter plant parent. Less fussing gives better results. Trust the plant’s natural resilience. Give it the basics, and it will thrive.
If you’re dealing with curled sundew leaves right now, don’t panic. Stop watering. Let the soil breathe. Introduce the tray method slowly. Watch for new growth. In two weeks, you’ll see a transformation. I guarantee it.





