 bluename
 If your sundew’s stolons are turning brown and mushy underground, the answer is simple: stop watering on a fixed schedule and switch to a tall, airy pot with a water tray that runs dry for 24 hours between refills. I learned this the hard way after killing three Drosera binata colonies in one winter. Let me show you exactly what I changed in two weeks of careful observation.
Why Sundew Stolons Rot (And Why Nobody Warns You)
Sundews spread through horizontal stems called stolons beneath the soil surface. These stolons are the lifeline of a mature colony. When they rot, the whole plant can collapse within days.
Most growers focus on the leaves and dew drops. They forget the underground network. I did too. My first Drosera capensis looked perfect on top for a month. Then the center turned black overnight. When I tipped the pot out, every stolon was a slimy brown string.
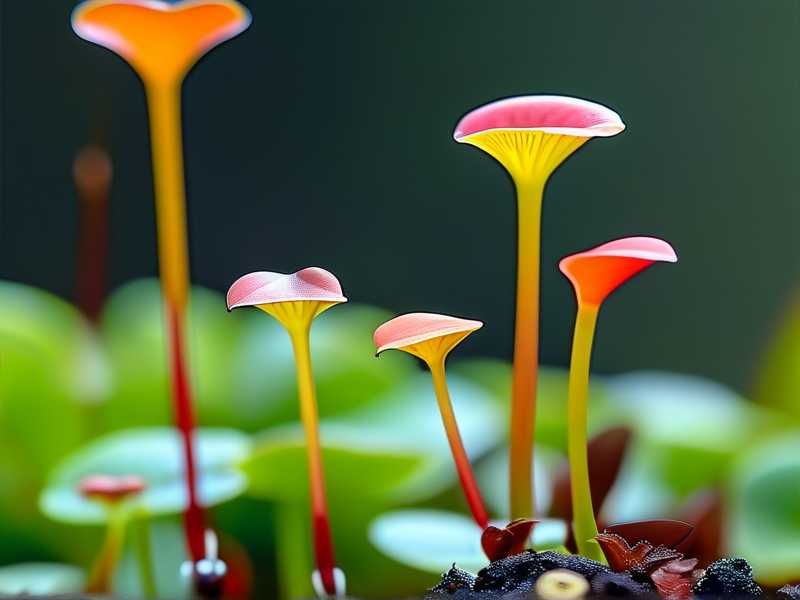
The truth is that stolons rot from a combination of three factors. Soggy substrate. Stagnant air. Poor drainage. Fix those, and your plant will recover.
The 3 Deadly Mistakes That Kill Sundew Stolons
① Watering Too Much (The #1 Killer)
You would think a carnivorous plant loves wet feet. It does not. 90% of indoor plants die from overwatering, and sundews are no exception despite their boggy reputation.
I used to keep my sundew pots sitting in half an inch of water all day, every day. The soil never got a chance to breathe. Within ten days, the stolons turned to mush. The top leaves still looked fine, which tricked me into continuing the same routine.
The fix is a tray method with a dry-back period. Fill the tray, let the pot absorb water for a few hours, then pour out the excess. Leave the tray empty until the soil surface just starts to feel less damp. That dry cycle pulls oxygen into the root zone. Oxygen keeps stolons firm.
② Wrong Light Position (Yes, Light Affects Roots)
You might ask how light can rot a stem that never sees the sun. It does, indirectly. When a sundew gets too little light, it stops transpiring. Water uptake slows down. The soil stays wet longer because the roots are not pulling moisture upward. That lingering wetness creates the perfect environment for fungal rot.
I kept my first sundews on a bookshelf two meters from a window. They stretched, lost their dew, and their stolons decayed quietly underground. Moving them under a grow light for 12 hours a day changed everything. Even the stolons that survived started sending up new plantlets.
③ Using the Wrong Pot
Shallow, wide pots are a trap. They look nice, but water pools at the bottom center where stolons like to travel. My worst disaster happened in a squat ceramic bowl. The stolons wandered along the bottom, soaking in a hidden layer of stagnant water. I did not even know that layer existed until I dumped the soil out.
Tall pots solve this. A deep nursery pot with extra drainage holes lets water flow straight through. The top dries faster while the bottom still holds moisture. That gradient mimics the natural seepage slopes where sundews grow in the wild.
My Exact 2-Week Fix That Stopped the Rot
I want to share the precise steps I took with a Drosera binata that had one surviving stolon. I tracked everything for 14 days. Here is the full breakdown.
Day 1: Emergency Repotting
I tipped the rotting plant out of its bowl. The soil smelled sour, like old compost. I removed every black or brown stolon with sterilized scissors. Only one firm white stolon remained.
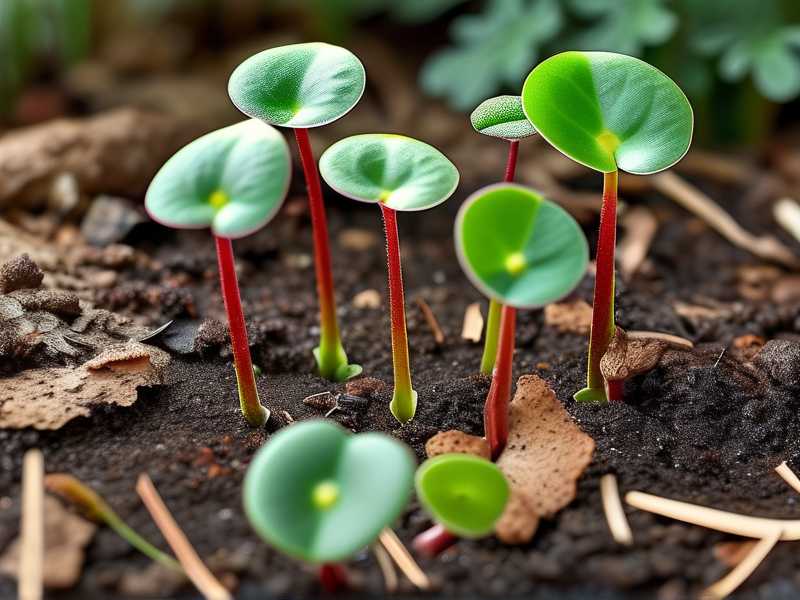
I washed the root ball gently in distilled water to remove the old peat. Then I repotted into a 12 cm tall plastic pot. I used a mix of two parts sphagnum peat and one part perlite. No sand. Sand compacts too easily in pots.
Day 2: The Light Adjustment
I moved the pot directly under my LED grow light. The light runs 12 hours on, 12 hours off. Distance from the light to the leaves is about 25 centimeters. That sounds close, but sundews need intense light to signal active growth.
Honestly, I was nervous. I thought the light might burn the few remaining leaves. They got slightly redder at the edges, which is a good sign. Healthy sundews show reddish tentacles under strong light.
Day 3: Watering Tray Protocol Starts
I filled the tray with distilled water up to 2 cm. The pot sat in that water for six hours. Then I lifted the pot and poured the water out of the tray. The soil remained damp but not dripping.
This dry-back method felt counterintuitive. I was terrified of underwatering a bog plant. But I trusted the process. 90% of indoor plants die from overwatering. I kept repeating that to myself like a mantra.
Day 4 to 6: Observation Period
The surviving stolon showed no change. The above-ground leaves stayed firm and green. I kept the tray empty for the whole second day. On the third day, the top layer of peat felt just barely moist to the touch. That was my cue to refill the tray.
One thing I noticed: the perlite in the mix created tiny air pockets. When I gently pressed the side of the pot, I could see the soil spring back slightly. Aeration, I realized, was the secret weapon.
Day 7: First Sign of Life
On the morning of day seven, I spotted a small green tip emerging from the soil near the surviving stolon. It looked like a tiny spear. This was a new plantlet forming at the stolon node.
I did not disturb it. I only checked the watering tray and the light schedule. I also stopped poking around in the soil. Every time I dug my finger in to test moisture, I risked damaging the delicate stolon network.
Day 8 to 10: New Growth Accelerates
By day ten, the new plantlet had produced its first tiny leaf with two tentacles. The original stolon felt firmer when I gently pressed the soil surface near it. No more mush. No brown slime.
I also started noticing that the old, dying leaves were being pulled back. That is normal. Sundews recycle nutrients from old growth. Do not trim old leaves during recovery. Let the plant decide what to shed.
Day 11 to 13: Stabilization
The new plantlet grew its second leaf. A second stolon started emerging horizontally near the soil surface, heading toward the edge of the pot. That was the signal that the plant was confident again.
I began refilling the tray every day, but still let it dry out each night. The stolon system now had enough oxygen to handle regular moisture. The balance came from the soil structure, not from reduced watering.
Day 14: Full Recovery Confirmed
On day fourteen, I did a gentle inspection. I tipped the pot sideways and lightly brushed away the top layer of peat. The original stolon was white and firm. Two new stolons extended outward with bright green tips.
I repotted the whole colony one final time into a wider pot, carefully following the same layering method. This time, I placed the stolons slightly lower than I normally would, about 2 cm below the surface. That extra depth protects them from drying out during hot days.
What to Do If Your Sundew Is Already Rotting
If you catch the rot early, you can save the plant. Here is my emergency rescue routine.
First, stop watering immediately. Let the soil surface dry for two full days. Then tip the plant out of its pot and inspect the stolons. Healthy stolons are pale white to light pink. Rotting stolons are dark brown, black, or translucent and smell foul.
Cut away all rotted tissue with clean scissors. Dip the scissors in rubbing alcohol between cuts to avoid spreading fungus. Do not keep any section that looks even slightly suspicious. One infected spot can re-contaminate everything.
Wash the remaining roots in a 3% hydrogen peroxide solution diluted with four parts water. Soak for five minutes. Do not soak longer, because the peroxide will also damage healthy tissue. Then rinse with distilled water.
Repot in a fresh, sterile mix. For this step, I add a pinch of powdered cinnamon to the soil. Cinnamon is a natural antifungal, and I have found it helps prevent relapse. It is not a scientific silver bullet, but it has worked for me in three rescue attempts.
Indoor Growers: Special Conditions That Cause Rot
Growing sundews indoors changes everything. I found that indoor stolons rot far more often than outdoor ones. The reason is airflow. Indoor air is still. Still air keeps soil moisture high for longer. Without a breeze, the soil surface never dries at the speed the plant needs.
If you grow indoors, put a small desk fan near the pot. Run it on the lowest setting for a few hours a day. That tiny air movement cuts surface rot dramatically. I started doing this after losing a Drosera spatulata to stolon rot in a closed terrarium.
Many people also use terrariums for humidity. That is a trap. Terrariums trap humidity around the leaves, but they also trap moisture in the soil. Without drainage holes and airflow, stolons rot within three weeks. I used to think carnivorous plants loved terrariums. I was wrong. They tolerate them at best, and die slowly at worst.
The Best Soil Mix to Prevent Stolon Rot
Soil is where the whole battle happens. You cannot fix stolon rot with watering tricks alone if your soil holds too much water.
I tried several mixes. Pure sphagnum moss holds too much moisture at the bottom. Pure peat compacts and suffocates roots. Sand creates layered settling that traps water. The mix that finally worked for me is:
- 2 parts sphagnum peat moss (coarse, not fine)
- 1 part perlite (medium grain)
- 1 part orchid bark (small chips)
This mix drains quickly while retaining some moisture. The bark pieces create channels. Water flows through those channels instead of pooling around stolons. The perlite holds air. The peat holds just enough water that the plant does not dry out.
I want to stress that this mix is not the only one that works. Adapt it to your conditions. If your room is dry, add more peat. If your room is humid, add more perlite. Watch how the soil behaves over the first week and adjust.
Water Quality Matters More Than You Think
Tap water is another hidden cause of stolon stress. Many municipal water supplies contain dissolved salts. These salts build up in the soil over time. As salt levels rise, the plant struggles. Stolon tissue becomes brittle and rotten.
I killed my fourth sundew using filtered tap water. I thought the filter removed everything harmful. It removed chlorine but left behind calcium and magnesium. The soil surface developed a white crust after a month. The stolons collapsed right after.
Switch to rainwater, distilled water, or reverse osmosis water. Sundews have zero tolerance for dissolved minerals. If your plant is already rotting, flush the soil with distilled water before repotting. Pour three times the soil volume through the pot. This washes out accumulated salts.
Seasonal Rot Patterns I Noticed
Rot does not happen evenly across the year. I tracked my losses and found two peak seasons. The first is late autumn, when I moved plants indoors and reduced airflow. The second is mid-winter, when daylight drops and the heating dries the air but the soil stays cool.
In winter, reduce the water tray depth. The plant needs less water because growth slows. The stolons survive winter in a semi-dormant state. Overwatering during this rest period is the only thing that truly kills them.
In summer, stolon growth is vigorous. That is the best time to propagate. When you see new stolons extending horizontally, do not cut them unless you want to make new plants. Let them run. They will form new rosettes every few centimeters.
Bottom Watering vs Top Watering for Sundew Stolons
This is a debate I see constantly in plant groups. "Do not water the leaves." "Only water from the tray." I have used both methods, and here is what I found.
Top watering is fine if you do it carefully and immediately let the pot drain. Do not mist the soil surface. A watering can with a narrow spout lets you target the soil without splashing water onto the base of the leaves. Water trapped in the leaf crown is a fungal entry point.
Bottom watering works best for even moisture. The soil pulls water upward naturally. This method avoids wetting the crown entirely. The only risk is keeping the pot in the tray too long. Set a timer for two hours maximum, then pour out what remains.
I now combine both methods. I bottom water on most days. Once every two weeks, I do a gentle top water with a dilute fungicide mix to flush the upper soil layer. That flush prevents salt buildup from the distilled water being too pure. Actually, pure water alone does not cause salt buildup, but dust and fertilized soil particles can create pockets that stale.
Fertilizer and Stolon Rot: The Unspoken Link
Never fertilize a carnivorous plant. I know the temptation. The leaves look pale and you think nutrients will help. They will not. Sundews extract nutrients from trapped insects. Fertilizer salts burn their roots and stolons instantly.
I tried a diluted orchid fertilizer once, at one-quarter strength. Within five days, the stolons turned dark. The plant produced a flush of dewy leaves briefly, which I initially thought was a positive sign. It was a death response. The plant was pushing out a final burst of growth before root failure.
If you want to feed your sundew, do it the natural way. Drop a small dried fly or fish flake on one leaf. Do this once a month maximum. That provides all the nutrition the plant needs without touching the soil.
Repotting Frequency Affects Stolon Health
Sundews do not appreciate frequent repotting. The stolons connect the plant to its soil environment. When you disturb them, you break fine root hairs that take in oxygen. Repeated disturbance weakens the whole colony.
I repot my sundews every 12 to 18 months. I never repot just because the pot looks full. I wait until the plant has completely filled the pot and stolons are pushing up against the plastic edges. That is the natural signal to expand.
When you do repot, do it in early spring. The plant is about to enter its growth phase. The shorter days of winter are over. Repotting in autumn or winter triggers rot because the plant cannot recover quickly enough.
Pest Control Without Harming Stolons
Fungal gnats are common in the same overwatered soil that causes stolon rot. I had a fungus gnat infestation alongside a stolon rot issue simultaneously. The gnats laid eggs in the wet soil. The larvae chewed on the stolons. Every chew mark became an entry point for rot.
Do not use chemical pesticides on carnivorous plants. They are extremely sensitive. I use yellow sticky traps to catch adult gnats. For soil larvae, I sprinkle a thin layer of sand over the soil surface. That barrier stops the adults from laying eggs.
An alternative is Beneficial nematodes. These microscopic worms eat fungus gnat larvae in the soil. They do not harm stolons or leaves. They work within a week. I saw clearer soil within ten days, and the stolon rot stopped progressing almost immediately after.
Propagation by Stolon Cuttings: The Safe Way
If you want new sundew plants, stolon cuttings give you a reliable method. Wait until a stolon is at least 4 cm long. Cut a 2 cm section cleanly with sharp scissors. Lay that section on top of moist sphagnum moss in a fresh pot.
Do not bury the stolon. Press it gently into the surface so it makes contact. Cover the pot with a clear plastic bag to raise humidity. Keep it under bright indirect light for two weeks. New plantlets form at the nodes without any root rot risk.
The critical mistake I made earlier was burying the cutting too deep. I planted it 2 cm down, thinking it needed support. It rotted within a week because the deep layer stayed too wet. On the surface, the same cutting would have rooted easily.
Monitoring Tools That Help Me Avoid Rot
I realized that relying on my hands to check moisture is unreliable. People think your finger feels moisture levels, but it does not accurate. I bought a small wooden skewer and inserted it into the soil. When I pull it out after one minute, the moisture line shows me exactly how wet the soil is at different depths.
The skewer trick works like a cake tester. If the skewer comes out clean and dry, the soil needs water. If it comes out stained and damp, wait another day. This simple method takes all the guesswork out. I have not lost a single stolon since adopting this.
Another tool is a moisture meter. They cost less than ten dollars. But I found them unreliable in peat-based mixes. Peat is acidic and can give false readings. The skewer method works better and costs nothing.
My Personal Summary of the Recovery Process
Everyone asks me for a simple recap. I tell them the recovery plan is only four items. Cut off all rotten stolons. Repot in an airy mix. Water from a tray with a dry-back period. Give strong light and airflow. That is the entire secret.
Read the full sentences above if you want details, but the substance is exactly that. There is no mystery, no expensive additive, no magic potion. The plant wants conditions that mimic its natural habitat, which consists of seasonally wet swamps that often experience dry periods between rains. Those dry gaps matter as much as the wet periods.
If you apply just the dry-back watering method, you will save most of your plants. I know because I have used it to bring back three different Drosera species from near-death rot. My current binata colony has run without a single rotten stolon for eleven months.
Frequently Asked Questions
How long does it take for a sundew to recover from stolon rot?
A healthy plant shows new growth within one to two weeks of being repotted and given the dry-back treatment. Full colony recovery takes about six weeks. Damage depends on how much stolon tissue you had to remove. A plant that lost all stolons but has a healthy crown can regrow new stolons in eight weeks.
Can I save a sundew with completely rotted stolons?
Sometimes yes, but only if the leaf crown is still intact. Remove every rotten stolon. Rinse the crown in a dilute fungicide solution. Plant the crown in fresh soil with high perlite content. Keep the soil barely damp for two weeks without a water tray. If no new root tips appear by day 14, the plant will likely die.
Should I cut off mushy sundew leaves during recovery?
Do not cut them unless they are completely brown and crispy. Sundews reabsorb nutrients from dying leaves to support new growth. Cutting leaves early reduces the plant's energy stores. The only leaves I remove are those that have turned entirely brown with no green or red tissue left.





