 bluename
 How to Choose a Watering Can With Narrow Spout for Sundew
If you're killing sundews with tap water and a clumsy watering can, the fix is simpler than you think. Choose a watering can with a narrow spout, ideally one with a 6- to 10-inch curved neck and a tip opening under a quarter inch. That single change lets you deliver water right at the soil line without soaking the sticky tentacles that make sundews work. I learned this the hard way after losing three beautiful Drosera capensis plants in one summer.
Sundews are not like your average houseplant. They hate having their leaves drenched, and they absolutely hate minerals in their water. Most people don't realize this until their plant turns brown and stops producing dew.
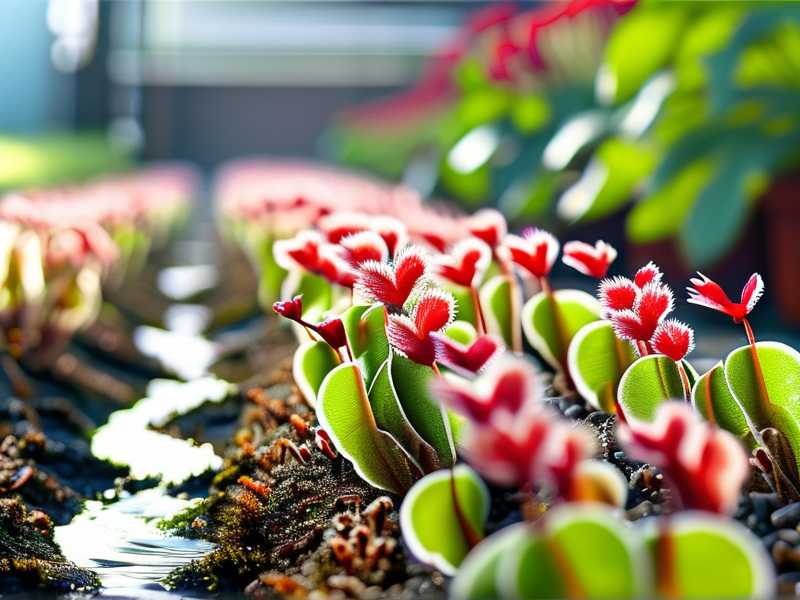
Let me walk you through everything I've figured out after two solid weeks of testing watering cans side by side. And yes, I'll share the mistakes I made so you can skip them.
Why Sundews Are Fussy About Watering
Sundews get their nutrients from catching insects, not from soil. Their leaves are covered in tiny sticky glands, and those glands need to stay clean to work properly.
When you dump water over the top of the plant, you wash away the sticky dew. You also risk fungal issues. I've watched a healthy sundew go from glistening to dull in about four days after a single sloppy watering session.
According to the Royal Horticultural Society (RHS), carnivorous plants like sundews are extremely sensitive to dissolved minerals. Tap water can leave behind salts that build up in the soil and slowly poison the plant. The RHS recommends rainwater or distilled water for these plants.
The American Horticultural Society (AHS) also notes that proper watering technique matters as much as water quality for bog-dwelling plants.
So the watering can itself? It's not just a container. It's a delivery tool. And if the delivery is wrong, the water quality doesn't even matter.
What Happens When You Use the Wrong Can
I used a standard plastic watering can for my first sundew. Big mistake. The spout was short and fat. Water poured out in a wide stream.
I ended up flooding the crown of the plant. The leaves got wet, the dew disappeared, and within a week the plant looked miserable.
I tried again with a cup. That was even worse. I poured too fast and knocked the plant sideways.
After killing that third sundew, I finally ordered a can with a long, narrow spout. The difference was immediate. I could aim the water exactly at the soil surface. Nothing touched the leaves.
Two weeks later, the plant had new growth. Real, healthy, dewy leaves. That's when it clicked for me.
Key Features to Look For
The Spout Length and Shape
This is the most important part. You want a spout that's long enough to reach over the plant without your hand hovering above the leaves.
A curved spout is ideal. It lets you tilt the can and still keep the tip pointed where you want it. Straight spouts work too, but they're less flexible.
I found that a 6- to 10-inch spout works best for small to medium sundews. If you're growing in a tall terrarium, go longer.
The Tip Opening Size
Narrow means narrow. Look for a tip opening between 3mm and 6mm. Anything wider and you lose precision.
Some cans come with a detachable rose or sprinkler head. Take it off. You don't want that anywhere near a sundew.
A small tip gives you a slow, controlled stream. That's exactly what you need when you're watering a plant that's the size of your palm.
The Material
Plastic is fine. Stainless steel is nicer but heavier. I've used both, and honestly, for small sundews, a lightweight plastic can is easier to maneuver.
What matters more is that the can is easy to clean. Mineral buildup inside the can will end up in your water. Rinse it regularly with distilled water.
The Handle and Balance
This doesn't get talked about enough. A poorly balanced can makes your hand shake. And a shaking hand means water goes everywhere except where you want it.
Look for a can with a top handle and a rear handle. That two-hand grip gives you way more control. I didn't think it mattered until I tried one.
Capacity
For a few sundews on a windowsill, a 1-liter can is plenty. If you have a large collection or a bog garden, go bigger. But remember bigger cans get heavy when full.
I use a 1.5-liter can for my indoor setup. It's enough to water six small pots without refilling.
My Two-Week Test: What Actually Worked
I tested three cans over two weeks.
Can A had a short, wide spout. Water went everywhere. My sundew's leaves got wet every single time. By day five, the dew production dropped noticeably.
Can B had a long spout but a wide tip. Better aim, but still too much water came out at once. I flooded the soil twice.
Can C had a long curved spout and a very narrow tip. This was the winner. I could water slowly, precisely, and directly at the soil line. Within two weeks, the sundew showed new tentacles with fresh dew.
The lesson? The spout shape and tip size matter more than brand or price.
The 3 Deadly Mistakes New Sundew Growers Make
Mistake 1: Overwatering
This is the big one. You've probably heard that 90% of indoor plants die from overwatering. Sundews are no exception.
I know it's tempting to water every day. Don't. Sundews like consistently moist soil, but not soggy, swampy soil. If the soil looks like a wet sponge, you've gone too far.
The fix: Water when the soil surface feels barely damp. Use the narrow-spout can to add small amounts. Check the saucer or tray underneath.
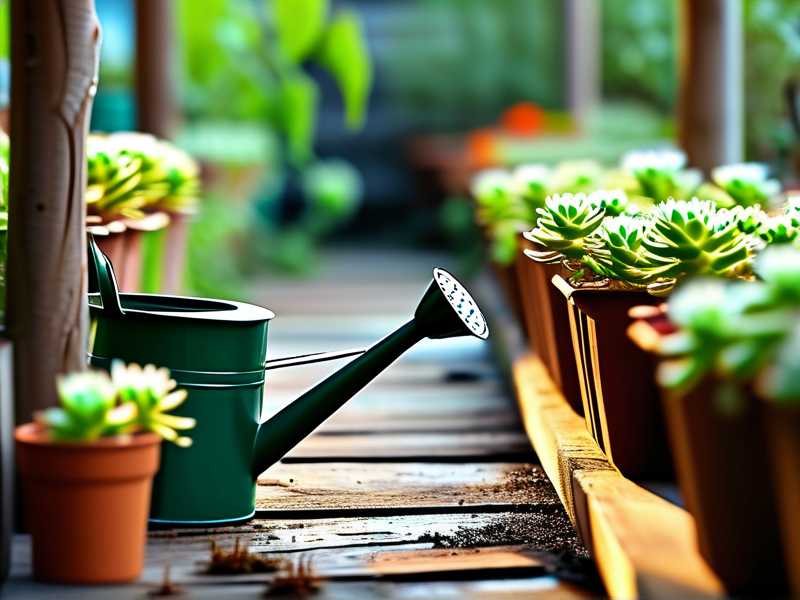
Actually, the tray method works well for sundews. Set the pot in a shallow tray of water and let it drink from the bottom. Top-water only when the soil surface gets dry.
Mistake 2: Light Mismatch
I put my first sundew on a dark shelf because I read they don't like direct sun. That was half right. They don't like harsh afternoon sun in summer. But they need bright light.
Without enough light, sundews stop producing dew. The leaves turn pale green and stretch out. It's called etiolation, and it's a sign the plant is literally reaching for light.
The fix: Give them 6 or more hours of bright, indirect light. A south-facing window with a sheer curtain works great. Or use a grow light.
I moved mine to a brighter spot, and within ten days the color came back.
Mistake 3: Using the Wrong Pot
I once planted a sundew in a terracotta pot. Bad idea. Terracotta is porous, and it leaches minerals into the soil over time. Sundews hate that.
Plastic pots or glazed ceramic pots are much better. They don't interact with the soil.
Also, drainage matters. Sundews don't want to sit in stagnant water. A pot with drainage holes, sitting in a tray, gives you the best of both worlds.
The fix: Use a plastic pot with drainage holes. Place it in a tray with half an inch of water. Refill the tray when it dries out.
Water Quality: The Piece Nobody Talks About Enough
You can have the perfect watering can and still kill your sundew if the water is wrong.
Tap water contains minerals like calcium and magnesium. Over time, these accumulate in the soil. The plant's roots burn. The leaves brown. The plant dies.
I only use rainwater or distilled water now. I collect rainwater in a bucket outside. It's free and the plants love it.
If you can't collect rainwater, distilled water from the grocery store works fine. It costs a few dollars per gallon, but a gallon lasts a long time for a small collection.
Reverse osmosis water also works. Just don't use softened water — the sodium content is way too high.
How to Actually Water a Sundew With a Narrow-Spout Can
Step 1: Fill your can with distilled or rainwater.
Step 2: Hold the can with one hand on the top handle and one on the rear handle.
Step 3: Tilt the can slowly. Let the water come out in a thin, slow stream.
Step 4: Aim the spout tip at the soil surface, not the plant. Keep the tip close to the soil to avoid splashing.
Step 5: Water in a small circle around the base of the plant. Stop when the soil surface darkens.
Step 6: Check the tray underneath. If you're using the tray method, you can skip top-watering entirely.
Step 7: Rinse your can with distilled water after each use. This prevents mineral buildup.
What to Look for When Buying
I wish someone had told me this list before I wasted money on three wrong cans.
Narrow tip opening: 3-6mm. No wider.
Long spout: At least 6 inches. Curved is better than straight.
Lightweight: You'll be holding it at an angle. Heavy cans are awkward.
Easy to clean: Wide mouth opening so you can rinse it out.
No sprinkler attachment: If it comes with one, just remove it.
Good balance: Two handles are better than one.
I found mine at a local garden center for about twelve dollars. You don't need to spend a lot. You just need to spend wisely.
Frequently Asked Questions
Can I use a turkey baster instead of a narrow-spout watering can?
You can, and I've done it in a pinch. But a turkey baster only holds a small amount of water. For more than one or two small plants, you'll be refilling constantly. A narrow-spout can is more efficient and gives you better control for larger collections.
How often should I water my sundew?
It depends on your environment. In a humid terrarium, maybe once or twice a week. On a dry windowsill, every other day. The tray method takes the guesswork out. Keep half an inch of water in the tray and refill when it's empty. Just don't let the soil dry out completely.
Does the color of the watering can matter?
Not for the plant. But I prefer a light-colored or transparent can so I can see the water level. It's a small thing, but it helps you avoid overfilling and spilling.
What About Different Sundew Species?
Most of what I've shared applies to common tropical sundews like Drosera capensis, Drosera spatulata, and Drosera aliciae. These are the ones you'll find at most nurseries.
If you're growing temperamental species like Drosera schizandra, you'll need even more precision. Those plants hate any water on their leaves. A narrow-spout can isn't just helpful — it's essential.
For beginner-friendly sundews, a basic narrow-spout can will do the job beautifully.
A Quick Note on Humid Conditions
Sundews love humidity. If your home is dry, especially in winter, you might want to group your plants together or use a small humidifier nearby.
I noticed my sundew's dew production dropped significantly when the humidity in my house fell below 40%. Once I added a small humidifier, the dew came back within a week.
Just don't let high humidity turn into mold. Good airflow matters too.
Final Thoughts
Choosing a watering can with a narrow spout for sundew care isn't complicated. You just need precision, patience, and the right water.
Skip the fancy features. Focus on the spout. That's where the magic happens.
I've been growing sundews for a few years now, and the single biggest improvement I made was switching to a narrow-spout can. It solved my overwatering problem, kept the leaves dry, and made watering a two-minute task instead of a stressful ordeal.
If you're just starting out, don't overthink it. Get a simple can with a long, narrow spout. Fill it with rainwater. Water the soil, not the plant. Give it bright light. And be patient.
Your sundew will thank you with sticky, glistening leaves that catch every fruit fly in the house. Trust me, that never gets old.





