 bluename
 How to Grow Sundew from Stolons (Runner Plants): A Step-by-Step Guide from a Fellow Plant Lover
I remember the first time I saw a tiny, glistening plantlet forming on a long, thin stem stretching from my mother sundew. I was thrilled but also completely clueless. I had successfully kept my Drosera alive, but propagating it? That felt like uncharted territory. I searched for clear, practical advice on how to grow sundew from stolons, often called runners, but found mostly fragmented tips. If you’re holding a pot with a sundew sending out these mysterious threads, wondering exactly how to turn them into new, independent plants without killing them, you’ve come to the right place. I’ve been there, made the mistakes, and after a dedicated, observation-filled process, I’ve perfected a reliable method. This guide is the detailed, from-the-trenches companion I wish I’d had.
Understanding Sundew Stolons: It’s Not Just a Runner
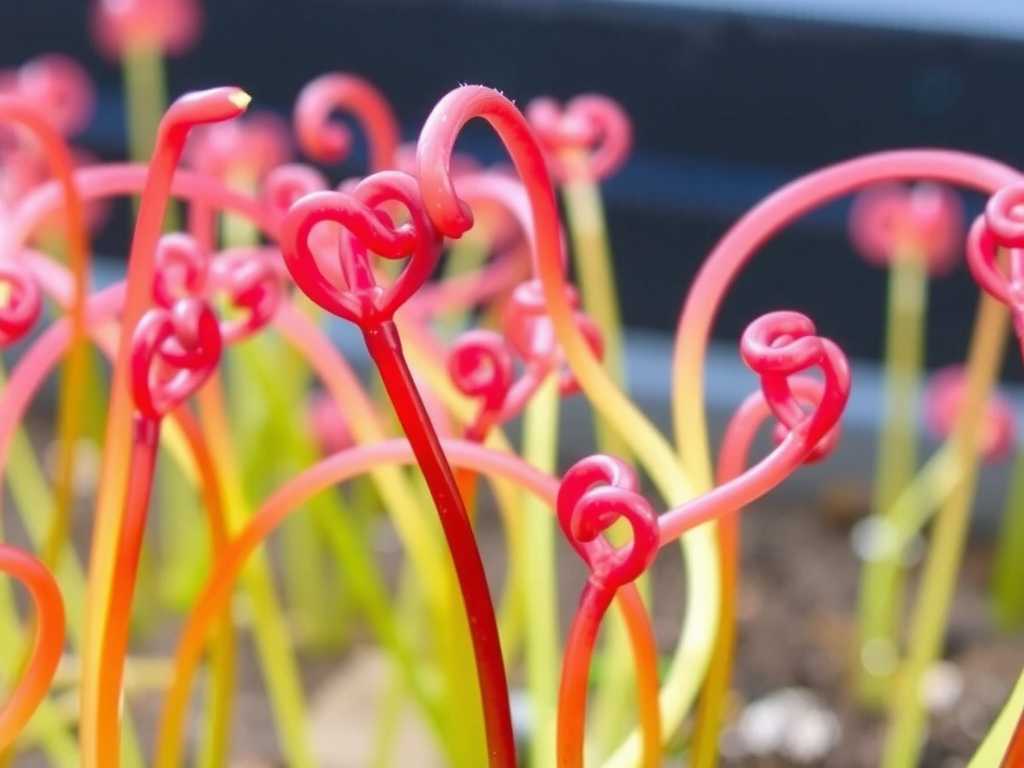
Before we dive into the how, let’s understand the what. A stolon is a horizontal stem that grows above or just below the soil surface, a natural propagation strategy for many sundew species like Drosera capensis, D. spatulata, or D. binata. The term "runner plant" is perfectly accurate—it’s literally running away to start a new colony. The goal is to encourage the tiny plantlet at its tip to root and become self-sufficient.
According to the International Carnivorous Plant Society (ICPS), stoloniferous propagation is one of the most efficient and genetically faithful ways to expand your sundew collection. It leverages the plant’s own energy and instincts. My own experience aligns with this: growing sundews from seed is rewarding but slow, while leaf cuttings can be hit or miss. Using the stolons the plant willingly produces feels like cooperating with nature rather than forcing it.
My Toolkit: What You’ll Need to Propagate Sundew Runners
Gathering the right materials from the start sets you up for success. Here’s what I use, refined after a few less-than-ideal experiments.
- Sphagnum Moss (Long-Fibered): This is non-negotiable for me. I’ve tried peat-perlite mixes, but pure, high-quality sphagnum moss provides perfect moisture retention, aeration, and acidity. It’s the gold standard recommended by experts and the Carnivorous Plant Hub alike.
- Small Pots (3-4 inches): Shallow, wide pots are ideal for young sundews and their surface roots.
- Distilled or Rain Water: Tap water, with its minerals and salts, is a silent killer of carnivorous plants. I keep a dedicated jug of distilled water.
- Sharp, Sterilized Scissors or Blade: Precision is key.
- Humidity Dome or Clear Plastic Bag: Crucial for the initial, delicate phase.
- Bright, Indirect Light Source: A south or east-facing window or a grow light.
The Step-by-Step Process: A Two-Week Observation Diary
This is the core of my guide, the exact process I followed, complete with my real-time notes and the results I saw.
Step 1: The Patient Wait and Strategic Positioning I don’t intervene the moment I see a stolon. I let it grow until the plantlet at the end has developed several small, but visible, leaves of its own—usually about the size of a pencil eraser. This ensures it has some capacity to sustain itself. Here’s where I made my first mistake early on: I tried to root a plantlet that was too tiny, and it simply withered. Patience is your first tool.
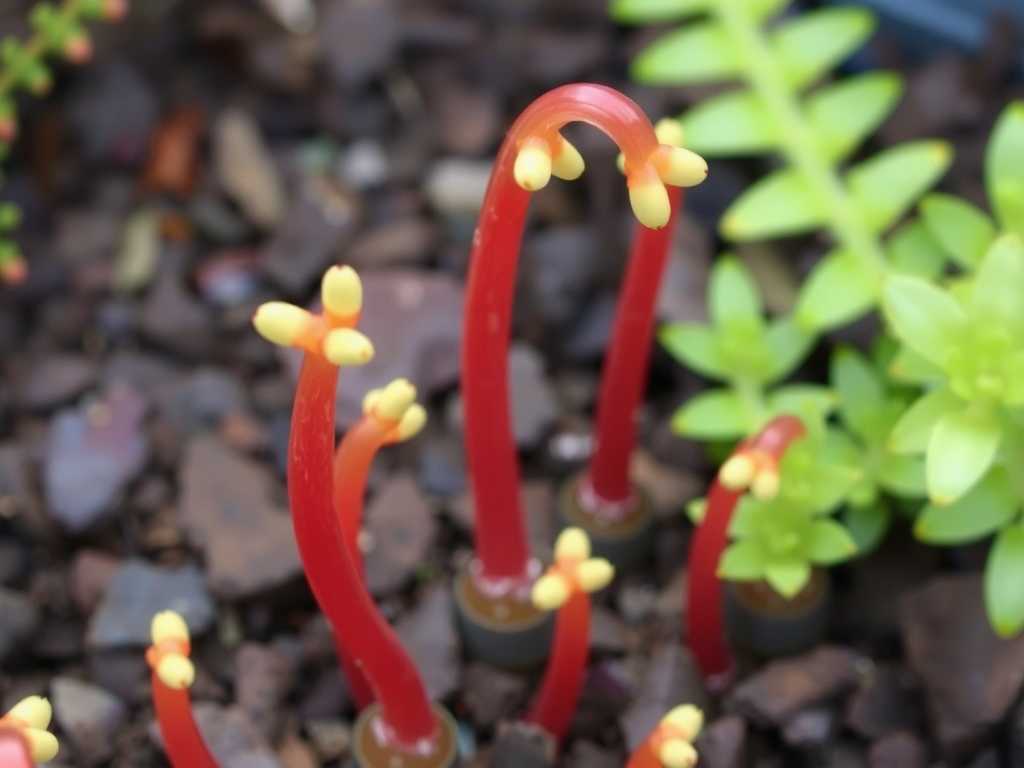
Once the plantlet is ready, I prepare its new home. I fill a small pot with pre-moistened sphagnum moss. Then, I position this new pot right next to the mother plant’s pot. Gently, I guide the stolon so the plantlet rests on the surface of the moss in the new pot. I do not sever the connection yet. This allows the baby plant to start acclimating and even begin to root while still being supported by the mother plant’s resources. I use a bent paperclip or a small piece of floral wire to gently pin the stolon in place if needed.
Step 2: The Rooting Phase and Creating a Microclimate With the plantlet securely positioned on its own moss, I create a humid microclimate. I place a clear plastic bag over the new pot or use a small humidity dome. This was a game-changer in my success rate. It drastically reduces transpiration stress on the unrooted plantlet. I place both pots (still connected) in their usual bright, indirect light spot. Direct, hot sun at this stage can cook the plantlet inside the humidity dome.
My Two-Week Observation Log:
- Days 1-3: Plantlet looks unchanged. Moss remains moist under the dome. No condensation issues.
- Days 4-7: I notice the very first signs of new, vibrant red tentacles developing on the plantlet. This is a great sign it’s actively growing and not just surviving. The moss it’s sitting on appears slightly matted where it touches—a hint that root initiation might be starting.
- Days 8-10: The plantlet has visibly increased in size. When I very gently lift the edge, I see the first fine, white root hairs anchoring into the moss. This is the critical milestone. The plantlet is becoming independent.
- Days 11-14: Roots are more established. The plantlet is clearly thriving, producing dew on its own. The connection (stolon) between it and the mother plant is starting to look dry and brown near the new plant.
Step 3: The Separation – Cutting the Cord At the end of two weeks, with confirmed root growth, it’s time for independence. Using my sterilized scissors, I cut the stolon about an inch from the new plantlet. I leave the short stump attached to the baby; it will dry up and fall off naturally. I then gradually acclimate the new plant to lower humidity over 3-4 days by propping open the bag for longer periods each day before removing it entirely.
Step 4: Post-Separation Care for Your New Sundew The plant is now on its own. I continue to keep its moss consistently moist with distilled water, using the tray method (keeping the pot in a shallow saucer of water). I maintain bright light. Within a month, my propagated Drosera capensis from a stolon was catching its own gnats and was indistinguishable from a nursery-bought plant.
Troubleshooting: The Pitfalls I Encountered and How I Fixed Them
-
Problem: The plantlet turns black and mushy.
- Cause & Solution: This is rot, usually from excessive moisture combined with poor air circulation or a plantlet that was too immature. I solved this by ensuring the sphagnum was moist, not soggy, and by occasionally fanning the humidity dome. Waiting for a larger, more robust plantlet was the ultimate fix.
-
Problem: No root development after 3 weeks.
- Cause & Solution: Often due to insufficient light or the plantlet not making good contact with the moist medium. I repositioned the plantlet to ensure its base was snug against the moss and moved the setup to a brighter location (but not direct sun under the dome).
-
Problem: The mother plant seems weakened.
- Cause & Solution: The plant is diverting energy. I ensure the mother plant is well-fed (I sometimes hand-feed it a small insect) and in peak health before allowing it to produce stolons. A healthy sundew can support several runners without issue.
Ensuring Long-Term Success: Beyond the Propagation
Successfully rooting the stolon is just the beginning. For your new sundew to thrive, remember its core needs: pure water, low-nutrient media, and plenty of light. Repotting is rarely needed for years. They are hardy once established. The American Horticultural Society’s encyclopedia on unusual plants notes that carnivorous plants like sundews, when provided with their specific simple requirements, are remarkably resilient and prolific growers, which my own windowsill jungle can certainly attest to.
Frequently Asked Questions
Can I just cut the stolon and plant it directly? You can, and I’ve tried it. However, my success rate was much lower compared to the “let-it-root-while-attached” method described above. The sudden severance is a shock, and the tiny plantlet must immediately cope with water loss without an established root system. The intermediate step dramatically reduces failure.
How many new plants can I expect from one mother sundew’s runners? A healthy, mature Drosera capensis, for example, can produce multiple stolons sequentially over a growing season, each with one plantlet. I’ve had a single plant give me 5-6 new offspring in one summer. It’s a very prolific method once you get the hang of it.
When is the best time of year to propagate sundews using this technique? Spring and early summer are ideal. This is when the plants are entering their most active growth phase, fueled by longer daylight hours. The mother plant has the most energy to support the runners, and the plantlets will establish themselves quickly in the favorable growing conditions.
Watching a sundew stolon transform into a new, dewy-leaved individual is one of the most satisfying experiences in plant care. It demystifies propagation and deepens your connection to these fascinating carnivores. By understanding the plant’s natural process—providing a bridge of moist sphagnum, a protective humid start, and a patient hand during separation—you can reliably turn a single sundew into a thriving collection. The key takeaways are patience in waiting for a robust plantlet, humidity for stress-free rooting, and always using mineral-free water. Now, go find that stolon and start your own sundew nursery.





