 bluename
 How to Care for Sundew in an Apartment with Low Humidity: A Plant Lover’s Survival Guide
I love carnivorous plants, and the sundew (Drosera) has always fascinated me with its glistening, dew-tipped tentacles. But when I moved into a modern apartment with consistently low humidity—often dipping below 30%—I thought keeping these moisture-loving beauties alive was impossible. My first few attempts ended in crispy, dewdrop-less leaves and a lot of frustration. The core challenge was clear: how to replicate a humid bog environment in a dry, indoor setting. If you’re struggling with the same issue, know that it’s absolutely achievable. After extensive trial, error, and a dedicated two-week observation period, I perfected a system. This guide will walk you through my real-world steps, the mistakes I made, and the solutions that finally brought my sundews back to their sticky, glorious health.
Understanding Your Sundew’s Real Needs
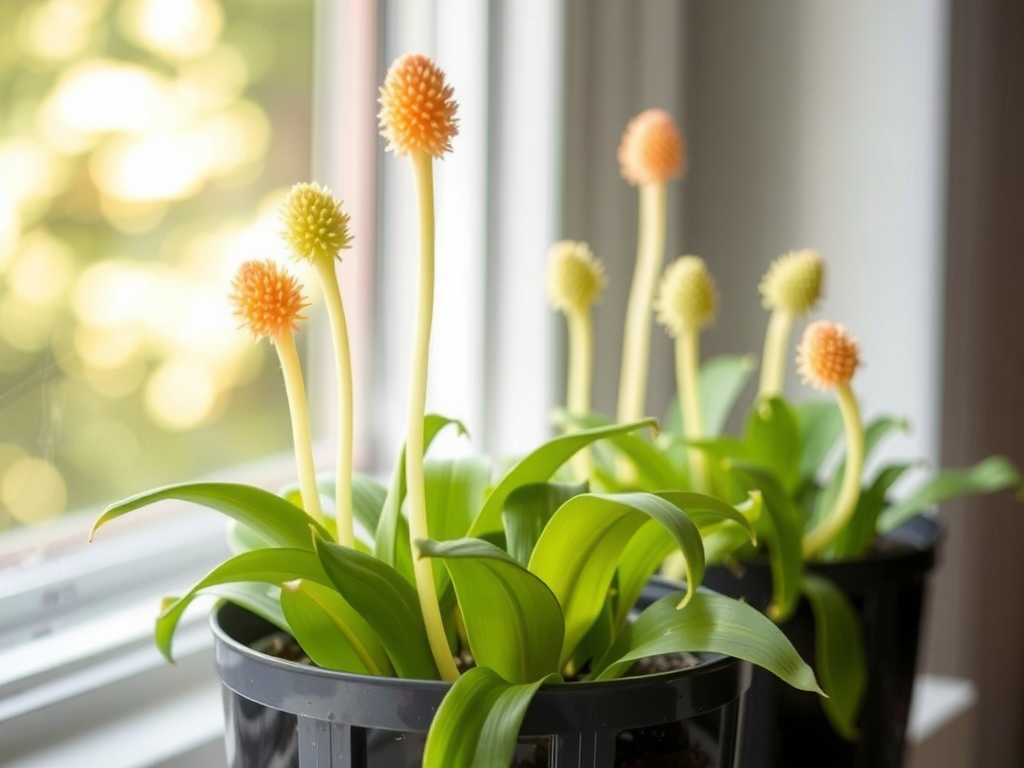
Most care guides simply state “high humidity,” but that’s not the full picture. Through my experience and consulting resources from the International Carnivorous Plant Society (ICPS), I learned that while humidity is crucial, consistency is king. A sundew can adapt to moderately lower humidity if its other needs—especially water, light, and soil—are perfectly met. The goal isn’t to turn your entire apartment into a rainforest, but to create a stable, localized microclimate.
My Essential Toolkit for Low-Humidity Success
Before we dive into the steps, here’s what you’ll need:
- The Right Sundew: I started with a Cape Sundew (Drosera capensis), renowned for its adaptability. It’s the perfect beginner species for challenging conditions.
- Water: Distilled, reverse osmosis, or rainwater only. Tap water, with its minerals, will slowly poison your plant.
- Soil: A nutrient-free mix. I use a 50/50 blend of sphagnum peat moss and perlite.
- Pots: Plastic pots with drainage holes, placed inside a secondary tray (the “tray method” is non-negotiable).
- Light Source: A strong, full-spectrum LED grow light. My sunny windowsill wasn’t enough, especially in winter.
- Humidity Solutions: A humidity tray (pebble tray) and, for my most sensitive specimens, a simple cloche or a small, inexpensive terrarium.
My Step-by-Step Process and 2-Week Observation Log
Setting Up the Perfect Home First, I potted my sundew in the peat-perlite mix, soaked the pot thoroughly with distilled water, and placed it in the outer tray. I then prepared a humidity tray: a wide, shallow dish filled with pebbles and a bit of water, ensuring the pot sat above the waterline (never sitting directly in water in the tray, as this can cause root rot). This setup was placed directly under my LED grow light, set on a 14-hour timer.
The Critical First Days Days 1-3: The plant looked stressed. Some existing dew dried up. This was normal shock from the move. I kept the main tray’s water level consistently at about 0.5 inches, allowing the pot to wick up moisture from below. I also began a nightly ritual of very lightly misting the air around the plant (not directly on it) with distilled water just after lights out to simulate evening dew, being careful not to leave the foliage wet for prolonged periods.
The Turning Point Days 4-10: Here’s where I hit my first major “坑” (pitfall). I noticed the new leaves growing in were smaller and less sticky. I realized my grow light, while good, was too far away. The sundew was getting enough light to live but not enough to thrive and produce abundant mucilage. According to expert growers on forums like Reddit’s r/SavageGarden, sundews need intense light to manufacture their sticky dew. I moved the light significantly closer, ensuring it was about 6-8 inches above the plant. Within 48 hours, I observed a visible change. The existing tentacles began glistening more, and a new leaf started forming with visibly more droplets.
Adaptation and Growth Days 11-14: The plant fully acclimated. With the corrected light distance and the consistent tray-misting combo, the sundew entered a growth spurt. New leaves were larger, fully dewed, and it even began producing a new flower stalk—a sure sign of happiness. The localized humidity around the plant, measured with a cheap hygrometer, stayed between 50-65%, a perfect range despite the room’s air being at 25%.
Common Mistakes I Made and How to Fix Them
- Misting the Leaves Directly: I initially sprayed the leaves to add moisture. This washed away the precious dew and can encourage fungal growth. Solution: Only mist the air in the immediate vicinity in the evening, or better yet, rely on the humidity tray.
- Using the Wrong Water: My first casualty was due to using filtered pitcher water, which still contains minerals. Solution: Invest in a gallon of distilled water from the grocery store; it’s a lifesaver.
- Insufficient Light: As described, low light leads to low dew. Solution: Get a dedicated, strong grow light. A south-facing window might work in summer, but for reliable indoor care for sundew plants, a grow light is essential year-round.
- Letting the Tray Dry Out: I forgot to refill the tray for two days during my experiment. The soil surface dried, and the plant wilted. Solution: Make checking the tray part of your daily routine. Consistency is everything.
Advanced Tips for Sustained Health
For long-term care, feeding is optional but beneficial. I feed one or two tentacles per plant, once every 2-4 weeks, using rehydrated bloodworms (fish food)—a trick praised by many ICPS members. Never use fertilizer in the soil. Repotting is only needed every 1-2 years as the peat breaks down. Also, consider grouping plants together; they collectively raise the humidity in their immediate zone.
What if my sundew completely loses its dew? Don’t panic. This is almost always a light issue. Review your light source’s intensity and distance. Ensure you are using pure water and the soil is consistently moist. With corrected conditions, the dew will return on new growth.
Can I use a humidifier instead? Yes, a room humidifier can help, but it’s often less efficient than creating a targeted microclimate. For a single plant, a humidity tray or cloche is simpler and more energy-effective. For a collection, a humidifier set nearby is an excellent supplement.
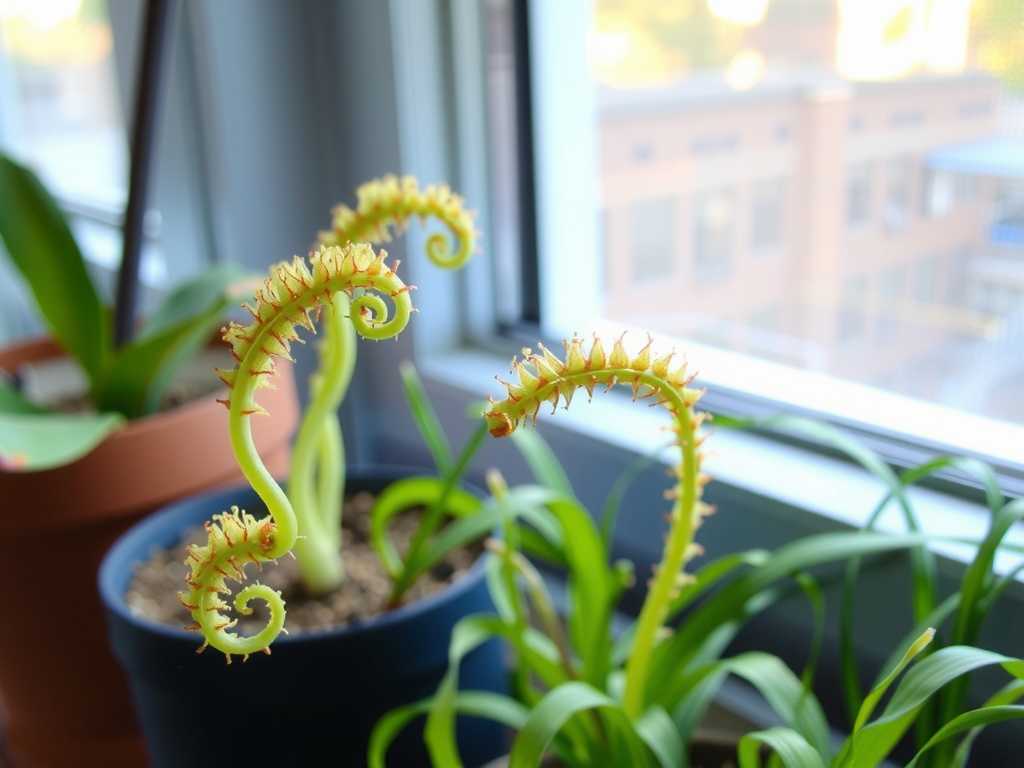
How do I know if the humidity is too low versus another problem? Chronic low humidity typically causes stunted growth, small leaves, and persistent lack of dew despite good light. If leaves are browning and crispy at the tips, it’s often low humidity or mineral burn from bad water. If the whole plant is mushy or yellowing, it’s more likely overwatering or poor drainage.
Success with sundews in a dry apartment comes down to a balance of four pillars: pure water constantly available via the tray method, very intense light, the right soil, and a stabilized local humidity bubble. It’s not about fighting your entire environment, but about building a small, perfect world for your plant within it. My two-week experiment proved that even the most challenging conditions can be overcome with precise adjustments. Watch your plant closely, be patient as it adapts, and you’ll be rewarded with the mesmerizing sight of dewy tentacles catching the light—right in your own living room.





