 bluename
 How to Grow Sundew from Store-Bought Plants: A Beginner’s Hands-On Guide
You’ve just brought home a fascinating, dewy sundew from the store, full of hope. But now, that initial excitement is mixing with a tinge of anxiety. Is that sticky glue disappearing? Why are the leaves turning brown? I’ve been there. That store-bought sundew, often a Cape Sundew (Drosera capensis), is a survivor, but it needs a specific transition from store shelf to your home to truly thrive. Many guides offer theory, but here, I’ll walk you through my exact, step-by-step process, including the mistakes I made and how I fixed them over a crucial two-week observation period. Let’s turn that store-bought plant into a flourishing, insect-catching marvel.
Why Your New Sundew Needs Immediate Care
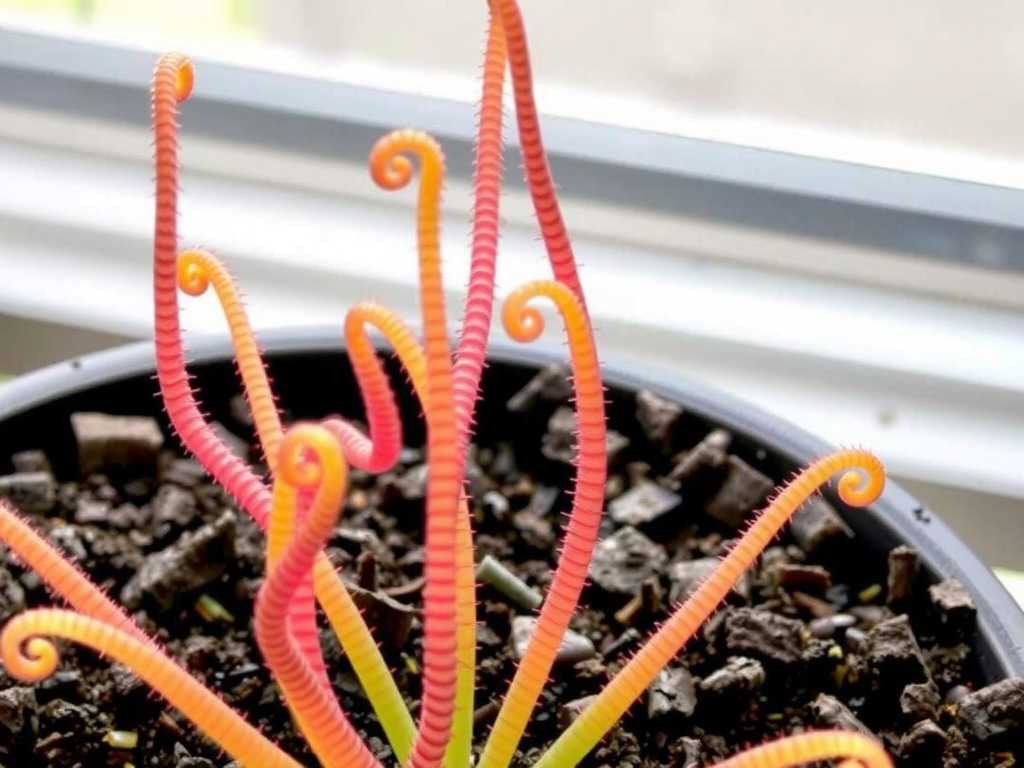
Store environments are tough for carnivorous plants. They’re often shipped in dry, nutrient-poor soil, kept under inconsistent lighting, and watered with tap water containing minerals that slowly poison them. Your first job isn’t just placement; it’s rescue and rehabilitation. The goal is to mimic their natural bog habitat—low nutrients, high humidity, pure water, and plenty of light. Ignoring this can lead to a rapid decline, a common frustration for new growers.
My Step-by-Step Process for Success
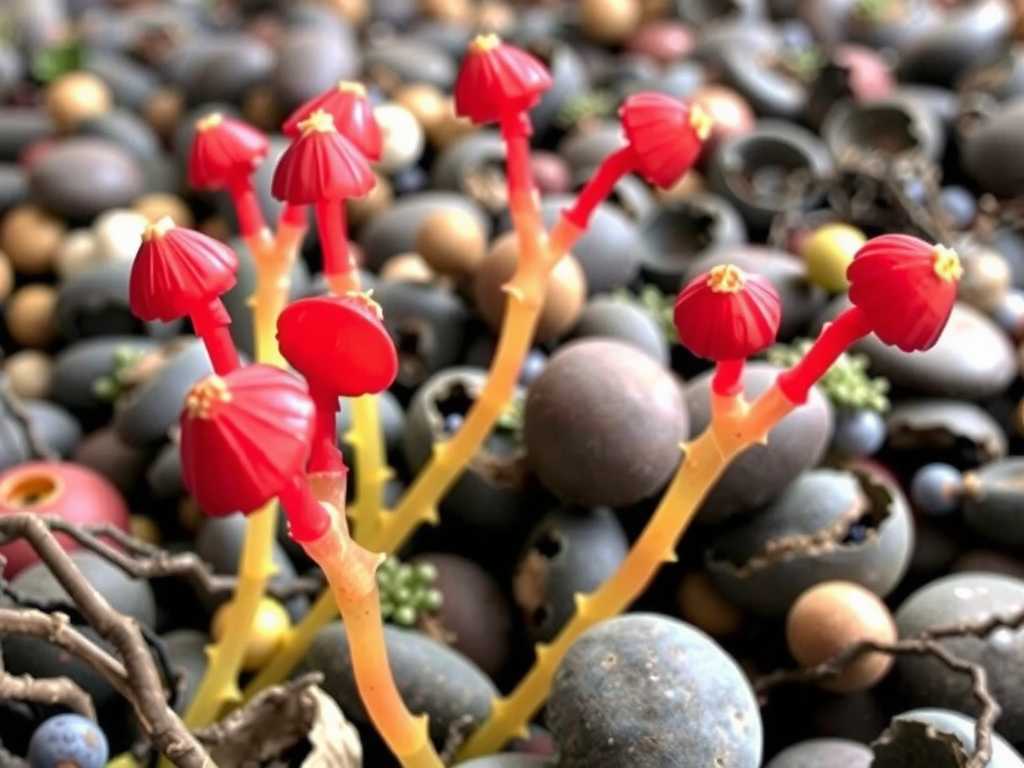
I’ll use my recent experience with a store-bought Drosera capensis ‘Typical’ as our case study. Here’s the actionable plan I followed.
The First 48 Hours: The Critical Rescue
Don’t just set it on a windowsill. The first two days are diagnostic and corrective.
- 1. Immediate Isolation and Inspection: I placed my new sundew away from my other plants. I checked thoroughly for pests (like aphids) and signs of mold. Thankfully, it was clean, but the soil surface was bone-dry and mossy.
- 2. The Essential Water Soak: This was my first non-negotiable step. I took the nursery pot and placed it in a shallow bowl or tray. I then used distilled water or reverse osmosis (RO) water—never tap or spring water. The minerals (like calcium and magnesium) in tap water accumulate and are toxic to sundews. I filled the tray with about half an inch of pure water and let the pot soak from the bottom for 30 minutes. This ensures the entire root ball gets thoroughly rehydrated with safe water.
- 3. Finding the Right Light: Sundews are sun lovers. I chose a south-facing windowsill that receives at least 6 hours of direct sunlight. As per the expertise of the International Carnivorous Plant Society (ICPS), most Drosera species require “strong light” to produce their characteristic red tentacles and sticky mucilage. A grow light is an excellent alternative if your natural light is weak. I started with the windowsill but had a grow light ready as backup.
Week 1: Observation and Adjustment
The first week is all about monitoring the plant’s response to its new environment. I checked on it daily.
- The Tray Method Becomes Routine: I established the permanent watering system: the tray method. I kept the plant in its nursery pot (for now) sitting in a permanent tray with about 0.5 to 1 inch of pure water. The soil stays consistently moist, mimicking a bog. I refilled the tray as it evaporated, never letting it go completely dry.
- The First Challenge Appeared: By Day 4, I noticed the oldest leaves at the base were turning black and dying. Panic? Briefly. But I recalled advice from seasoned growers on forums like Reddit’s r/SavageGarden. This is often a normal stress response. The plant is shedding leaves grown under suboptimal nursery conditions to redirect energy to new growth adapted to my care. I carefully snipped off the completely black leaves with clean scissors to prevent mold.
- A Key Decision: To Repot or Not? The soil it came in looked peaty but dense. While repotting into a proper 1:1 mix of peat moss and perlite is ideal, I decided to wait. Repotting immediately after the stress of transport and environmental change can add more shock. I marked my calendar to repot after the first month if the plant showed stable new growth.
Week 2: Signs of Life and a Feeding Experiment
This is where the joy starts.
- New Growth Emerges: By Day 10, the center of the rosette showed tiny, new leaves unfurling. They were a vibrant green and, excitingly, already producing tiny droplets of mucilage. This was the clearest sign my care was working.
- The Feeding Test: A healthy sundew needs to eat. I decided on a small, controlled test. I avoided human food (like meat). Instead, I found a small fungus gnat (a common houseplant pest) and gently placed it on a dew-covered leaf from the new growth. It was instantly stuck. Over the next 36 hours, I watched in fascination as the leaf slowly curled over its prey—a process confirmed by botanists as the plant secreting digestive enzymes to absorb nutrients. I fed only one leaf every 2-3 weeks; overfeeding can rot the leaf.
- Humidity Check: My home humidity was around 40%, which is on the lower end. I placed the water tray close to the plant, which creates a slight microclimate of higher humidity. For more sensitive species, a cloche or terrarium might be needed, but my Cape Sundew was adapting well.
Common Pitfalls I Encountered (And How to Solve Them)
My journey wasn’t flawless. Here’s where I stumbled so you don’t have to.
- Pitfall 1: The “Helpful” Fertilizer Mistake: Early on, I thought a diluted foliar spray might perk it up. Big mistake. Within two days, the leaves I sprayed lost their dew and looked burned. Solution: I immediately rinsed the leaves with distilled water and never used fertilizer again. Sundews get all they need from insects, sunlight, and water. As the Carnivorous Plant Hub emphasizes, “Fertilizer is the fastest way to kill a carnivorous plant root system.”
- Pitfall 2: Inconsistent Watering: I once let the tray dry out completely over a busy weekend. The dew production plummeted. Solution: I set a twice-weekly phone reminder to check the water tray. Consistency is key. The soil surface should feel moist at all times.
- Pitfall 3: Wrong Water, Silent Killer: This is the most common fatal error. I initially used filtered fridge water, thinking it was safe. Growth stalled. A TDS (Total Dissolved Solids) meter, a tool recommended by expert growers, showed it still had over 50 ppm of minerals. Solution: I switched exclusively to distilled water (0 ppm). The plant’s recovery in dew production was noticeable within a week.
Long-Term Success: Beyond the First Two Weeks
After this intensive two-week observation and adjustment period, your sundew should be on a stable path. For continued health, repot it into a plastic or glazed ceramic pot with drainage holes, using the peat-perlite mix. It will eventually flower and produce seeds, allowing you to propagate your own plants. Remember, these are perennial plants; with proper care, your store-bought sundew can live for many years, constantly producing new, sticky leaves.
Frequently Asked Questions
Can I use rainwater for my sundew? Yes, rainwater is an excellent choice, provided you collect it in a clean container from an area without air pollution or roof contamination. It’s essentially natural distilled water.
My sundew’s dew has disappeared. What did I do wrong? The most likely culprits are insufficient light, the use of mineral-rich water, or low humidity. Address these in order: increase light intensity (consider a grow light), switch to distilled/RO/rain water, and try grouping plants together or using a humidity tray.
How often should I feed my sundew? If kept outdoors or in a greenhouse with access to insects, it will feed itself. Indoors, feeding one small insect (like a fruit fly or pinhead cricket) per plant every 2-4 weeks is plenty during active growth. In winter, feeding is unnecessary. Never use fertilizer.
Growing a sundew from a store-bought plant is a rewarding practice in attentive care. It teaches patience and observation. By providing the simple fundamentals of pure water, abundant light, and the right soil, you’re not just keeping a plant alive—you’re enabling a fascinating natural predator to reveal its full, dewy glory right on your windowsill. Start with the soak, master the tray, and enjoy the daily wonder of new growth.





