 bluename
 How to Care for Sundew in Autumn: My Complete Guide to Winter Prep Success
As the golden light of autumn begins to soften and the air carries a distinct chill, a familiar pang of anxiety hits me—it’s time to prepare my carnivorous plant collection for winter. If you’re like me, a sundew enthusiast, you’ve probably stared at your Drosera as summer fades, wondering: “Will it survive the dormant season? What exactly should I do differently?” I’ve been there, watching precious plants wither due to misguided care. Through years of trial, error, and meticulous observation, I’ve perfected a sundew autumn care routine that ensures not just survival, but thriving growth come spring. This guide is my personal, step-by-step account of getting my sundews ready for winter, including the mistakes I made and how I fixed them.
Understanding Sundew Dormancy: Why Autumn Care is Critical
Not all sundews require a winter dormancy, but for many temperate species like Drosera filiformis, D. rotundifolia, or D. anglica, it’s a non-negotiable part of their life cycle. In their natural habitat, these plants experience shorter days and colder temperatures, triggering a period of rest. Skipping this phase can exhaust the plant, leading to weak growth or death in subsequent seasons. The goal of preparing sundew for winter isn’t just about keeping it alive; it’s about respecting its natural rhythm to promote long-term vigor.
My Two-Week Autumn Transition Protocol: A Day-by-Day Account
I dedicated a focused two-week period to transition my plants. Here’s exactly what I did, what I saw, and the critical adjustments I had to make.
Week 1: Initiating the Change
The first step is adjusting light and temperature. In early autumn, I began moving my outdoor potted sundews to a location with slightly less direct, but still bright, ambient light. For my indoor grow-light setup, I reduced the photoperiod from 14 hours to 10 hours daily. Simultaneously, I started allowing nighttime temperatures to drop. I moved plants near a cooler window, ensuring it was still frost-free.
- Observation (Day 3-5): I noticed the first sign of change—a slowing in dew production. The sticky mucilage on their tentacles became less abundant. This is normal! The plant is conserving energy. New leaf growth also visibly slowed.
- The Mistake I Made: One year, I reduced watering at the same pace as I reduced light. Several plants showed signs of excessive dryness at the base while the soil surface still seemed damp.
- The Solution: I learned to decouple these two factors. Light reduction comes first; watering adjustment follows based on soil moisture, not a calendar. I now use the “tray method” as my guide, which is also recommended by experts at the Carnivorous Plant Society. I let the water tray dry out completely for a day or two before adding a shallow amount again. This mimics the wet-dry cycles of autumn in their bog habitats.
Week 2: Moisture Management and First Signs of Dormancy
By the second week, with shorter days and cooler nights established, I turned my focus to substrate moisture and plant hygiene.
- The Key Adjustment: I switched from keeping the pots permanently sitting in a quarter-inch of water to the “dry-tray” method mentioned above. The goal is to keep the soil just moist, not soggy. Saturated soil in cold conditions is a direct invitation to root rot.
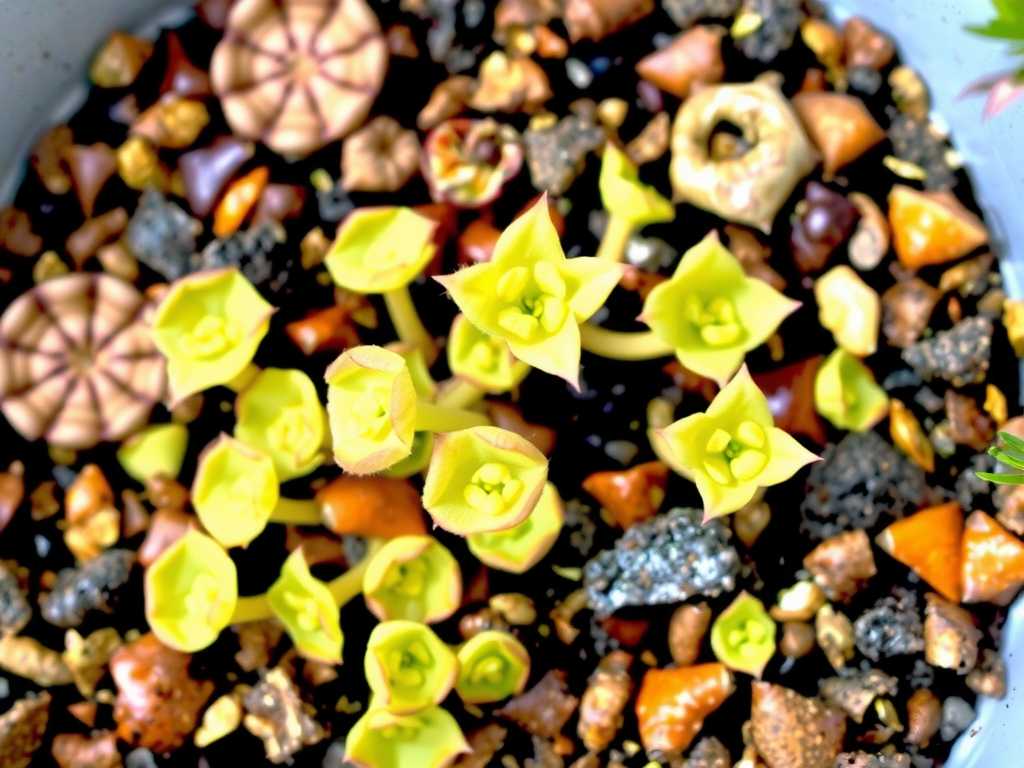
- Observation (Day 10-14): My temperate sundews began forming tight, small buds at their centers—these are the dormant hibernacula. The outer, older leaves started to die back naturally. This was the clearest signal my protocol was working. I gently removed only the completely blackened leaves to prevent mold, being careful not to disturb the central bud.
- Expert Insight: I align my practices with the principles outlined by the International Carnivorous Plant Society, which stresses that “the single most important factor for dormancy is the combination of shortened photoperiod and lower temperatures, not extreme cold.” This reassured me that my cool windowsill (maintaining 40-50°F / 4-10°C) was ideal, not a freezer.
The Long Haul: Maintaining Dormant Sundews Through Winter
Once the hibernaculum is formed, active growth stops. Your job shifts from fostering growth to providing vigilant maintenance.
Location is Everything: My sundews spend their winter on a bright, unheated sunporch. The temperature hovers perfectly in that 40-50°F range. A cold frame or a very bright garage window can also work. Light remains crucial—they are not in darkness, just in slow-motion.
The Watering Balancing Act: This is where I’ve seen most failures, including my own early on. Overwatering dormant plants is fatal. I check the soil moisture weekly by touch. If the top layer is dry and the pot feels light, I add just enough distilled or rainwater to lightly moisten the entire soil column from the top, then let it drain. I rarely use the tray during deep dormancy unless the soil is bone-dry.
Halting Fertilization Completely: This is non-negotiable. Dormant plants cannot use nutrients. Feeding them now will burn roots and disrupt their rest cycle. I stopped all feeding a month before starting the autumn transition.
Common Pitfalls in Autumn Sundew Care and How to Avoid Them
- Pitfall 1: Assuming All Sundews Need Cold Dormancy. My tropical sundews (like D. capensis) stay warm and bright all year. Mistaking them for temperate types and chilling them will kill them. Always know your species.
- Pitfall 2: Letting Them Dry Out Completely. While you reduce water, the soil should never become a dry, hard brick. The hibernaculum itself needs some moisture to stay viable. My solution is the weekly touch-test.
- Pitfall 3: Ignoring Pests. Scale insects or aphids can still attack weakened plants. During my two-week prep, I gave every plant a thorough inspection under the leaves. I found a few aphids on one plant and treated them immediately with a gentle insecticidal soap spray, a method supported by resources from horticultural associations for being effective and low-impact.
Signs of Success and Spring Awakening
A successfully dormant sundew will look mostly dead—and that’s okay! The center should hold a tight, furry or scaly bud. Come early spring, as daylight increases and temperatures slowly rise, you’ll see the first hint of green peeking from that bud. This is your cue to gradually increase watering and light, reversing the autumn process.
My sundew looks completely dead in the center, not just the outer leaves. Is it gone? Gently probe the very center of the plant. If it’s mushy and black through-and-through, it may have succumbed to rot, often from overwatering. However, if there’s a firm, compact bud (even if brown), it’s likely still alive. Be patient and maintain cool, bright, and slightly moist conditions until spring.
Can I skip dormancy if I keep my sundew under grow lights all winter? For temperate species, skipping dormancy forces the plant to expend energy continuously. It might survive a season or two but will become increasingly stunted and susceptible to disease. It’s a short-term gain for long-term loss. Providing a rest period is a key pillar of sustainable sundew cultivation.
What water should I use during dormancy? The same pure water you use year-round: distilled, reverse osmosis, or rainwater. Never use tap water, as minerals will build up in the soil, especially when the plant isn’t actively growing to use them, leading to toxic levels.
Preparing your sundews for winter is an act of understanding and partnership with nature’s cycles. It requires observation more than action, and restraint more than intervention. By mimicking the gentle cooling and drying of their native autumns, you provide the essential cue for rest. The reward is a resilient plant that bursts back to life with vigorous, dew-covered leaves when spring returns, ready for another season of fascinating growth. Trust the process, learn from the subtle signs your plant gives you, and you’ll master the art of autumn care.





