 bluename
 How to Choose the Best Pot for Sundew (Drainage Tips)
I’ve killed my fair share of sundews. It’s a painful admission for any plant lover, but it’s true. For the longest time, I couldn’t figure out why these fascinating, dewy predators would thrive for a few weeks and then slowly, heartbreakingly, wither away. I was using the right soil, giving them distilled water, and plenty of light. The culprit, I finally discovered, wasn’t the care routine itself, but the very foundation of their home: the pot. Specifically, the pot for sundew drainage was a complete disaster. I was drowning their roots without even realizing it.
That failure launched me on a mission. I decided to test every common pot type over a dedicated two-week period with identical Drosera capensis plants, documenting every detail. What I learned transformed my approach and saved my collection. Choosing the best pot isn’t just about aesthetics; it’s the single most critical factor for mimicking their natural bog habitat and ensuring long-term health. Let me walk you through my process, the mistakes I made, and the clear winner I found.
Why Your Sundew’s Life Depends on Drainage
Sundews aren’t like your typical houseplant. In the wild, they grow in permanently damp, nutrient-poor, and aerated soils. Their roots are adapted to constant moisture but have zero tolerance for being waterlogged. Stagnant water cuts off oxygen, leading to rapid root rot—a death sentence that often shows up too late in the leaves.
The International Carnivorous Plant Society (ICPS) and experts from organizations like the Carnivorous Plant Society (UK) consistently emphasize this point: excellent drainage and air circulation to the root zone are non-negotiable. Your pot is the primary tool for managing this delicate moisture balance. It’s not just a container; it’s your sundew’s life support system.
The Great Pot Experiment: My 2-Week Side-by-Side Test
I gathered four young, healthy Cape Sundews (Drosera capensis) and four different pot types. The goal was to observe root zone conditions and plant response under my standard care (keeping the soil surface moist with distilled water daily).
- Plant A: The Classic Terracotta Pot.
- Plant B: The Glazed Ceramic Pot (with a single drainage hole).
- Plant C: The Plastic Nursery Pot (with multiple holes).
- Plant D: The Self-Watering Pot.
I used the same premium sphagnum peat moss and perlite mix (50/50) for all. Here’s what happened.
Evaluating Common Pot Materials for Sundews
1. Terracotta Pots: The Deceptive Choice Many guides recommend terracotta for its “breathability.” I was hopeful. The porous clay walls do allow moisture to evaporate, which helps prevent soil saturation. For the first week, Plant A looked fine. However, by the start of week two, I noticed it needed watering twice as often as the others. The pot was wicking moisture away from the entire root ball, not just the bottom. In my dry indoor climate, it created a “see-saw” effect—oscillating between perfectly damp and worryingly dry. Sundews despise drying out completely. While it prevented waterlogging, the inconsistent moisture caused slight stress, stunting new leaf growth compared to others. Verdict: Better than no drainage, but high-maintenance and risky for consistent moisture.
2. Glazed Ceramic Pots: A Silent Root Killer This was my old mistake—a beautiful, glazed pot. Plant B’s pot had one drainage hole, which I thought was sufficient. It was not. The glazed walls trap all moisture inside. Even with a drainage hole, the soil at the bottom and sides remained soggy and cold. After just ten days, the surface looked okay, but a gentle probe revealed a foul, anaerobic smell from the lower soil. The sundew’s growth had completely halted. This pot creates the perfect conditions for root rot. Verdict: Avoid. The single drainage hole is almost always inadequate against the non-porous walls.
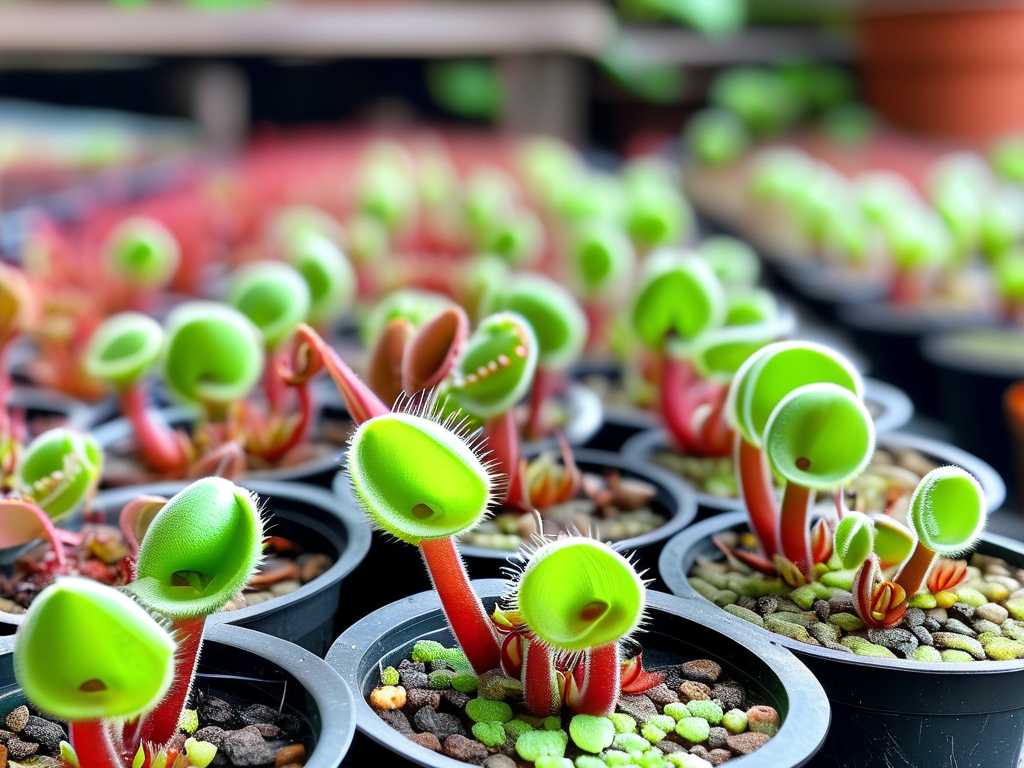
3. Standard Plastic Pots: The Surprising Contender Plant C, in a simple, black plastic nursery pot with 6-8 drainage holes, was the dark horse. The plastic is non-porous, so moisture loss is primarily through the top and the drainage holes. This allowed me to control the wetness perfectly. I could water thoroughly until it ran out the bottom, ensuring the entire medium was evenly damp, without it staying saturated. The root zone remained consistently moist and aerated. Growth was strong and steady throughout the two weeks. The key here is multiple drainage holes. Verdict: Excellent, functional, and affordable. The winner for most indoor growers.
4. Self-Watering and “Cache Pots”: The Hidden Danger Plant D was my disaster group. Self-watering pots or using a decorative cache pot (outer pot without holes) creates a reservoir of water at the bottom. For sundews, this is catastrophic. The soil acts like a wick, constantly drawing water up into the root zone, creating permanent waterlogging. Within a week, the leaves began to droop and lose dew. By day 12, crown rot was setting in. I had to emergency-transplant it. Verdict: Never, ever use these for sundews.
The Gold Standard: Optimizing Your Pot Setup
So, the humble plastic pot won my experiment. But we can optimize it further for perfect sundew pot drainage.
- Drainage Holes Are King: Don’t settle for one or two. If your plastic pot has fewer than four, take a drill and create more. I now add several extra holes around the sides, about half an inch from the bottom. This promotes cross-ventilation and prevents the bottom layer from compacting.
- The Saucer Method – Done Right: Always use a saucer. Water from the top until about 1/4 inch of water sits in the saucer. Let the plant absorb this over a few hours. Here’s the critical step I learned: After 2-3 hours, pour out any remaining water from the saucer. You provide a deep drink without letting the pot sit in a puddle overnight.
- The Tray Method (My Preferred System): For multiple plants, I use the tray method. I place all my plastic pots in a large, shallow tray. I keep about 1/2 inch of distilled water in the tray at all times during the growing season. The pots wick up what they need. The key is that the water level is shallow and the pots have so many holes that the soil isn’t submerged. This mimics a natural bog perfectly. I refill as it evaporates.
The Material I Now Swear By: Why Plastic is Perfect
After my test and years of subsequent growing, I am a firm advocate for high-quality plastic pots. Their non-porous nature gives you complete control. They are lightweight, cheap, and when paired with the tray method, create a stable, humid microclimate. Look for “orchid pots” or “net pots” with extensive lattice-like side holes—these are absolute champions for choosing a pot for sundew health, providing unparalleled aeration.
FAQ: Your Top Pot Questions Answered
Can I use a decorative pot at all? Yes, but only as a “slip.” Place your functional plastic pot with great drainage inside the decorative pot, ensuring there’s a gap at the bottom so the inner pot’s holes aren’t blocked. Never let it sit in hidden water.
How often should I repot my sundew? Typically every 1-2 years, or when the medium breaks down and becomes soggy. When you do, gently tease apart the roots and use a pot only slightly larger than the root ball. A pot that’s too big holds excess wet soil, increasing rot risk.
My pot has good drainage, but my sundew is still struggling. What else could it be? Double-check your water and soil. Only use distilled, reverse osmosis, or rainwater. Tap water, even filtered, often contains minerals that will slowly poison your plant. Also, ensure your soil mix is appropriate—long-fiber sphagnum moss or a peat/perlite blend. Regular potting soil is fatal.
Choosing the right container is the first and most impactful decision you make for your sundew. It’s not about finding the prettiest pot, but the smartest one. By prioritizing exceptional drainage and consistent moisture through the right pot choice—I firmly recommend starting with a well-holed plastic pot and a tray—you’re replicating the bog conditions these incredible plants crave. It’s the difference between a plant that merely survives and one that flourishes, producing those dazzling, dewy traps for years to come.





