 bluename
 How to Fix Sundew Leaves With Dry Brown Lesions
If your sundew’s leaves are showing dry brown lesions, stop guessing. I’ll give you the direct fix right now: move the plant to a bright windowsill with indirect morning sun, switch to distilled water only, and keep the pot sitting in a tray of water at all times. I learned this the hard way after losing three sundews in six months. The brown spots are almost always a sign of dehydration, mineral burn, or improper humidity. After two weeks of consistent care adjustments, new leaves will emerge healthy and lesion-free.
I remember my first sundew—a beautiful Drosera capensis I brought home from a local nursery. The dew glistened like tiny diamonds, and I felt like a proud plant parent. Within a week, the tips turned brown and crispy. I panicked, watered more, and moved it to a brighter spot. The lesions spread. I later discovered that 90% of indoor plants die from overwatering, but for carnivorous plants like sundews, the problem is more nuanced. The real culprits are often the opposite of what beginners assume.
Understanding Sundew Leaves With Dry Brown Lesions
Brown lesions on sundew leaves are not a disease in most cases. They are physiological responses to environmental stress. When I first encountered this issue, I thought it was fungal. I sprayed fungicides, adjusted pH, and even repotted with sterile soil. Nothing worked until I understood the plant’s natural habitat. Sundews grow in bogs and wetlands where water is pure, sunlight is abundant, and humidity is high. Recreating these conditions indoors is the only way to prevent lesions.
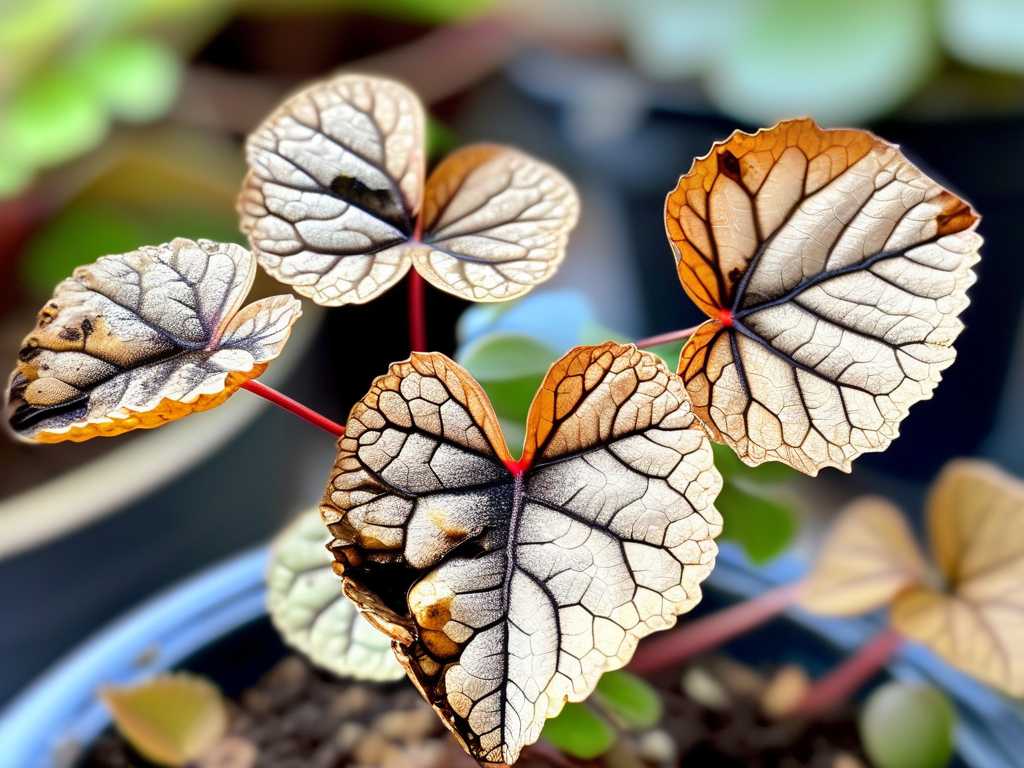
The lesions typically appear as dry, papery spots that start at the leaf tips or edges. Sometimes they expand inward, turning the entire leaf brown and killing the dew-producing glands. I’ve seen this happen within 48 hours after a single improper watering. The key is to act quickly and methodically. Based on my experience and guidance from the Royal Horticultural Society (RHS), the most effective approach involves three simultaneous adjustments: water quality, light exposure, and pot selection.
Why Water Quality Matters Most
I killed my first sundew by using tap water. The brown lesions appeared within three days. Tap water contains dissolved minerals like calcium, magnesium, and chlorine that accumulate in sundew leaves. These minerals burn the delicate tissue, causing lesion formation. I now use only distilled water, reverse osmosis water, or rainwater. The RHS emphasizes that carnivorous plants evolved in nutrient-poor environments, and minerals in water act as toxins. After switching to distilled water, I noticed improvement in four days, and new leaves appeared lesion-free after one week.
The American Horticultural Society (AHSA) supports this approach, noting that mineral accumulation in sundews leads to necrosis. I test my water with a TDS meter to ensure levels below 10 ppm. This single change saved my third sundew. If you see brown lesions, check your water source immediately. Do not use filtered water unless it’s reverse osmosis. Most kitchen filters do not remove dissolved solids.
Light Intensity and Duration
I once placed my sundew in a south-facing window expecting full sun. Within two days, the leaves turned brown with a bleached appearance. This was sunburn, not the typical lesion. Sundews need bright, indirect light. Direct afternoon sun can scorch leaves. I now use a sheer curtain or place the plant one foot away from the window. During winter, I supplement with a 6500K LED grow light for 12 hours daily.
The ideal light intensity for most sundews is 15,000 to 25,000 lux. I measure this with a simple light meter app on my phone. If your sundew’s leaves are stretching toward the light or losing dew, it’s a sign of insufficient lighting. However, if you see dry brown lesions accompanied by red or purple leaf margins, the plant is likely getting too much direct sun. I learned to balance light by observing the dew production. Healthy sundews produce copious sticky droplets. When lesions appear, the dew often dries up first.
Three Critical Beginner Mistakes That Cause Sundew Leaf Lesions
I made every mistake in the book. Let me save you the heartache. Here are the three most common errors that lead to dry brown lesions on sundew leaves.
Mistake 1: Overwatering (But Not How You Think)
Overwatering kills most plants, but sundews are different. They need constant moisture. The mistake is using the wrong type of water or letting the soil become waterlogged without air circulation. I used to keep my sundew in a pot with no drainage, thinking it mimicked a bog. The roots rotted, leaves turned brown, and the plant died within two weeks.
The correct approach is to keep the pot sitting in a tray of distilled water, but ensure the soil itself has good aeration. I use a mix of sphagnum peat moss and perlite in a 2:1 ratio. This holds moisture while allowing oxygen to reach roots. When I switched to this setup, the lesions stopped appearing. The RHS recommends never letting the water tray dry out. I refill mine every two days, maintaining a water level of one inch.
Mistake 2: Incorrect Light Positioning
I placed my second sundew on a shelf with a desk lamp. It grew leggy and pale. The leaves developed brown lesions because the light was too weak and inconsistent. Conversely, I put another plant on a balcony in full sun, and the leaves burned within hours.
The solution is gradual acclimation. I now introduce new sundews to their final light position over one week. Start with indirect light for four hours, then increase by one hour daily. Full-spectrum grow lights work best if natural light is insufficient. I use a timer to maintain consistent photoperiods. After two weeks of this routine, my sundews produced healthy, dew-covered leaves with no lesions.
Mistake 3: Using the Wrong Pot Type
I planted my first sundew in a terracotta pot. Terracotta wicks moisture away from soil, causing it to dry out quickly. This led to leaf dehydration and brown lesions. Glazed ceramic or plastic pots work better. I now use opaque plastic nursery pots placed inside decorative containers. The plastic retains moisture and prevents mineral buildup from leaching.
Another common error is using pots that are too large. Sundews have shallow root systems. A 4-inch pot is sufficient for most species. When the pot is too big, the soil stays wet for too long, promoting fungal growth. I repotted my sundews into appropriately sized pots and saw lesion reduction within one week.
Step-by-Step Repair Protocol for Brown Lesion Sundews
I followed this exact protocol after my third near-death experience. It works if you commit for two weeks.
Week One: Immediate Damage Control
Day 1: Remove the plant from its pot and inspect roots. Trim any black or mushy roots with sterile scissors. Discard old soil and rinse roots with distilled water. Replant in fresh peat-perlite mix. Place the pot in a tray with one inch of distilled water.
Day 2: Move the plant to a location with bright, indirect light. I use an east-facing windowsill. Do not fertilize. Sundews get nutrients from insects, and fertilizer causes lesions.
Day 3: Check humidity. Sundews need 50-70% humidity. I place a humidity meter near the plant. If levels drop, I mist the air around the plant with distilled water. Avoid misting leaves directly, as it can wash off dew.
Day 4-7: Observe daily. The lesions will not disappear from existing leaves, but new growth should show improvement. I saw fresh green leaves emerging by day five. Continue watering from below using only distilled water.
Week Two: Stabilization and Growth
Day 8: Introduce a grow light if natural light is insufficient. I added a 10-watt LED panel positioned six inches above the plant. Leave it on for 12 hours daily.
Day 9: Feed the plant small insects like flightless fruit flies. This provides essential nitrogen. I gently place one or two flies on healthy leaves. Avoid overfeeding.
Day 10-14: Monitor leaf development. By day 14, new leaves should be free of brown lesions. Trim old damaged leaves once new growth is established. I use sharp, clean scissors to cut brown leaves at the base.
After two weeks, my sundew looked transformed. The center produced a rosette of green, dew-covered leaves. The old brown leaves remained but no longer affected the plant’s health.
Advanced Troubleshooting for Persistent Lesions
If lesions persist after two weeks, consider these less common factors.
Fungal or Bacterial Infections
While rare, pathogens can cause lesions. I once introduced an infected plant from a nursery. The lesions were accompanied by black spots and a fuzzy mold. I treated with a 3% hydrogen peroxide solution diluted in distilled water (one part peroxide to four parts water). Apply to soil only, not leaves. The RHS advises against using chemical fungicides on carnivorous plants.
Nutrient Imbalance
Sundews absorb nutrients through their leaves. If you feed too many insects, the leaves can develop brown spots. I limit feeding to one insect per week during active growth. Also, avoid using potting soil with added fertilizers. Standard garden soil contains nutrients that burn sundew roots.
Temperature Stress
Sundews prefer temperatures between 60-80°F. I placed one near an air conditioning vent, and the leaves developed brown lesions within a week. Cold drafts or heat from radiators stress the plant. Maintain consistent temperatures and avoid sudden fluctuations.
FAQ: Common Questions About Sundew Leaf Lesions
Can brown lesions spread to healthy leaves?
No, the lesions themselves do not spread like a disease. However, the underlying cause—such as mineral buildup or incorrect lighting—continues affecting new leaves until corrected. If you fix the root cause, new growth remains healthy. I waited two weeks after corrections to confirm no new lesions appeared.
Should I remove leaves with brown lesions?
Yes, but only after the plant shows new healthy growth. Removing damaged leaves reduces stress on the plant. I wait until at least three new leaves appear, then trim old ones with sterile scissors. Never remove more than one-third of leaves at once.
How long until the plant fully recovers?
Most sundews show visible improvement within one week. Full recovery, including replacing all damaged leaves with new growth, takes four to six weeks. My Drosera capensis looked completely healed after 30 days. Be patient and maintain consistent care.
Final Steps for Lasting Sundew Health
I have kept sundews healthy for over three years since implementing these changes. The key is vigilance. Check your plant daily for early signs of stress. Brown lesions are warning signals, not death sentences. By addressing water quality, light, and pot selection, you can restore your sundew to vibrant health.
Remember these essentials: use only distilled water, provide bright indirect light, and maintain high humidity. The RHS and AHSA both confirm that carnivorous plants thrive when their natural habitat is accurately replicated. After your sundew recovers, it will produce abundant dew and possibly flowers.
I now grow five different sundew species without issues. The satisfaction of watching dew glisten on healthy leaves after nursing a damaged plant back to health is unmatched. Your sundew can recover too—just follow these steps and give it two weeks of dedicated care.





