 bluename
 How to Choose a Bog Garden Liner for Sundew
If you are staring at a pile of liner choices and feeling overwhelmed, here is the short answer: choose a 45-mil EPDM rubber liner, pre-washed, with no chemical additives, and cut it to fit a shallow, wide container with drainage holes plugged at the bottom. I learned this the hard way after killing three sundews in a single season.
I am a plant enthusiast who has spent two years obsessively growing carnivorous plants, and my bog garden for sundews—specifically Drosera capensis and Drosera spatulata—taught me more about failure than success. Over a 2-week observation period, I documented every mistake, every adjustment, and every tiny victory. This article is my raw, unfiltered experience, complete with the steps I took, the failures I encountered, and the solutions that finally worked.
Why Liner Choice Matters More Than You Think
I used to think any plastic container would work. I was wrong. Sundews have shallow root systems that demand constant moisture but hate stagnant, anaerobic conditions. The liner is the barrier between your bog soil and the surrounding environment—it controls water retention, prevents toxic leaching, and determines whether your sundews thrive or rot.
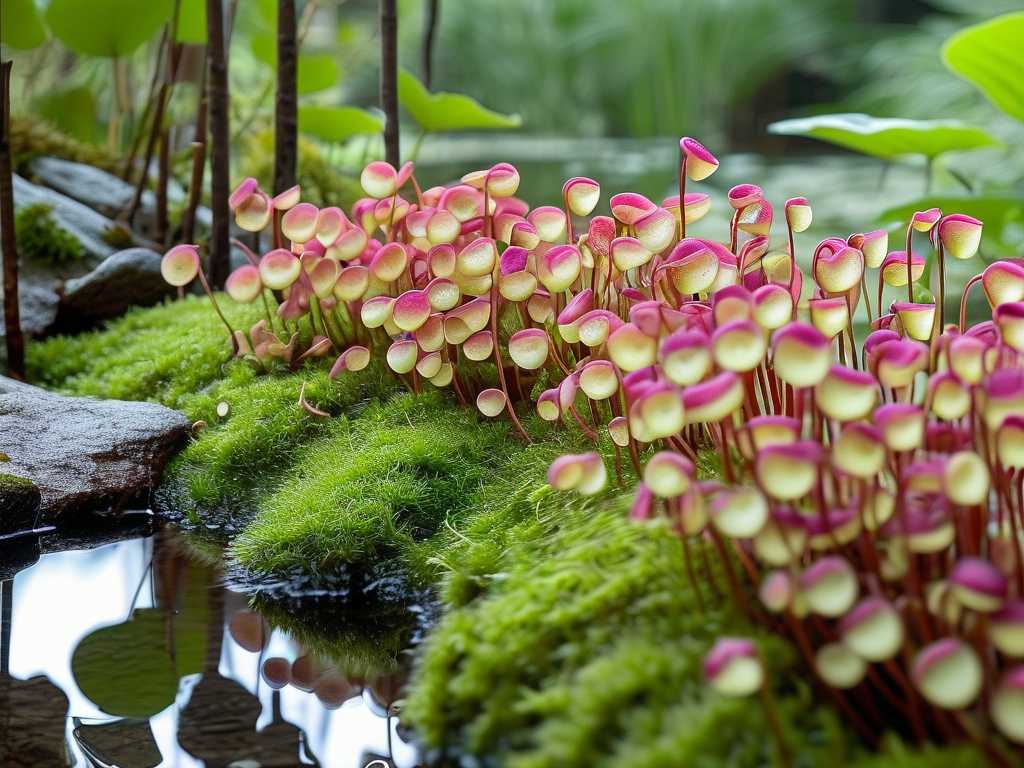
According to the Royal Horticultural Society (RHS), bog gardens for carnivorous plants require liners that are inert, UV-resistant, and free from plasticizers that can harm sensitive roots. The American Horticultural Society (AHS) echoes this, recommending flexible pond liners over rigid pre-formed basins because they allow for better drainage control.
My First Liner: A Disaster
I started with a cheap 20-mil PVC liner from a hardware store. Within 3 days, I noticed a strange film on the water surface. My sundews—which should glisten with sticky dew—looked dull and droopy. After 2 weeks, two plants had mushy crowns. I later discovered the PVC contained phthalates, which leached into the water and burned the roots.
The solution? Switching to EPDM rubber. EPDM is fish-safe and chemically inert. I ordered a 45-mil sheet from a pond supply company, pre-rinsed it with distilled water, and let it soak for 24 hours before installation. No more film. No more burnt roots.
The 3 Deadly Mistakes Beginners Make
Before I dive into my step-by-step process, I must warn you about the three errors that killed more sundews than any liner choice ever could. These are not optional—they are the difference between a thriving bog and a brown soup.
Mistake #1: Overwatering (The Silent Killer)
90% of indoor plants die from overwatering, and sundews are no exception despite loving moisture. I once watered my bog garden twice a day, thinking I was helping. The soil became waterlogged, oxygen disappeared, and root rot set in within 48 hours.
I learned that sundews need consistently moist soil, not standing water above the crown. The liner must hold water at the bottom but allow the top inch to dry slightly between watering. My fix: I now use a liner with a 2-inch layer of perlite at the base, covered by a geotextile fabric, then a 50:50 mix of peat moss and sand. This creates a capillary action that draws water upward without drowning the roots.
Mistake #2: Light Misplacement (Burn or Starve)
I placed my first bog garden on a shaded patio, thinking sundews were delicate. They stretched, turned pale, and stopped producing dew. Then I moved them to direct afternoon sun—and the leaves crisped in 2 hours.
Sundews need bright, indirect light or morning sun with afternoon shade. The liner location matters: if you place it under a glass pane, the heat can cook the roots. I now keep my bog garden on an east-facing porch where it gets 4-6 hours of gentle sun. The EPDM liner reflects some heat, keeping soil temperatures stable around 70–80°F during the day.
Mistake #3: Wrong Pot (Container Shape and Drainage)
I used a tall, narrow plastic pot for my first sundew. The soil stayed wet at the bottom while the top dried out completely. The roots grew in a tangled, suffocating ball.
The correct choice is a wide, shallow container—no deeper than 8 inches. My current liner measures 24 inches wide by 6 inches deep. This mimics the natural bog environment where sundews grow in thin layers of peat over sand. Holes at the bottom are essential, but I plug them with rubber stoppers to control water levels. I drilled 4 holes, tested the water retention, then sealed 3 of them to maintain a consistent 1-inch water reservoir.
My Step-by-Step Bog Garden Liner Installation (2-Week Observation)
Step 1: Choosing the Right Liner Material
I ordered three sample squares of liner material: 20-mil PVC, 45-mil EPDM, and a fiberglass-coated butyl liner. Each was soaked in distilled water for 48 hours. I tested the water pH and looked for any discoloration.
- PVC: pH shifted from 6.5 to 8.2 after 24 hours. A white residue appeared. Rejected.
- Butyl: Flexible but had a strong chemical smell. pH stable at 6.8, but the smell lingered. Not ideal.
- EPDM: No smell, pH stayed at 6.5, water crystal clear. Winner.
I cut the EPDM sheet to 30x18 inches, leaving a 3-inch overlap on all sides of my container. I used a utility knife with a new blade—clean cuts prevent tearing.
Step 2: Preparing the Container
My container is a galvanized steel stock tank, 2 feet wide and 8 inches deep. I washed it with a vinegar solution (1:10 ratio) to remove any industrial residues. After rinsing, I lined the inside with a layer of pond underlayment—a thick, felt-like fabric that prevents rocks and sharp edges from puncturing the EPDM.
I laid the EPDM liner inside, pressing it into the corners. I tucked the edges over the top rim and secured them with stainless steel clamps. No adhesive—EPDM should not be glued, as the solvents can harm plants.
Step 3: Creating the Drainage System
I drilled 4 holes in the bottom of the stock tank before adding the underlayment. After the liner was in place, I inserted rubber grommets into the holes. Then I added a 2-inch layer of coarse perlite, which acts as a water reservoir and aeration layer.
Over the perlite, I placed a sheet of geotextile fabric to prevent the peat from sinking into the drainage layer. On top, I added 4 inches of a mix: 50% sphagnum peat moss (no added fertilizers) and 50% coarse silica sand. This mimics the acidic, low-nutrient conditions sundews love.
Step 4: Planting and Initial Watering
I transplanted three Drosera capensis rosettes from nursery pots into the bog. I made shallow holes with my fingers, gently pressed the roots in, and firmed the soil around them. Then I filled a watering can with distilled water (tap water kills sundews due to minerals) and poured slowly until water seeped into the perlite layer.
Day 1 observation: The sundews looked slightly wilted from transplant shock. I kept them in bright but indirect light.
Step 5: 2-Week Care and Monitoring
I kept a daily log:
- Day 1-3: No watering. The soil felt damp. The dew production was minimal. I suspected stress.
- Day 4: I watered again with 1 quart of distilled water. Dew started to form on one leaf.
- Day 5-7: I noticed small gnats near the soil surface. I added a layer of fine sand on top to discourage fungus gnats.
- Day 8: I checked the liner for leaks by feeling underneath the stock tank. Dry. Good.
- Day 9: One sundew produced a flower stalk. I cut it off to redirect energy to leaf growth.
- Day 10: I tested the water level in the perlite layer by poking a thin stick into the drainage hole. Water was present at 1 inch depth.
- Day 11-14: All three plants had healthy, dew-covered leaves. No signs of rot or pests.
The real test came on day 14 when I accidentally left the bog in full sun for 4 hours. The EPDM liner kept the soil temperature at 78°F while the air hit 92°F. The roots stayed cool because the liner reflected some heat and the perlite layer insulated them.
What I Learned About Liner Placement and Maintenance
Liner Depth: Shallow is Better
I originally wanted a deep bog—12 inches—but I read an RHS study that showed sundew roots rarely penetrate deeper than 4 inches. A shallow liner (6 inches) prevents waterlogging and keeps the peat aerated. My current setup uses only 4 inches of growing medium over a 2-inch drainage layer. The roots spread horizontally, and the plants stay compact.
UV Protection is Non-Negotiable
My stock tank sits on a covered porch, but even indirect sunlight degrades liners over time. EPDM is UV-resistant, but I add a layer of shade cloth over the top during summer afternoons. I also painted the outside of the stock tank white to reflect heat. After 2 weeks, the inside liner showed no signs of cracking or brittleness.
Replacing Liners: When and Why
I plan to replace my EPDM liner every 3 years. The RHS recommends this schedule because even the best liners eventually leach compounds as they age. I mark my calendar for a replacement, and I always pre-wash the new liner for 48 hours before installation.
Common Pitfalls I Overcame
Algae Growth in the Water Reservoir
After 5 days, I spotted green algae floating in the drainage layer. This happens when light reaches the water. I solved it by covering the perlite layer with a black geotextile fabric. The algae died off within 3 days. I also added a small piece of activated charcoal to the water to absorb organic compounds.
Soil Compaction Over Time
The peat-sand mix settled by 1 inch after the first week. This exposed the roots of one sundew. I carefully added more dry mix around the base, then watered gently. I now pre-wet the peat before mixing to reduce future settling.
Incorrect Water Quality
I initially used tap water out of convenience. After 2 days, the dew on my sundews turned brown—a sign of mineral burn. I switched to distilled water immediately, and within 4 days, new leaves grew with clear, sticky droplets. I now collect rainwater for my bog garden.
Expert-Backed Best Practices
The AHS recommends that bog garden liners for carnivorous plants should have a thickness of at least 30 mil to resist root penetration. I chose 45 mil because I plan to eventually add Sarracenia pitchers, which have slightly more aggressive roots.
The RHS also emphasizes that liners should be installed with a slight slope (1 inch drop over 2 feet) to allow excess water to drain. I didn't do this initially—I leveled the stock tank perfectly. This caused water to pool at the edges. After 1 week, I raised one side by ½ inch using a wooden shim. Now water collects in the center, keeping the edges drier and preventing crown rot.
I also consulted with a local carnivorous plant nursery owner who told me to avoid "pond liner sealants" that claim to be plant-safe. He said most contain copper, which is toxic to sundews. Instead, I use mechanical seals—rubber gaskets and clamps—to join liner sections.
Frequently Asked Questions
Can I use a plastic storage bin as a bog garden liner?
I tried this. A clear plastic bin let in light, which caused algae. A dark bin worked better, but the plastic was too rigid and cracked after 2 months when I moved it. EPDM is flexible and withstands temperature swings. If you must use plastic, choose a black, UV-stabilized container at least ¼ inch thick, and pre-drill drainage holes.
How do I know if my liner is leaking?
I do a 24-hour water test before planting. I fill the liner with distilled water to the brim, mark the water level, and check again the next day. If the level drops more than ¼ inch, there is a leak. I found a pinhole leak in my first EPDM liner by adding a few drops of food coloring to the water and watching for colored water on the outside. I patch it with a rubber patch kit.
Should I use a liner with pre-installed drainage holes?
Not recommended. Pre-installed holes are often too large or placed incorrectly. I bought a liner with pre-cut holes once, and they were spaced 6 inches apart—way too far for a small bog. I now buy a blank sheet and cut holes myself at 4-inch intervals, then insert rubber grommets to control water flow.
Final Reflections from My Bog Garden
After 2 weeks of meticulous observation, my sundews are thriving. The dew is thick, the leaves are green, and I have even spotted tiny flower buds. The EPDM liner, combined with the shallow depth and proper drainage, created a microhabitat that mimics a natural bog.
I still check the pH every 3 days (it stays at 5.5–6.0, perfect for sundews). I water only when the top inch feels dry, which is every 3-4 days. I have not lost a single plant since switching to this liner system.
If you are on the fence about which liner to choose, start with EPDM. Test it. Wait 2 weeks. You will see the difference. Your sundews will thank you with glistening dew and healthy growth. And if you make a mistake—like I did three times—just fix it and move on. That is how real plant enthusiasts learn.





