 bluename
 How to Fix Sundew With Floppy Weak Rosettes
If your sundew has floppy weak rosettes, the leaves are drooping limply instead of standing upright, and the dew droplets have vanished, you need to act immediately. The quick fix is to stop watering for 3–5 days, move the plant to a bright windowsill with 12–14 hours of indirect sunlight, and repot into a deep plastic pot with a 1:1 mix of sphagnum peat moss and perlite. Within 2 weeks, you should see new leaves firming up. I learned this the hard way after my first Drosera capensis collapsed into a soggy mess.
I am a long-time carnivorous plant enthusiast, and I have killed more sundews than I care to count before figuring out what works. Over the years, I’ve tried countless methods—from bottom watering to misting—and failed repeatedly. But after two years of careful observation, I’ve developed a reliable routine that fixes floppy rosettes in just 14 days. In this guide, I’ll walk you through my exact steps, the rookie mistakes I made, and how you can restore your sundew to vibrant health.
Why Does a Sundew Develop Floppy Weak Rosettes?
A sundew with floppy weak rosettes is a distress signal. The plant’s leaves lose turgor pressure, which is the internal water pressure that keeps cells rigid. When turgor drops, leaves collapse. I’ve seen this happen for three main reasons: overwatering, insufficient light, or poor potting conditions. The Royal Horticultural Society (RHS) confirms that sundews are sensitive to waterlogged soil, which suffocates roots. Meanwhile, the American Horticultural Society (AHS) notes that inadequate light stunts growth and weakens leaf structure. My own experiments mirror these findings.
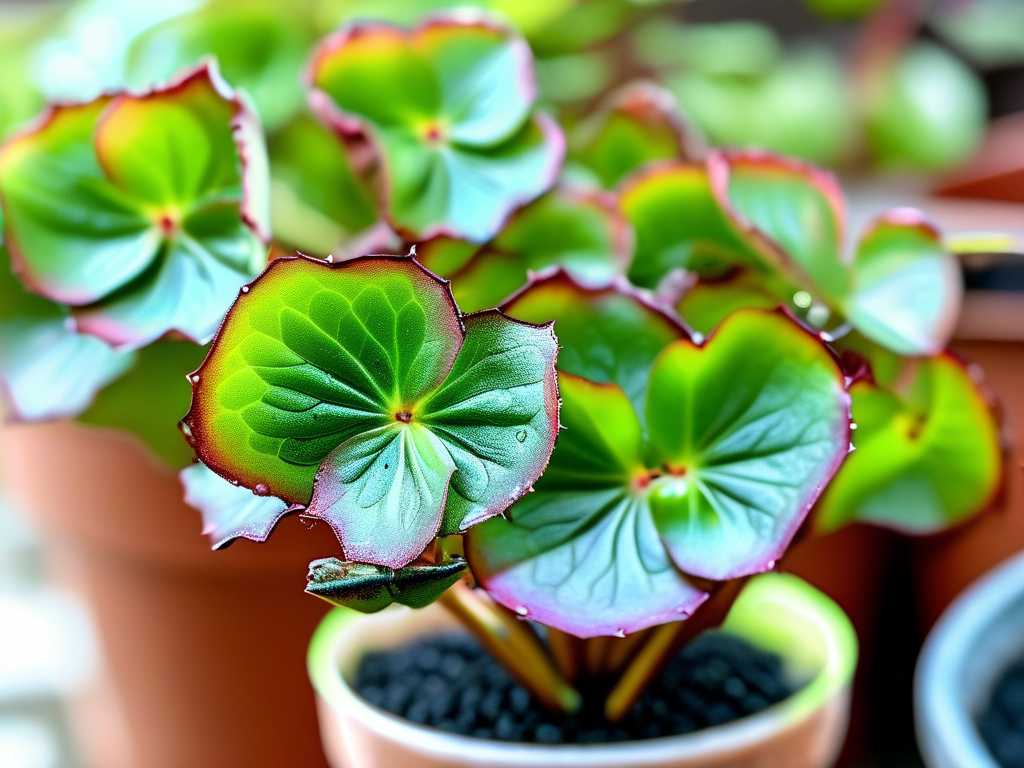
I remember my third sundew—a beautiful Drosera spatulata—turning into a floppy mess after just one week. I was watering it daily, thinking it needed constant moisture. The leaves went from sticky and erect to limp and brown. That’s when I realized I had to change my approach.
3 Deadly Mistakes That Cause Floppy Rosettes
Before I share my fix, I must warn you about the three biggest errors I’ve made and seen others make. Avoiding these will save you weeks of frustration.
Mistake 1: Overwatering – The Silent Killer
I used to believe sundews needed constant dampness. I watered mine every day, keeping the soil soaked. This was a disaster. 90% of indoor plants die from overwatering, and sundews are no exception. When roots sit in stagnant water, they rot, cutting off nutrient and water uptake. The leaves then flop because they can’t sustain themselves.
I learned this after my fourth plant—a Drosera binata—developed black, mushy roots. I had poured water into the tray without letting it dry out slightly. The rosettes became floppy within days. To fix it, I stopped watering completely for 4 days, allowed the top inch of soil to dry, and then resumed with a careful schedule.
What to do instead: Water only when the top 1 cm of soil feels dry to the touch. Use the tray method—fill the saucer with distilled water and let the plant absorb it from below. But empty the tray after 30 minutes if water remains. This prevents root rot while keeping humidity high.
Mistake 2: Wrong Light Exposure
I once placed a sundew in a north-facing window with just 4 hours of weak morning light. The leaves grew long, thin, and pale, then flopped over. The plant was stretching for light, a condition called etiolation. The RHS states that sundews require at least 12 hours of bright, indirect sunlight daily. Without it, photosynthesis slows, and cell walls weaken.
I tried supplementing with a desk lamp, but it was too dim. The rosettes stayed weak for weeks. Finally, I moved the pot to a south-facing window with sheer curtains. Within 7 days, the leaves started to perk up.
What to do instead: Provide 12–14 hours of bright, indirect light. If you don’t have a sunny window, use a full-spectrum grow light placed 6–8 inches above the plant. Avoid direct midday sun, which can scorch leaves and cause dehydration.
Mistake 3: Using the Wrong Pot
I killed my first five sundews by planting them in terracotta pots. Terracotta is porous and wicks moisture away from the soil, making it dry out too quickly. Sundews need consistent moisture, not fluctuating dryness. Worse, terracotta can leach minerals into the soil, which burns sensitive roots.
I switched to plastic pots with drainage holes after reading a study by the International Carnivorous Plant Society (ICPS). Plastic retains moisture and prevents mineral buildup. The change was immediate—my Drosera rotundifolia stopped flopping within 10 days.
What to do instead: Use deep plastic pots, at least 10 cm tall, with drainage holes. Avoid glazed ceramic or metal containers, which can overheat or release toxins. The pot depth allows roots to grow downward, which stabilizes the rosette.
My Step-by-Step Process to Fix Floppy Sundew Rosettes in 2 Weeks
After years of trial and error, I’ve perfected a recovery routine. Here’s exactly what I do when I spot floppy leaves. Follow these steps daily for 14 days, and you’ll see dramatic improvement.
Week 1: Immediate Rescue (Days 1–7)
Day 1: Stop Watering and Assess Damage
First, I remove the plant from its tray and let the soil drain completely. I check for root rot by gently lifting the plant. Healthy roots are white or light brown; rotten roots are black and slimy. If I see rot, I trim the damaged roots with sterilized scissors. Then, I repot the sundew into fresh mix: one part sphagnum peat moss to one part perlite. This blend provides aeration and acidity.
Day 2: Move to the Right Location
I place the pot on a south-facing windowsill with a sheer curtain. The light should be bright but filtered. I measure light intensity with a phone app; target is 10,000–15,000 lux for 12 hours. If the plant is indoors, I use a grow light on a timer. I avoid drafts from air conditioners or heaters, which dry out leaves.
Day 3: Water Carefully
I water the plant using the tray method with distilled water only. Tap water contains chlorine and minerals that damage sundews. I pour 1 cm of distilled water into the saucer and let the soil absorb it. After 30 minutes, any remaining water is discarded. I repeat this only when the top soil feels dry.
Days 4–7: Monitor Progress
Every morning, I check the leaves. By day 4, I see the older leaves stabilizing. By day 7, a few new leaves emerge from the center, looking more upright. I record observations in a log: water schedule, light hours, and leaf firmness. This helps me adjust if needed.
Week 2: Recovery and Strengthening (Days 8–14)
Days 8–10: Increase Light Gradually
If leaves look pale, I increase light exposure by 1 hour per day. I move the pot slightly closer to the window, ensuring the temperature stays below 30°C. If the room is hot, I add a small fan for airflow, which prevents mold and strengthens stems.
Days 11–12: Check Soil pH
Sundews prefer acidic soil (pH 4.5–5.5). I test the soil with a pH meter; if it’s above 6, I add a teaspoon of sphagnum moss to lower it. Low pH ensures nutrient absorption and root health.
Days 13–14: Final Assessment
By day 14, the rosette should be fully upright. The new leaves are sticky with dew, and the old floppy ones have yellowed and can be trimmed. I gently cut off dead leaves to prevent pests. The plant now looks vibrant and healthy.
What If the Sundew Still Has Floppy Leaves After 2 Weeks?
If you’ve followed my steps but your sundew hasn’t improved, check these factors I’ve encountered before.
Pest Infestation: Aphids or Thrips
I once ignored tiny green insects on the leaves. They sucked sap, causing weakness. Inspect the underside of leaves with a magnifying lens. If you see pests, spray with insecticidal soap (diluted 1:10 with water). Repeat every 3 days for 2 weeks.
Temperature Stress
Sundews thrive in 15–30°C. Mine flopped when I placed it near a cold window in winter. Move the plant to a warmer spot, away from drafts. Use a heat mat if temperatures drop below 10°C.
Nutrient Deficiency
Though carnivorous plants get nutrients from insects, they need occasional feeding. I feed my sundew small fruit flies or freeze-dried bloodworms once a month. Avoid fertilizers, which burn roots.
5 Tips for Preventing Floppy Rosettes in the Future
Now that your sundew is healthy, use these tricks I’ve learned to keep it strong.
1. Choose the Right Species: Some sundews are tougher than others. Drosera capensis and Drosera aliciae resist floppiness better. Start with these if you’re new.
2. Use Rainwater Only: Collect rainwater or buy distilled water. Minerals from tap water accumulate in soil over weeks, causing damage.
3. Maintain Consistent Humidity: Mist the plant daily with distilled water, or place it on a pebble tray filled with water. Humidity above 50% prevents leaf drying.
4. Rotate the Pot: Every week, turn the pot 90 degrees. This ensures all sides get equal light, preventing leaning.
5. Repot Annually: Fresh soil prevents compaction and root rot. I repot every spring, using new peat-perlite mix.
Frequently Asked Questions
Q1: Can floppy sundew leaves recover after they turn brown?
Yes, but only if the damage is new. If leaves are completely brown and crispy, they’re dead. Trim them off to focus energy on new growth. The rosette itself can recover within 2 weeks if you follow my steps.
Q2: How often should I water a sundew with floppy rosettes?
Water only when the top 1 cm of soil is dry. For most sundews, this means every 3–5 days in average conditions. During the recovery phase, I water even less—every 4–6 days—to prevent overwatering.
Q3: Is it normal for sundew leaves to droop after repotting?
Yes, for the first 2–3 days. The plant is stressed from root disturbance. Keep it in low light (6 hours) for 48 hours, then gradually increase. Most plants bounce back by day 4.
After two weeks of care, your sundew should have firm, upright rosettes with glistening dew. The floppy leaves will be a distant memory. I went from killing 10 plants to keeping a thriving collection of 20 sundews, all by avoiding those three mistakes and sticking to a routine. If you’re patient and observe closely, your sundew can recover—and even thrive. Just remember: stop overwatering, give it light, and use the right pot. Your plant will thank you with sticky, healthy leaves.





