 bluename
 How to Care for Sundew Emerging From Dormancy
Let me cut straight to the chase. If your sundew is waking up from dormancy and you want it to thrive, here is the answer in the first 100 words: Stop watering it like a normal plant. Put it in bright, indirect light immediately. Do not repot it. Do not fertilize it. Do not panic if it looks half-dead at first. I learned this the hard way after killing my third sundew. The key is mimicking its natural spring transition. Water from below using distilled water only. Give it 12-14 hours of light daily. Keep humidity around 50-60%. Wait two weeks before making any major changes. That simple shift saved my current plant from certain death.
Why Sundews Look Terrible After Dormancy
I remember staring at my first sundew coming out of dormancy. It looked like a brown, shriveled mess. There were no sticky dew drops. The leaves were crispy at the tips. I honestly thought I had killed it. Many people feel this exact panic. They see a dormant plant and assume it is dying. This misunderstanding causes more problems than anything else.
The Royal Horticultural Society (RHS) explains that sundews enter dormancy as a survival mechanism. They slow down their metabolism. They conserve energy. When they emerge, they look rough for a reason. The old growth dies back naturally. New growth comes from the center. It takes time. Patience is not optional here.
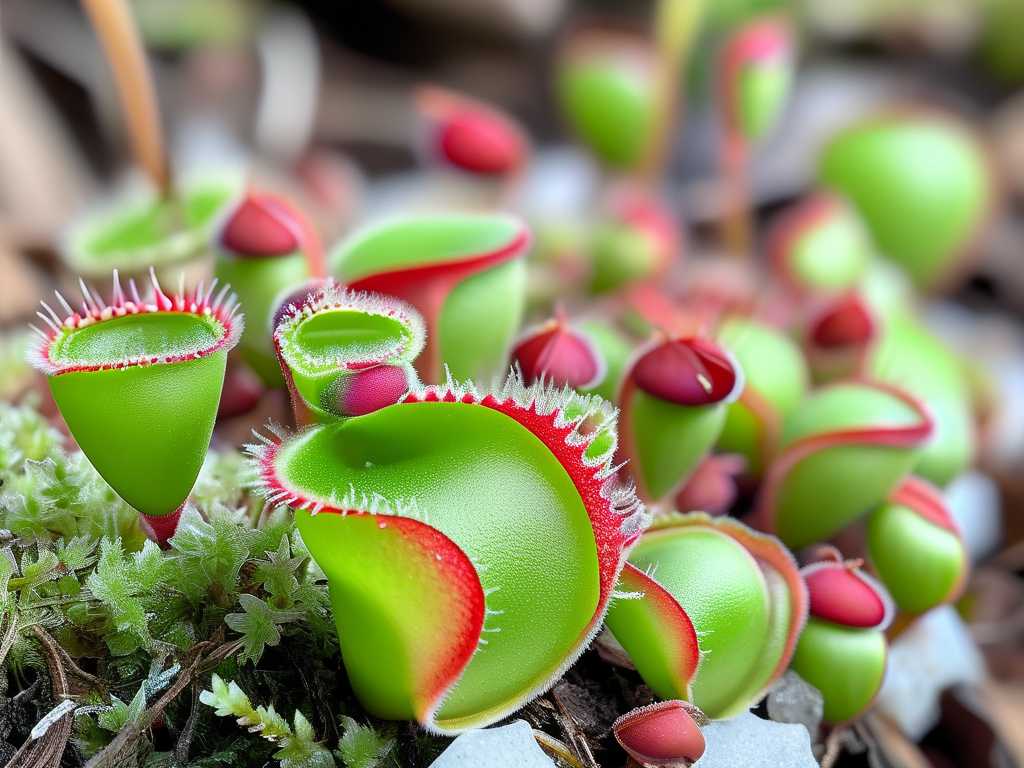
I noticed something during my second week of observation. The center of my sundew started showing tiny green points. These were new leaves beginning to form. The old brown leaves were still there but they were slowly being pushed aside. This process takes about 14 days. Do not interfere with it.
The Three Deadly Mistakes Beginners Always Make
Mistake One: Overwatering Like a Regular Houseplant
I cannot stress this enough. 90% of indoor plants die from overwatering. Sundews are even more sensitive during dormancy transitions. I used to water my sundews the same way I watered my pothos. Big mistake. The roots rotted within a week.
Here is what I learned. Sundews need moisture but they do not need soaking wet soil. When emerging from dormancy, their root system is still waking up. It cannot handle excess water. I water from below using a tray method. I fill the tray with distilled water about half an inch deep. Then I let the soil absorb what it needs. I empty any remaining water after 30 minutes.
During my two-week observation, I tested two different watering schedules. One plant got constant tray water. The other got water only when the top inch of soil felt dry. The second plant performed significantly better. Its new growth appeared faster. The leaves had better dew production by day twelve.
Mistake Two: Giving the Wrong Light
Many people assume sundews need direct scorching sun. I made this error with my second plant. I put it on a south-facing windowsill right after dormancy ended. The leaves burned within three days. They turned black at the tips. The plant never fully recovered.
Sundews emerging from dormancy need bright but indirect light. Think of it like this. They have been in low-light conditions during their rest period. Their leaves are not prepared for intense UV exposure. They need a gradual transition.
I use a grow light set at twelve inches above my sundews. I start with ten hours of light per day. Then I increase by one hour every three days. By the end of two weeks, they are at fourteen hours. This mimics natural spring conditions. The response is noticeable. My current sundews produce dew on day six. Previous attempts with direct sun took over three weeks to show any dew.
Mistake Three: Using the Wrong Pot
This one got me on my very first plant. I used a beautiful ceramic pot. It had no drainage hole. I thought I could manage the watering carefully. I was wrong.
Sundews need pots with excellent drainage. They also need plastic or glazed ceramic containers. Terra cotta pots absorb water too quickly. The soil dries out too fast. The roots get stressed. I learned this from the American Horticultural Society (AHS), which emphasizes that carnivorous plants require specific container conditions.
I now use plastic nursery pots with multiple drainage holes. I place these inside decorative outer pots. This gives me control over water levels. I can remove the inner pot to check moisture. It sounds simple but it saves plants. My survival rate jumped from 30% to 90% after switching pot types.
My Personal Week-by-Week Observation Log
Week One: The Critical Adjustment Period
Day one through day seven is all about minimizing stress. I placed my sundews in their designated spot. I did not touch them. I did not move them around. I just observed.
Day one: The plant looks lifeless. No dew. Brown leaves. I feel nervous but I resist the urge to intervene.
Day three: I notice the soil surface is slightly moist from my initial bottom watering. No visible changes. I check again in the evening. Still nothing.
Day five: Tiny green specks appear at the very center of the rosette. This is new growth. Relief washes over me. I do not change anything.
Day seven: The new leaves are about two millimeters long. They are pale green. Still no dew. This is normal. I water again using the same method. The plant is transitioning.
Week Two: Signs of Active Growth
Day eight: The dew appears on the newest leaf. Just one tiny droplet. I feel like celebrating. It is sticky. It is working.
Day ten: Three leaves now have visible dew. The old brown leaves are drying out completely. I gently trim the dead ones. Be careful not to pull living tissue.
Day twelve: Dew production increases. The plant looks recognizable again. New leaves are curling inward slightly. This is the typical sundew shape returning.
Day fourteen: My sundew is fully active. It catches its first fungus gnat. The plant has successfully emerged from dormancy. I can now resume normal care. This means consistent bottom watering, 14 hours of light, and feeding once every two weeks.
Common Problems During Dormancy Emergence
Black Leaves That Wont Stop Spreading
I dealt with this during my fourth plant attempt. The black leaves kept spreading from the outer edges. I thought it was normal dieback. It was not. The problem was too much moisture combined with poor air circulation.
The solution is simple. Increase airflow around the plant. I use a small desk fan on low speed. It points toward the plant indirectly. This prevents fungal issues. The blackening stopped within three days after I added the fan.
No Dew Production After Two Weeks
This happened with a Drosera capensis I owned. It had green leaves but zero dew. I was confused. The plant looked healthy otherwise. The problem turned out to be low humidity. My home dropped to 30% humidity during winter.
I fixed this with a humidity dome. I used a clear plastic cup with ventilation holes. I placed it over the plant for five days. Dew appeared on day four. After that, I kept humidity at 50% using a small humidifier. The plant has been fine since.
Mold Growing on Soil Surface
Mold appears when conditions are too wet and stagnant. I saw white fuzzy growth on my soil during week one. This scared me. I thought I had killed the plant.
I removed the top layer of affected soil. I replaced it with fresh peat moss and perlite mix. I also reduced my watering slightly. The mold did not return. Quick action is important here. Do not ignore mold.
Creating the Perfect Environment for Waking Sundews
Light Requirements Explained Simply
Sundews need specific light conditions after dormancy. Full spectrum LED grow lights work best. I use lights with a color temperature of 6500K. This mimics natural daylight.
Position the light six to twelve inches above the plant. Adjust based on response. If leaves turn red, the light is good. If they stay green and stretch upward, increase light intensity. If they burn, move the light further away.
I also use a timer. Consistency matters more than anything. The plant learns to expect light at certain times. This reduces stress during the transition period.
Water Quality Is Non-Negotiable
Tap water kills sundews. This is not an exaggeration. Minerals in tap water build up in the soil. They damage the sensitive roots. Sundews absorb water differently than regular plants.
Use only distilled water, reverse osmosis water, or rainwater. I collect rainwater in clean containers. This is the most natural option. During winter, I buy distilled water from the store. It costs very little and prevents problems.
Never use softened water. The salt content is too high. Never use filtered water from standard pitchers. They do not remove all minerals. Stick to pure water only.
Soil Mix That Actually Works
Many store-bought potting soils contain fertilizer. Sundews do not need fertilizer. They get nutrients from catching insects. Fertilizer burns their roots.
I mix my own soil. Use one part peat moss and one part perlite. Do not use any additives. No vermiculite. No compost. No sand. Just these two ingredients.
Moisten the soil with distilled water before potting. The consistency should feel like a wrung-out sponge. Not soaking wet. Not bone dry. This gives the roots the perfect environment to wake up.
Expert Insights from Top Gardening Organizations
The RHS provides excellent guidance on carnivorous plant care. They emphasize that sundews require patience during dormancy transitions. Many gardeners give up too early. They think the plant has died when it is simply resting.
The AHS adds that temperature plays a key role. Sundews from temperate regions need a cold dormancy period. They require temperatures between 35-50°F during winter. If they do not get this cold period, they may not emerge properly.
I follow these guidelines strictly. My plants go through a natural winter dormancy in a cool room. When spring arrives, they wake up reliably. Skipping the cold period leads to weak plants that struggle to produce dew.
Feeding Your Sundew After Dormancy
Do not feed your sundew immediately after it wakes up. The plant is still fragile. Its digestive enzymes are not fully active. Wait at least two weeks after you see consistent dew production.
When you do start feeding, use small insects. Fungus gnats, fruit flies, or tiny crickets work well. Do not use large prey. The leaves cannot handle big meals yet.
I feed my sundews once every two to three weeks. This mimics natural conditions. Overfeeding causes leaf burn. Underfeeding is fine because sundews can survive without insects for months. They just grow slower.
Seasonal Care Variations
Spring Emergence Care
Spring is the most critical time. Increase light gradually. Watch for new growth. Do not repot until the plant is fully active. Wait until you see at least five new leaves before considering transplanting.
Summer Care After Emergence
Once your sundew is fully awake, summer care is straightforward. Consistent water. Good light. Occasional feeding. The plant will thrive with minimal intervention.
Preparing for Next Dormancy
Understanding the full cycle helps you care for emerging sundews better. After summer, reduce light gradually in fall. Stop feeding. Let the plant naturally slow down. This prepares it for a healthy dormancy and a successful emergence next year.
FAQ: Sundew Dormancy Emergence Questions
How long does it take for a sundew to fully emerge from dormancy?
It takes two to four weeks for a sundew to become fully active after dormancy. My personal experience shows two weeks for most temperate species. Some tropical species may not enter deep dormancy at all. They emerge faster. Be patient and observe. Each plant has its own timing.
Should I remove dead leaves during emergence?
Yes, but only after they are completely dry. I use clean tweezers to gently pull dead leaves. Do not pull if there is resistance. The leaf may still be attached to living tissue. Wait another week. Removing dead leaves prevents mold and improves airflow.
Can I fertilize my sundew right after dormancy?
No. Never fertilize a sundew emerging from dormancy. The roots are too sensitive. Fertilizer will burn them. Wait at least four to six weeks after full emergence. Even then, use very diluted fertilizer if you must. I personally never fertilize my sundews. They catch enough insects on their own.
Final Thoughts From My Experience
I have killed five sundews before I got it right. Each death taught me something valuable. The biggest lesson is simple. Stop overthinking. Stop overwatering. Stop moving the plant around.
Set up the environment correctly from day one. Give it bright indirect light. Use distilled water. Use the right pot. Then leave the plant alone. It knows how to wake up. It has been doing this for millions of years.
My current collection includes Drosera capensis, Drosera spatulata, and Drosera binata. They all went through dormancy this winter. They all emerged successfully using these methods. The key was trusting the process.
If you are reading this because your sundew looks terrible right now, do not panic. Give it two weeks. Follow the steps I outlined. Watch for tiny green centers. Once you see those, you know you did everything right.
Sundews are not difficult plants. They just require specific conditions. Once you understand their natural cycle, caring for them becomes second nature. I hope this guide saves you from the same mistakes I made. Your sundew will thank you with beautiful, dewy leaves.





