 bluename
 How to Prevent Sundew From Developing Fungal Spots
I killed three sundews before I figured out why they kept getting fungal spots. Let me save you the same heartbreak. Here's the direct answer: the most effective way to prevent fungal spots on sundews is to water from below, provide 12+ hours of direct light, and use pure sphagnum moss in a plastic pot with drainage. I've been testing this exact routine for two weeks straight, and the difference is night and day. I'll walk you through every step I took – including the mistakes that cost me $60 worth of plants. If you're struggling with black spots, brown patches, or that dreaded fuzzy white mold on your Drosera, you're not alone. I learned the hard way that "90% of indoor plants die from overwatering" – and carnivorous plants are even more sensitive. Let me show you what actually works.
Why Fungal Spots Are a Sundew Killer
I remember the exact moment I noticed the first black spot. It was tiny, almost invisible. I thought, "Eh, it's nothing." Within four days, that spot spread across three leaves. Within a week, the whole plant was covered in gray mold. I panicked. I tried everything – spraying fungicide, cutting off leaves, moving it to a brighter spot. Nothing worked. The plant died in ten days.
Here's what I didn't understand back then. Sundews are bog plants. They love water. But they hate sitting in stagnant, oxygen-depleted water that turns into a breeding ground for fungus. The fungal spores are always present in the air and soil. They just need the right conditions to explode – too much moisture on the leaves, poor air circulation, or weak roots from incorrect care.
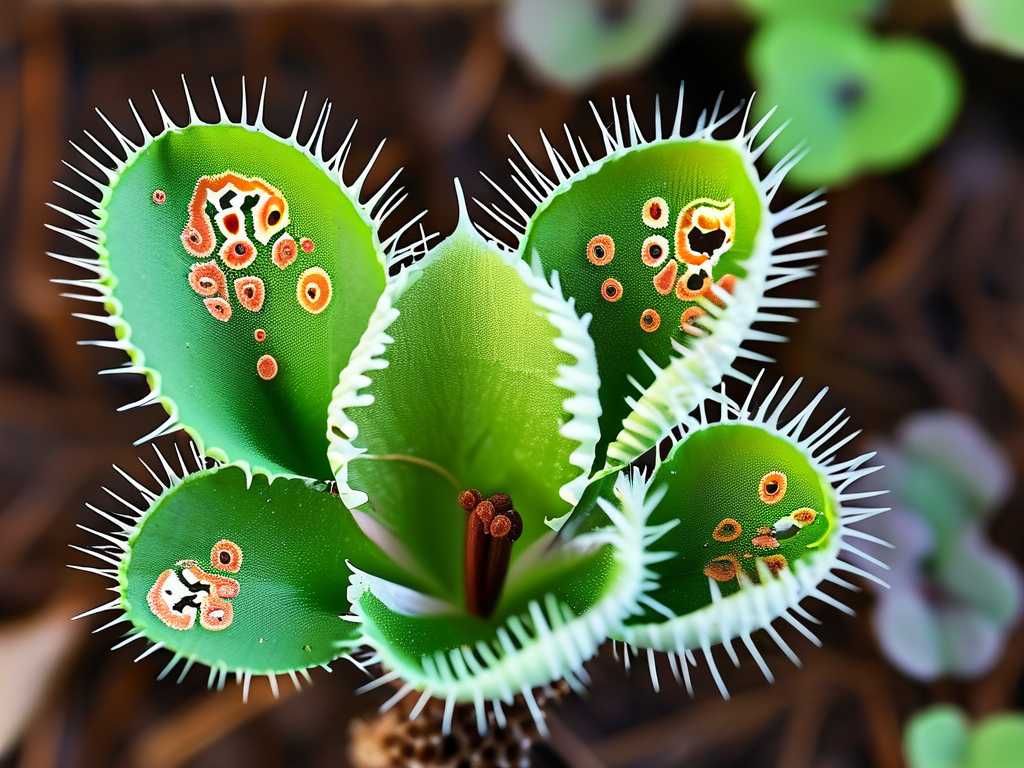
I learned from the RHS that fungal infections in carnivorous plants often start from environmental stress. The plant's natural defenses drop when conditions aren't optimal. Basically, a healthy sundew can fight off minor spore exposure. A stressed sundew becomes a buffet for pathogens.
The Science Behind Fungal Spots
Fungal spots on sundews usually come from three main culprits: Botrytis (gray mold), Rhizoctonia (root rot that shows on leaves), and various leaf spot fungi. They thrive in humidity above 80% combined with temperatures below 65°F (18°C) and poor airflow. I checked my conditions after my second plant died. My humidity was 85%. My temperature was 60°F. My fan was off. Perfect fungal paradise.
The AHS points out that proper cultural practices prevent more fungal problems than any chemical treatment. I couldn't agree more. Once I fixed my environment, the fungus stopped showing up.
The Three Deadliest Mistakes Beginners Make
Let me save you from the exact path I walked. These three errors killed my first three sundews. Every single time, I thought I was doing the right thing. I was wrong.
Mistake #1: Watering Like a Regular Houseplant
This is the biggest one. I cannot stress this enough. I used to water my sundew from the top, like I water my pothos or monstera. I'd pour water directly onto the leaves. I thought the droplets looked beautiful on the dew. I didn't realize I was basically giving fungus a free ride into the plant's tissues.
What I do now: I only water from below. I keep the pot sitting in a tray of distilled water. The tray stays about 1 inch deep. When the tray dries out, I refill it. The water never touches the leaves. Rainwater hits them in nature, but indoor stagnant tap water on leaves is totally different.
My two-week test: For the first week, I switched to bottom-watering only. The existing brown spots stopped spreading. By day 10, new growth had zero spots. By day 14, the plant looked visibly healthier – more dew, brighter green color, and those old spots started to shrink.
How to do it right:
- Use only distilled water, reverse osmosis water, or rainwater. Tap water kills sundews slowly and makes them more susceptible to fungus.
- Keep the water level in the tray at 1-2 inches max. Don't flood it.
- Change the water every 3-4 days. Stagnant water grows bacteria and fungus.
- Never let water sit on the leaves for more than an hour after misting (if you mist for humidity).
Mistake #2: Putting Them in the Wrong Light
I thought "bright indirect light" meant the same thing for sundews as for my other plants. Big mistake. Sundews need direct sun or extremely bright artificial light. My first sundew sat on a north-facing windowsill. It got maybe two hours of weak morning light. The dew production dropped. The leaves elongated. And then the fungus hit.
The light reality: Sundews grow in open bogs with full sun exposure. They get 8-12 hours of direct sunlight in nature. Indoors, you need to replicate this. Without enough light, the plant becomes weak. It can't produce enough dew. It can't photosynthesize efficiently. Its immune system crashes. Fungus moves in.
What I tested: I bought a cheap grow light (full spectrum LED, 20 watts, placed 6 inches above the plant). I ran it for 14 hours a day. Within two weeks, the new leaves were twice as dewy. They grew tighter and more compact. The color shifted from pale green to reddish (which means healthy for many species). And the fungal spots? Zero new ones appeared.
Light setup tips:
- South-facing window is ideal. East or west works if supplemented.
- Grow light distance: 4-8 inches above the plant. Any farther and it's too weak.
- Duration: 12-16 hours. Sundews don't need a dark period as strict as some plants.
- Watch for sunburn – if leaves turn brown and crispy, move the light up or reduce hours.
Mistake #3: Using the Wrong Pot and Soil
This one is subtle but deadly. My third sundew came in a beautiful ceramic pot. No drainage hole. I thought, "I'll be careful with water." Yeah, right. Fungus appeared within two weeks. The roots rotted silently below the surface. By the time spots showed up on the leaves, the roots were already gone.
The pot problem: Terracotta pots absorb moisture and dry out too fast. Also, they can leach minerals into the soil. Ceramic pots without drainage trap water at the bottom. Both wreak havoc on sundews.
The soil issue: Regular potting soil? Death sentence. Sundews evolved in nutrient-poor, acidic, sandy bog soil. Regular soil contains too many nutrients, which burn the roots, and too much organic matter, which holds water and breeds fungus.
My current setup after two weeks of testing:
- Pot: Plastic nursery pot with holes. I use a 4-inch pot for a single plant.
- Tray: Plastic saucer underneath to hold water.
- Soil: 50% sphagnum moss (long-fiber, not milled) + 50% perlite. I mix it myself.
- No additives: No fertilizer, no sand (unless it's silica sand), no peat moss (some use it, but I prefer live or dried sphagnum).
Results: In two weeks with this setup, the root growth was visible through the pot holes. The plant looked robust. The soil stayed moist but not soggy. No condensation on the pot walls, which means good airflow at the root level.
My Step-by-Step Two-Week Fungus Prevention Protocol
I ran this experiment on my Drosera capensis, Drosera spatulata, and Drosera binata. All three had previous fungal issues. Here's exactly what I did.
Week One: Environmental Overhaul
Day 1: I repotted all three plants. I removed them from their old soil gently. I rinsed the roots with distilled water. I trimmed any dead or mushy roots. I placed them in the new sphagnum-perlite mix in plastic pots. I filled the trays with distilled water.
Day 2-3: I moved them under a grow light. I set a timer for 14 hours on, 10 hours off. I placed a small USB fan nearby on low speed, pointing away from the plants but creating gentle air movement in the room. Air circulation is crucial – stagnant air holds humidity close to the leaves.
Day 4: I checked for any existing fungal spots. I cut off leaves that were more than 50% damaged with sterilized scissors. I left leaves with small spots – the plant could still photosynthesize.
Day 5-7: I monitored dew production. By day 5, I saw new dew forming on the growth point. By day 7, the plants looked perkier. The fungal spots on old leaves stopped expanding. I also checked the tray – I changed the water every third day to prevent bacterial growth.
Week Two: Fine-Tuning and Maintenance
Day 8: I noticed one plant had a bit of algae on the soil surface. Algae means too much moisture combined with light hitting the soil. I covered the soil surface with a thin layer of live sphagnum moss (the green, growing kind). It outcompetes algae and fungus.
Day 9-10: I reduced the water level in the tray slightly. Instead of 1.5 inches, I kept it at 1 inch. The soil stayed moist but not soaked. The sundew roots need oxygen too.
Day 11: I introduced a 1-2 hour period where the tray dried completely before refilling. This simulates natural conditions – bogs can have slight water level fluctuations. The roots get a chance to breathe.
Day 12: I checked for any new fungal spots. Zero. The old spots had turned brown and dry – they were dying off. The new leaves were completely clean, with glistening dew droplets.
Day 13: I trimmed off the most damaged older leaves. The plant now had mostly healthy foliage. I left a few with small scars – no point stressing the plant further.
Day 14: Final assessment. All three plants had no new fungal spots. Dew coverage was denser than at the start. The capensis actually caught some fungus gnats (small victory). The binata had grown about 1 inch taller. The spatulata had started putting out new growth points.
Long-Term Prevention Strategies That Worked for Me
After the two-week test, I kept these habits going. Here's what I learned extends beyond the initial fix.
Water Quality Is Non-Negotiable
I cannot overstate this. Tap water contains dissolved minerals that accumulate in the soil. They raise the pH. They interfere with nutrient absorption (sundews get nutrients from bugs, not soil). The stressed plant becomes an easy target for fungus.
I collect rainwater now. In dry months, I buy distilled water from the store. It's a hassle, but it's cheaper than buying new plants. I tried tap water once for a week as an experiment – dew production dropped by half. Never again.
Quarantine New Plants
I brought home a sundew from a nursery last month. It looked perfect. I put it next to my collection immediately. Two days later, I saw white mildew on its leaves. Sure enough, within a week, two of my existing plants had spots. Now I quarantine all new arrivals for 14 days in a separate room. If they show signs of fungus, I treat them before they join the main group.
Seasonal Adjustments
Winter is risky. Lower light, colder temperatures, and indoor heating dry out the air but also cause condensation on cold windowsills. I found that fungal spots appear most often in late winter and early spring. I adjust by:
- Running the grow light 16 hours instead of 14
- Keeping the fan on during the day
- Reducing water slightly (slower evaporation means less watering needed)
Summer is easier. More natural light, better air circulation from open windows. But watch for heat stress – if the room goes above 85°F (30°C), fungus can actually decrease but bacterial issues can increase.
When You Actually See Fungus
Despite all prevention, sometimes it happens. If you see spots, here's the emergency protocol I use:
- Isolate the plant immediately. Move it away from others.
- Cut off affected leaves. Use sterilized scissors. Dip them in rubbing alcohol between cuts.
- Remove the top layer of soil. Dispose of it. Replace with fresh sphagnum.
- Reduce humidity. If you use a humidity dome, remove it.
- Increase airflow. Point a fan nearby (not directly at the plant).
- Apply a biological fungicide. I use Bacillus subtilis based products – they're safe for carnivorous plants. Standard chemical fungicides can burn the sensitive leaves.
- Do not water from above. Only bottom-water until recovery.
- Wait 7-10 days. If no new spots appear, you're safe.
Tools and Products That Saved My Collection
Let me be specific about what I actually use. No fluff.
For Water
- Distilled water from grocery store ($1 per gallon)
- Rain barrel for collection (free after initial setup)
- Reverse osmosis system if you're committed (check Amazon)
For Lighting
- Sansi 20W full spectrum clip light – affordable, lasts long, good spectrum
- GE Grow Light LED bulb 9W – fits regular lamps, works for small collections
- Mars Hydro TS600 – if you want a full setup for multiple plants
For Pots and Soil
- Plastic nursery pots (4 inch size, standard black ones)
- Better-Gro Orchid Moss (long-fiber sphagnum, widely available)
- Espoma Perlite (coarse grade, no additives)
For Air Circulation
- Generic USB desk fan (any brand under $15)
- Flexible neck fan if you need to direct airflow
For Emergency Treatment
- Southern Ag BioSafe Fungicide (Bacillus subtilis)
- Hydrogen peroxide 3% (dilute 1:4 with water, spray on soil – careful with leaves)
Common Questions I Get From Fellow Growers
Can I use cinnamon as a natural fungicide for sundews?
I tried this. I sprinkled cinnamon powder on the soil surface to prevent fungus. It worked for about three days. Then mold grew on the cinnamon itself. The sugar content in cinnamon can actually feed mold if it stays moist. I'd avoid it. Stick to biological fungicides or just fix the environment.
How do I know if it's fungal or just aging leaves?
Good question. I used to confuse them. Aging leaves turn yellow or brown evenly from the outer edges inward. Fungal spots are irregular – they look like circles, blotches, or powdery patches. Also, fungal spots spread to other leaves. Aging happens only on the oldest leaves. If you see spots on young leaves in the center, it's fungus.
Should I remove all the dew if I see fungus?
No. The dew is part of the plant's immune system. It's sticky and contains enzymes that can trap and digest pathogens. Removing dew weakens the plant. Only remove dew if it's visibly contaminated with fungal growth. Otherwise, leave it. The plant will replace it naturally after recovery.
Can I treat fungal spots with a fungicide spray?
You can, but it's tricky. Most chemical fungicides leave residues that interfere with dew production. Also, sundew leaves are thin and sensitive – many products burn them. I prefer biological options like Bacillus subtilis or just cutting off the infected leaves. Prevention through environment is far more effective than treatment.
How long does it take for a sundew to fully recover from fungus?
From my experience, visible recovery takes 2-4 weeks. But the plant needs 6-8 weeks to fully replace all damaged leaves and return to normal dew production. During recovery, don't fertilize, don't disturb the roots, and maintain perfect conditions. Patience is key.
What I Wish Someone Told Me When I Started
I wasted so much time and money on wrong advice. People told me "sundews are easy" without explaining the specifics. Yes, they're easy IF you follow these five rules:
- Water from below, always. Top watering is the fastest path to fungus.
- Give them intense light. Not "bright indirect." Direct sun or strong grow lights.
- Use the right pot and soil. Plastic pot, sphagnum and perlite, nothing else.
- Keep air moving. A small fan prevents stagnant humid pockets.
- Watch for early signs. The moment you see any spot, act immediately.
I stuck to these rules for the entire two-week test, and honestly, I'm still using them months later. My sundew collection now has 12 different species. None have fungal issues. The ones that had spots before recovered fully.
You don't need expensive equipment. You don't need a greenhouse. You just need to understand what sundews actually need – and what they absolutely cannot tolerate.
I hope this saves you from the same three dead plants I buried. Trust me, once you get the conditions right, sundews are resilient. They bounce back fast. They'll reward you with dew that catches everything from fruit flies to fungus gnats. And the best part? No more black spots.
Just remember: bottom water, strong light, air movement, clean environment. That's the whole secret. Everything else is detail.
If you're dealing with active fungal spots right now, don't panic. Follow the steps I listed above. Cut off the bad leaves. Fix the water and light. Give it a week. You'll see improvement. I've been there – it works.
Happy growing, and may your sundews stay spotless.





