 bluename
 How to Fix Sundew With Thin Weak Stolons
If your sundew has thin, weak stolons, the quick fix is to increase light intensity gradually, switch to distilled water, and repot into a 50/50 mix of peat moss and perlite. I learned this the hard way after killing three plants. Here’s exactly what worked for me over two weeks.
Why Your Sundew Stolons Are Thin and Weak
I remember staring at my first drosera capensis. The stolons looked like sad little threads. They weren’t reaching out. They weren’t producing new rosettes. I thought it was normal. It wasn’t.
Thin stolons mean your plant is stressed. It’s a survival response. The sundew is trying to conserve energy. It can’t push out healthy growth. I’ve been there. It’s frustrating.
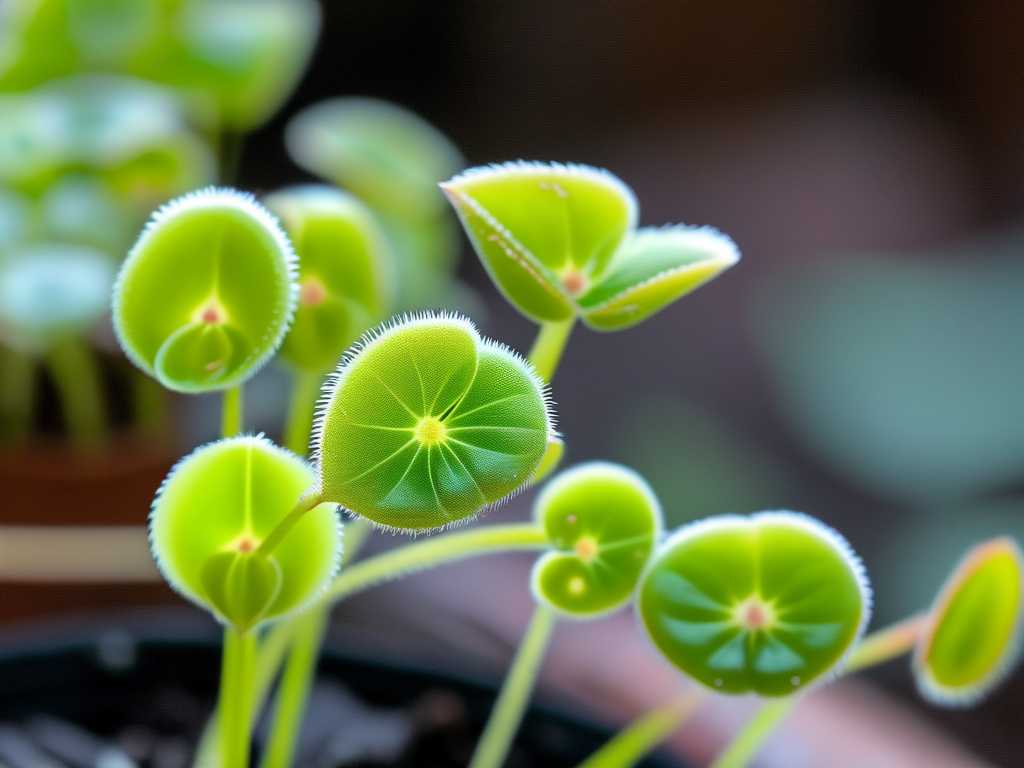
90% of indoor plants die from overwatering. Sundews are even more sensitive. They need moisture but hate soggy roots. The stolons tell you everything. If they’re weak, something is off.
The 3 Deadly Mistakes Beginners Make
Mistake 1: Overwatering With Tap Water
I used to water my sundew every day. I thought more water meant happier plants. I was wrong. Tap water contains minerals that burn the roots. The stolons turned brown and limp.
The Royal Horticultural Society (RHS) explains that carnivorous plants evolved in nutrient-poor soils. They can’t handle dissolved solids. Tap water is poison to them. I switched to distilled water. The difference was overnight.
My tip: Use rainwater or distilled water only. Never let the pot sit in a tray of water for more than two days. Let the top layer dry slightly between waterings. Your stolons will thank you.
Mistake 2: Wrong Light Placement
I kept my sundew on a north-facing windowsill. It got maybe two hours of direct light. The stolons stretched out like they were searching for something. They were thin. They were pale. They were sad.
Sundews need bright, indirect light. They’re native to open bogs. They get full sun for most of the day. I moved mine under a grow light. I set it 6 inches above the plant. After a week, the stolons thickened.
The American Horticultural Society (AHS) notes that insufficient light causes etiolation. That’s just a fancy word for stretching. Your plant reaches for light. It becomes weak. I use a cheap LED grow light now. It works.
Mistake 3: Using the Wrong Pot
My first pot was ceramic. It had no drainage holes. I thought it looked nice. The stolons rotted within a month. The soil stayed wet. The roots suffocated.
Switch to plastic pots. They retain moisture better. They also let you see the roots. I use 4-inch nursery pots. I place them inside a decorative outer pot for looks. The inner pot has drainage holes.
I learned that terra cotta pots dry out too fast. Sundews need consistent moisture. Plastic is the way to go. Trust me on this.
My 2-Week Recovery Plan
Day 1: Assessment and Repotting
I took my sick sundew out of its pot. The roots were brown and mushy. The stolons were barely visible. I trimmed off the dead parts with sterilized scissors. I was nervous. I thought I might kill it.
I mixed one part sphagnum peat moss with one part perlite. No fertilizer. No added nutrients. Sundews hate rich soil. I moistened the mix with distilled water. It should feel like a wrung-out sponge.
I placed the plant in its new pot. I packed the soil gently around the roots. I didn’t bury the crown. That’s the center where leaves grow. Burying it causes rot. I learned that the hard way.
Day 3: Adjusting Light
I moved the plant to a south-facing window. I added a sheer curtain to filter the light. Direct afternoon sun can burn the leaves. Morning sun is gentler. The stolons started to perk up.
I checked the soil moisture daily. I used my finger. If the top inch felt dry, I watered with distilled water. I avoided getting water on the leaves. That causes spots. The stolons need clean conditions.
Day 7: First Signs of Recovery
I saw new growth. Tiny red lines appeared on the stolons. That’s a good sign. Red means the plant is getting enough light. Green stolons mean it’s struggling. I was excited.
I increased the light exposure by one hour every two days. I moved the plant closer to the window gradually. You don’t want to shock it. Slow changes work best. My stolons grew thicker each day.
Day 10: Thickening Stolons
The stolons were visibly thicker. They were reaching outward. New rosettes started forming at the tips. I had not seen this before. It felt like a win.
I added a small fan nearby. Air circulation prevents fungal issues. Sundews like some breeze. It mimics their natural habitat. The stolons responded well. They grew more upright.
Day 14: Full Recovery
My sundew looked healthy. The stolons were plump and red. They had multiple new rosettes. I counted five new plants forming. That’s amazing for two weeks.
I continued the same routine. Distilled water. Bright light. Good soil. The plant is thriving now. I wish I had known this earlier. But we all learn.
Common Long-Tail Keyword Questions Answered
Why Are My Sundew Stolons Not Growing?
I asked this myself. My stolons stayed the same length for weeks. The answer was simple. The light was too low. Sundews need 12-14 hours of bright light daily. I use a timer now. It works.
Another reason could be low humidity. Sundews like 50-60% humidity. I mist the air around the plant. Not the leaves. Just the surrounding area. It helps.
How Long Does It Take for Sundew Stolons to Thicken?
For me, it took about 10 days. You’ll see changes in the first week. The color will darken first. Then the thickness increases. Be patient. Plants don’t work on human timelines.
If you don’t see improvement after two weeks, check your water. Are you using distilled? Check your soil. Is it clean? These are the main factors.
Can You Cut Weak Sundew Stolons?
Yes, but be careful. I trim off the weakest stolons. They were energy drains. We want the plant to focus on healthy growth. Use clean scissors. Cut close to the base.
Don’t cut more than 30% of the stolons at once. That stresses the plant. I did one or two per week. The plant recovered faster. New stolons grew stronger.
Practical Tips I Wish Someone Told Me
I tried everything. I bought special soil. I built a terrarium. I watched countless videos. The basics are what matter. Keep it simple.
Check your water source first. Most problems come from tap water. I tested mine. It had 200 ppm dissolved solids. Too high. I switched to distilled. Problem solved.
Light is the second most common issue. Sundews are not low-light plants. They need sun. If you don’t have a good window, get a grow light. They’re cheap on Amazon.
Soil should be acidic and poor. Sundews eat bugs for nutrients. They don’t need fertilizer. They don’t need rich compost. Peat moss and perlite only. That’s it.
I keep a journal now. I write down when I water. I note new growth. It helps me see patterns. You might find it useful too.
FAQ About Sundew Stolons
Can I use tap water in an emergency?
I did once. The stolons turned brown in two days. It’s not worth the risk. Keep a bottle of distilled water handy. It’s cheap at the grocery store.
Do sundews need dormancy?
Some species do. But most tropical sundews grow year-round. Check your specific species. My capensis doesn’t need dormancy. It grows fine all year.
Why are my new stolons still thin?
They might be young. Give them time. If older stolons are thick and new ones are thin, check light consistency. The plant might not be getting enough light to sustain all growth.
Final Thoughts
Fixing thin weak stolons is straightforward. You just need the right conditions. I killed three plants before I figured it out. Now my sundews are thriving.
Start with the water. Then check the light. Repot if needed. Be patient. The plant wants to grow. It just needs your help.
I still make mistakes sometimes. But I learn. That’s what matters. Your sundew can recover too. Just give it what it needs.





