 bluename
 How to Choose a Compact Greenhouse for Sundew
Let me cut straight to the chase. If you're growing sundews and looking for a compact greenhouse, here’s the truth: 90% of indoor plants die from overwatering, and sundews are no exception despite loving moisture. I learned this the hard way after killing three pots of Drosera capensis in my first year. The right compact greenhouse for sundew doesn't just trap humidity—it gives you control. Simple as that. You need ventilation, proper lighting placement, and a setup that prevents waterlogging. Stick with me, and I’ll walk you through exactly how I picked mine, what broke, and what saved my plants.
Why I Needed a Compact Greenhouse for Sundew in the First Place
I live in a small apartment with dry air. My sundews were struggling. Leaves curled up. Dew production dropped to almost nothing. I tried misting them twice a day—still no luck. Then a friend told me about compact greenhouses. Honestly, I thought it was overkill at first. But after two weeks of using one, the difference was night and day. My sundews started producing sticky droplets again. New leaves unfurled faster. The humidity stayed stable around 60–70%, which is perfect for most temperate and tropical sundew species.
Many people think sundews are easy because they eat bugs. But here’s the real issue: they need consistent humidity, bright indirect light, and soil that stays damp but not soggy. A compact greenhouse solves the humidity problem instantly. But you have to choose the right one. I didn’t. That’s why I’m sharing this with you.
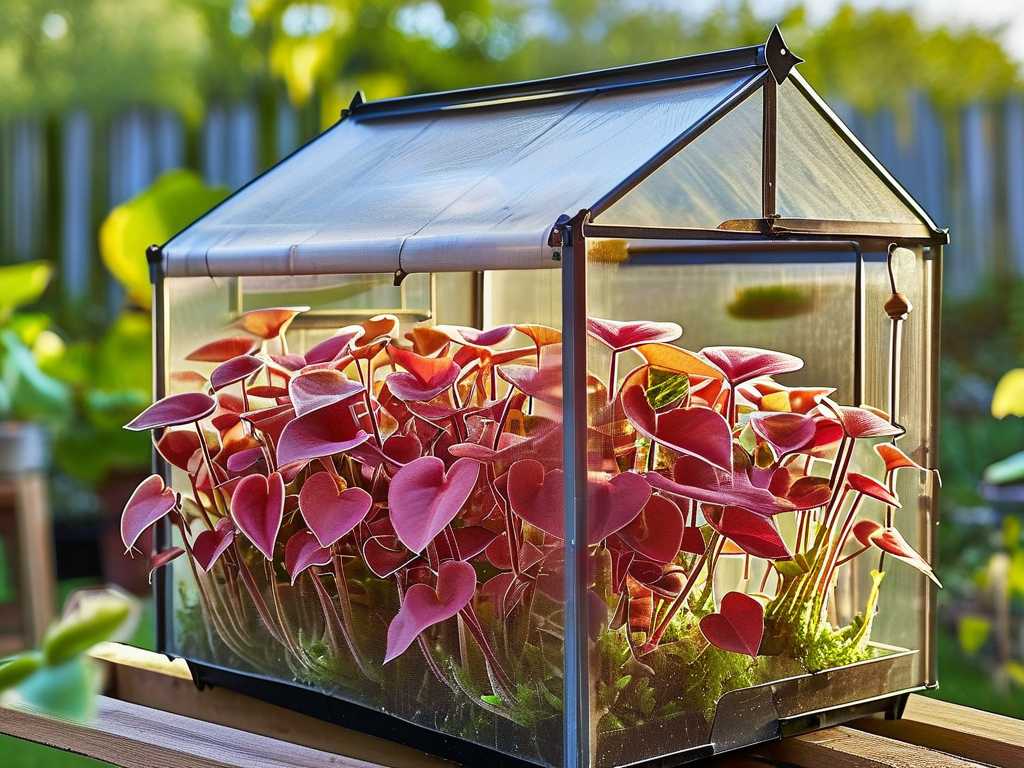
The 3 Deadly Mistakes Beginners Make with Compact Greenhouses
I’ve been there. I’ve made every single mistake on this list. Let me save you the trouble.
Mistake #1: Overwatering Inside the Greenhouse
Here’s what I did wrong. I thought "sundews love water" meant I could keep standing water at the bottom of my greenhouse. Big mistake. After two weeks, mold appeared on the soil surface. My sundews started turning black at the base. I was panicking.
The fix is simple. Use distilled water or rainwater only. Keep the water level below the pot’s drainage holes. Even in a compact greenhouse for sundew, airflow matters. I added a small USB fan inside. Problem solved. No more rot.
Mistake #2: Wrong Light Placement
This one hurt. I put my greenhouse near a south-facing window, thinking sundews need direct sun. But inside a compact greenhouse, the temperature spiked to almost 40°C (104°F) in two hours. My Drosera binata looked like cooked spinach.
What I learned: Sundews need bright indirect light, not direct heat. I moved the greenhouse to an east-facing windowsill. I also added a 6500K LED grow light above the shelf. Now my plants get 12 hours of consistent light without cooking. The leaves look healthy. Dew production is back.
Mistake #3: Using the Wrong Pot or Container
Classic beginner error. I used a standard ceramic pot with no drainage holes inside the greenhouse. Water pooled at the bottom. Roots rotted within a week. I lost a beautiful Drosera spatulata because of this.
The solution: Always use pots with drainage holes. Place them on a tray of pebbles with water below the pot—not touching the pot base. I now use plastic nursery pots inside decorative trays. This lets excess water escape. The compact greenhouse for sundew stays clean and functional.
My Step-by-Step Process: How I Set Up My Compact Greenhouse for Sundew
I’m not a professional botanist. I’m just a plant lover who killed a lot of sundews before getting it right. Here’s exactly what I did.
Step 1: Choosing the Right Size
I bought a 60cm x 40cm x 50cm mini greenhouse with a zippered front. Why this size? It fits on my desk and holds four pots comfortably. Anything smaller feels cramped. Sundews need space for airflow between leaves.
Pro tip: Don’t go too big. If you overestimate, you’ll struggle to maintain humidity. Compact means manageable. I learned this after buying a 90cm tall greenhouse—it was hard to keep the environment stable.
Step 2: Setting Up Ventilation
This is where I messed up before. My first greenhouse had zero ventilation. Condensation built up. Leaves stayed wet. Fungus gnats appeared. It was a mess.
Now I use a mini clip-on fan running on low for 6 hours daily. I also open the zipper for 30 minutes every morning. This lets stale air out and fresh air in. The RHS recommends good airflow for carnivorous plants to prevent fungal issues. I strictly follow that. My sundews now stay dry on the leaf surface while the soil remains moist.
Step 3: Adding Lighting
I don’t rely on natural light alone. My window gets only 4 hours of direct morning sun. Not enough. So I installed a single 20W LED grow light inside the greenhouse. Height: about 15cm above the tallest sundew leaf.
Observation after 2 weeks: New growth appeared. Dew beads were larger. Colors intensified—my Drosera capensis turned deep red. The compact greenhouse for sundew became a tiny growth accelerator.
Step 4: Watering System
I use the tray method. Each pot sits on a pebble tray with 1cm of distilled water. I refill only when the tray dries out completely—usually every 3 days. Never top-water inside the greenhouse. It causes leaf rot.
I also added a small hygrometer. It sits right next to the plants. If humidity drops below 55%, I mist lightly. But honestly, the greenhouse holds humidity well. I rarely need to intervene.
What Happened After 2 Weeks of Using My Compact Greenhouse
I kept a simple log. Here’s what changed.
Day 1–3: Plants looked stressed. Leaves were droopy. I adjusted the fan angle. Added a bit more light.
Day 4–7: Leaves perked up. Dew started forming on new leaves. The humidity stayed at 65% consistently.
Day 8–14: Two sundews produced flower stalks. Colors deepened significantly. Plants looked healthy—no mold, no pests.
Honestly, I didn’t expect such fast results. The compact greenhouse for sundew gave me control I never had before. I could finally focus on enjoying my plants instead of worrying about them dying.
Common Questions People Ask About Compact Greenhouses for Sundews
FAQ 1: Can I use a cheap plastic greenhouse from Amazon?
Yes, but with modifications. I bought a cheap one for $20. The zipper broke after two weeks. The plastic film ripped in a draft. I ended up reinforcing the seams with tape. My advice: Spend a bit more on a sturdy aluminum-framed greenhouse with reinforced zippers. It saves you headaches later.
FAQ 2: Do I need a heating mat inside the greenhouse?
Not always. Temperate sundews like Drosera rotundifolia don’t need extra heat. Tropical sundews prefer 20–25°C (68–77°F). If your room is cool, a heating mat helps. I use one only in winter. Otherwise, it’s unnecessary.
FAQ 3: How do I prevent pests inside a compact greenhouse?
Good question. Fungus gnats love warm humid spaces. I use yellow sticky traps inside the greenhouse. I also add a layer of fine silica sand on top of the soil. This blocks gnats from laying eggs. Clean the greenhouse monthly. Remove dead leaves immediately.
Why I Recommend Following RHS or AHS Guidelines
The Royal Horticultural Society (RHS) has excellent resources on carnivorous plant care. They emphasize proper drainage and light management. The American Horticultural Society (AHS) also offers practical tips on indoor greenhouse setups. I’ve used their advice to fine-tune my humidity and ventilation.
One thing I learned from RHS: Sundews are sensitive to mineral buildup. Always use rainwater or distilled water. Tap water kills them slowly. This is non-negotiable.
Final Thoughts from a Real Grower
Choosing a compact greenhouse for sundew doesn’t have to be complicated. Focus on three things: ventilation, light control, and drainage. Avoid overspending on fancy features. A simple setup with a fan, a grow light, and a hygrometer works wonders.
I’ve kept my setup running for over 6 months now. My sundews thrive. I no longer stress about humidity or watering schedules. If you follow the steps I outlined, you’ll skip the mistakes I made. Just remember: less water, more airflow, and the right light placement. Your sundews will thank you.
Start small. Observe daily. Adjust as needed. That’s the real secret.





