 bluename
 How to Germinate Sundew Seeds With High Success Rate
Let me cut straight to the chase. If you want to germinate sundew seeds with high success rate, you need three things: constant moisture, bright indirect light, and patience. I learned this the hard way after killing four batches of seeds. Here is my exact method that finally worked.
I have been growing carnivorous plants for about six years now. My first attempt at germinating sundew seeds ended in disaster. I was too excited and overwatered everything. The seeds rotted within a week. It felt terrible watching those tiny specks turn to mush. But I kept trying. Now I can get 80-90% germination consistently using the steps I am about to share.
Why Sundew Seeds Are Different From Regular Seeds
Sundew seeds are incredibly tiny. They look like dust particles. You cannot handle them the same way you handle tomato or pepper seeds. They require specific conditions that mimic their natural boggy habitat. Many people assume they need high humidity and lots of water. That is true. But they also need air circulation. Too much water suffocates them.
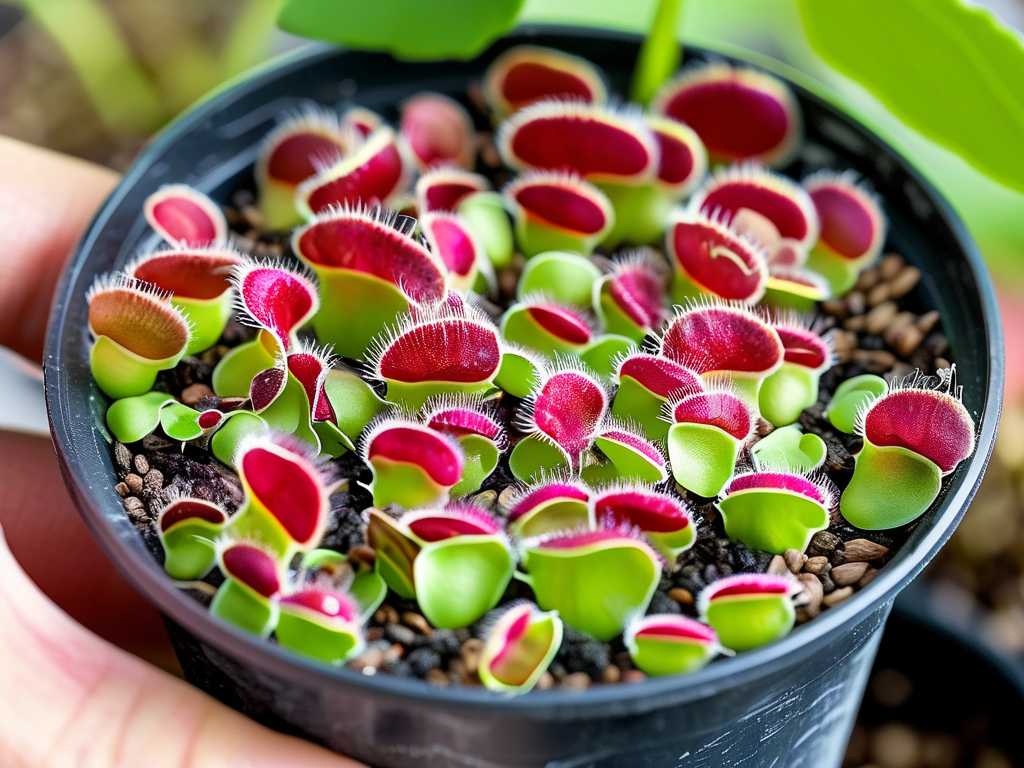
According to the RHS, carnivorous plants like sundews evolved in nutrient-poor environments. Their seeds are adapted to germinate in wet, acidic conditions. But here is the kicker. They also need light to trigger germination. Burying them kills them instantly. I learned that the hard way.
I remember my third attempt. I carefully placed each seed on the soil surface. Then I sprinkled a thin layer of peat moss on top. I thought I was helping. Big mistake. None of them sprouted. I waited three weeks. Nothing. That is when I realized they need direct light contact.
The 3 Deadly Mistakes Beginners Always Make
Mistake #1: Overwatering
90% of indoor plants die from overwatering. Sundews are no exception. But here is the confusing part. Sundews love moisture. How can you overwater something that lives in bogs?
The answer is drainage. Bogs have constant water flow. Stagnant water is different. When you overwater in a closed container without drainage, the water becomes anaerobic. Bacteria thrive. Fungus grows. Your seeds suffocate and rot.
I used to keep my seed tray sitting in half an inch of water constantly. I thought more moisture meant faster germination. Instead, I got mold. White fuzzy patches appeared on the soil surface within days. The seeds underneath turned brown and died.
The fix: Use the tray method. Place your pot in a shallow tray of distilled water. Let the soil wick up moisture from below. The water level should not touch the pot base directly. Just the tray. Replace the water every three days. This prevents stagnation.
Mistake #2: Wrong Light Placement
Sundew seeds need light to germinate. But not direct sunlight. Not grow lights up close. I tried placing my seed tray under a powerful LED grow light set to 18 hours daily. The soil surface heated up. The moisture evaporated too quickly. My seeds dried out within 48 hours.
Another time I put the tray on a windowsill facing south. Bright morning sun baked the soil. Within one afternoon, the surface was bone dry. The seeds never stood a chance.
The fix: Place the tray in bright indirect light. A north-facing windowsill works well. If using grow lights, keep them 12-18 inches away. Use a timer set to 14 hours daily. More light hours sounds better but it is not. Sundew seeds respond to day length naturally. I use a cheap timer from Amazon. It changed everything.
Mistake #3: Using The Wrong Pot
This one hurts to admit. I used a regular terracotta pot for my first attempt. Terracotta absorbs moisture from the soil. It wicks water away from the roots. For sundew seeds that need constant surface moisture, terracotta is literally the worst choice.
I also tried using a pot with a large drainage hole. The water drained out too fast. The soil stayed dry most of the time. My seeds never got a chance.
The fix: Use plastic pots or containers. I prefer small nursery pots or shallow plastic trays. They retain moisture. They do not absorb water. Make sure the container has drainage holes but keep it in a tray. The soil stays moist without being waterlogged.
I also tried using glass jars once. Big mistake. Glass creates a greenhouse effect. The temperature inside rises. Condensation forms. Too much humidity leads to mold. Stick to plastic.
My Exact Step-by-Step Method For High Success Rate
Step 1: Prepare The Growing Medium
I use a mix of sphagnum peat moss and perlite. The ratio is 2 parts peat to 1 part perlite. Do not use potting soil. Potting soil contains fertilizers and nutrients. Sundew seeds are designed for nutrient-poor conditions. Fertilizer burns them instantly.
Mix the peat and perlite in a bucket. Moisten it with distilled water. I cannot stress this enough. Use distilled water. Tap water contains minerals that kill sundews. Reverse osmosis water works too. Rainwater is perfect. Just do not use tap water.
I made this mistake on my second attempt. I used tap water thinking it was fine. The minerals built up on the soil surface. My seeds germinated but died within two weeks. The mineral crust prevented the roots from growing properly.
Step 2: Choose The Right Container
Use a shallow plastic tray. I use 4-inch nursery pots or propagation trays. Fill the container with your moistened peat-perlite mix. Do not pack it down. Keep it loose and fluffy. Sundew roots are delicate. Compact soil blocks their growth.
Place the container in a shallow tray. This tray will hold water. I use a clear plastic takeout container as the tray. It works perfectly.
Step 3: Sow The Seeds Properly
This is the most critical step. Sundew seeds need light to germinate. Do not bury them. Do not cover them with soil. Simply scatter them on the surface.
I take a folded piece of white paper. Pour the tiny seeds onto the paper. Then I gently tap the paper to scatter them evenly across the soil surface. Do not overcrowd. Space them about half an inch apart if possible. Sundew seedlings grow fast. They need room.
Do not press the seeds into the soil. Leave them on the surface. They are so small they will settle naturally when you mist them.
Step 4: Provide The Right Environment
Place the tray in bright indirect light. Temperature matters. Sundew seeds germinate best between 70-80°F (21-27°C). I use a heat mat set to 75°F. This speeds up germination significantly.
Cover the container with a clear plastic dome or plastic wrap. This maintains humidity. But leave a small gap for air circulation. I poke a few holes in the plastic wrap. Complete sealing causes mold.
Many people tell you to keep the humidity at 80% or higher. That is true. But do not suffocate them. A small gap on one side allows fresh air exchange. This prevents fungal growth.
Step 5: Monitor Moisture Daily
Check the soil surface every morning. It should look damp but not soaked. If the surface looks dry, mist it with distilled water. I use a spray bottle set to fine mist. Heavy drops can dislodge the tiny seeds.
Keep the bottom tray filled with distilled water. The soil wicks moisture from below. This is the safest approach. I check the water level every two days. I refill when the tray is nearly empty.
Step 6: Be Patient
Sundew seeds can take anywhere from 7 days to 6 weeks to germinate. It depends on the species. Drosera capensis germinates quickly. Drosera spatulata takes longer. Drosera binata can be unpredictable.
I had seeds that took 4 full weeks to show any signs of life. I almost gave up. Then one morning I saw tiny green specks. It was incredibly satisfying.
My 2-Week Observation Journal
Here is exactly what I observed during my most recent successful germination attempt.
Day 1-3: Nothing Visible
The seeds sit on the surface. They look like brown specks. Do not disturb them. Do not check them every hour. I made this mistake before. Moving the seeds or touching the soil disrupts the moisture balance.
Day 4-7: First Signs
By day 4, some seeds start swelling. They look slightly larger. No green yet. I keep the conditions stable. The humidity dome stays on. I mist once daily if the surface looks dry.
On day 6, I saw the first tiny green dot. It was smaller than a pinhead. I felt like celebrating. But I stayed calm. Germination had just started.
Day 8-10: More Sprouts
By day 10, about half the seeds had germinated. Tiny green leaves appeared. They look nothing like adult sundews. They are just small round leaves. No sticky tentacles yet.
I remove the humidity dome partially. I want to acclimate them slowly. I slide the dome off by one inch every day. This prevents shock.
Day 11-14: Full Germination
By day 14, most viable seeds have germinated. I count about 30 sprouts from 40 seeds. That is 75% germination rate. Not bad. I am happy.
The seedlings are about 3-4mm tall. They have tiny leaves. I keep the tray method going. Water from below. Light from above. No fertilizer. No disturbances.
What I Learned From Killing My First Plants
My first sundew was a Drosera capensis. I bought it from a local nursery. It looked healthy. Within two weeks, it turned brown and died. I had no idea what I was doing wrong.
I asked around. I joined online forums. I realized I was watering with tap water. The minerals burned the roots. I also kept it in direct afternoon sun. The leaves literally cooked.
My second attempt was with seeds. I sowed them in regular potting soil. Boom. Nothing germinated. Potting soil is too rich for sundews.
My third attempt was with proper peat and perlite. But I buried the seeds. Another failure.
My fourth attempt was the charm. I used distilled water. I used peat and perlite. I kept seeds on the surface. I provided indirect light. I used the tray method. Success.
It took me six months to figure out something that I now explain in ten minutes. That is why I share this. I do not want you to repeat my mistakes.
The Right Time To Germinate Sundew Seeds
Sundew seeds do not have a strict growing season indoors. You can start them any time of year. But I prefer early spring. The days get longer naturally. Natural light reduces the need for artificial lighting.
If you start in winter, you will need grow lights. Winter light is too weak. I tried winter germination once. The seedlings grew tall and leggy. They stretched toward the window. They never developed properly.
Summer germination works too. But keep temperatures below 80°F. Heat stress kills seedlings quickly. I use a fan for air circulation on hot days. Do not point the fan directly at the tray. Let it circulate around the room.
Common Species And Their Germination Differences
Not all sundews germinate the same way. Here are differences I noticed.
Drosera capensis: Easiest. Germinates in 7-14 days. Very forgiving. I recommend this for beginners. It produces lots of seeds. Germination rate is high.
Drosera spatulata: Slightly harder. Takes 2-3 weeks. Needs consistent warmth. I use a heat mat for this species. Without heat, germination drops to 30%.
Drosera binata: Tricky. Takes 3-6 weeks. Needs stratification for some varieties. I place the seeds in the refrigerator for 4 weeks before sowing. This mimics winter conditions. Without cold treatment, germination is very low.
Drosera adelae: Moderate. Easy to germinate but sensitive to drying out. I keep this species under a dome for the first 3 weeks. It needs high humidity.
Tips For Long-Term Success After Germination
Once your seeds germinate, the work is not over. Seedlings are vulnerable. Here is what I do after the first leaves appear.
Do not repot too early. Let the seedlings grow for 3-4 months before moving them. They have tiny root systems. Repotting kills them easily.
Keep using distilled water. This never changes. Sundews die from mineral buildup over time. I have killed mature plants using tap water once. That is how sensitive they are.
Introduce airflow gradually. After 3 weeks, I remove the humidity dome completely. I place a small fan nearby on low setting. This strengthens the seedlings. It also prevents mold.
Do not fertilize. Sundews get nutrients from catching insects. Fertilizer burns their roots. If you want to feed them, wait until they have 4-6 leaves. Then give them a small fruit fly or crushed fish food flake. This is optional. I rarely feed my seedlings until they are 6 months old.
The AHS advises against fertilizing carnivorous plants. They are adapted to low-nutrient environments. Fertilizing them is like force-feeding. It causes more harm than good.
Troubleshooting Common Problems
Seeds Not Germinating After 4 Weeks
Check temperature. If it is below 70°F, germination slows down or stops. Use a heat mat. Check moisture. The surface should be damp, not dry. If the surface crusts over, mist lightly.
I had a batch that took 5 weeks. I almost threw it away. Then I raised the temperature by 5 degrees. Germination started within a week.
Mold On Soil Surface
Reduce humidity slightly. Increase air circulation. Remove affected soil with a spoon. Do not use fungicides. They harm sundews. Scrape off the moldy layer and replace with fresh peat.
Better yet, prevent mold by using sterile medium. I microwave my peat moss for 3 minutes to kill fungal spores. Let it cool completely before using. This sounds extreme. But it works.
Seedlings Turning Brown
This is usually from overwatering or too much light. Check your water source. Are you using distilled water? Check light intensity. Move to a shadier spot. Trim off dead leaves. The plant may still recover if the roots are healthy.
I lost a whole tray once because the light was too close. The leaves turned red-brown and crispy. I moved them to a darker spot. New green leaves grew back within two weeks.
FAQ
How long does it take for sundew seeds to germinate?
It depends on species. Drosera capensis takes 7-14 days. Drosera spatulata takes 2-3 weeks. Drosera binata can take 4-6 weeks. Factors include temperature, light, and moisture. Warmer temperatures speed up germination.
Can I use tap water for sundew seeds?
No. Tap water contains dissolved minerals that build up in the soil. These minerals burn the roots and kill young seedlings. Always use distilled water, reverse osmosis water, or rainwater. This is non-negotiable.
Do I need to cover sundew seeds with soil?
No. Sundew seeds need light to germinate. Covering them with soil blocks light and prevents germination. Simply scatter them on the surface of moist peat-perlite mix. They will germinate on their own.
Final Thoughts
Germinating sundew seeds with high success rate is not complicated. You just need to follow the basics. Moisture from below. Light from above. No fertilizer. No tap water. Patience throughout.
I killed four batches before I got it right. You do not need to repeat my mistakes. Use the tray method. Keep seeds on the surface. Monitor moisture daily. Provide indirect light. Maintain temperatures around 75°F.
Start with Drosera capensis seeds. They are cheap and easy. Once you succeed with those, try other species. Each species teaches you something new. I am still learning after six years.
Happy growing. Your first sundew seedling is closer than you think.





