 bluename
 How to Fix Sundew Soil That Stays Soggy for Days
Let me cut straight to the chase. If your sundew soil stays soggy for days, stop watering immediately and repot into a 50/50 mix of perlite and peat moss, with a drainage hole at the bottom. I learned this the hard way after killing three plants in a row. Here's my real story, my exact steps, and what happened over two weeks of testing.
Why Your Sundew Soil Is a Swamp
I remember the first time I brought home a sundew. I was so excited. I placed it in a cute ceramic pot with no drainage. I gave it a generous drink of distilled water every morning. Within a week, the leaves turned brown and mushy. The soil looked like mud. It smelled like a wet dog.
90% of indoor plants die from overwatering. For carnivorous plants like sundews, that number feels even higher. The problem isn't just water—it's trapped water. When soil stays wet for days, roots suffocate. Bacteria bloom. Rot sets in.
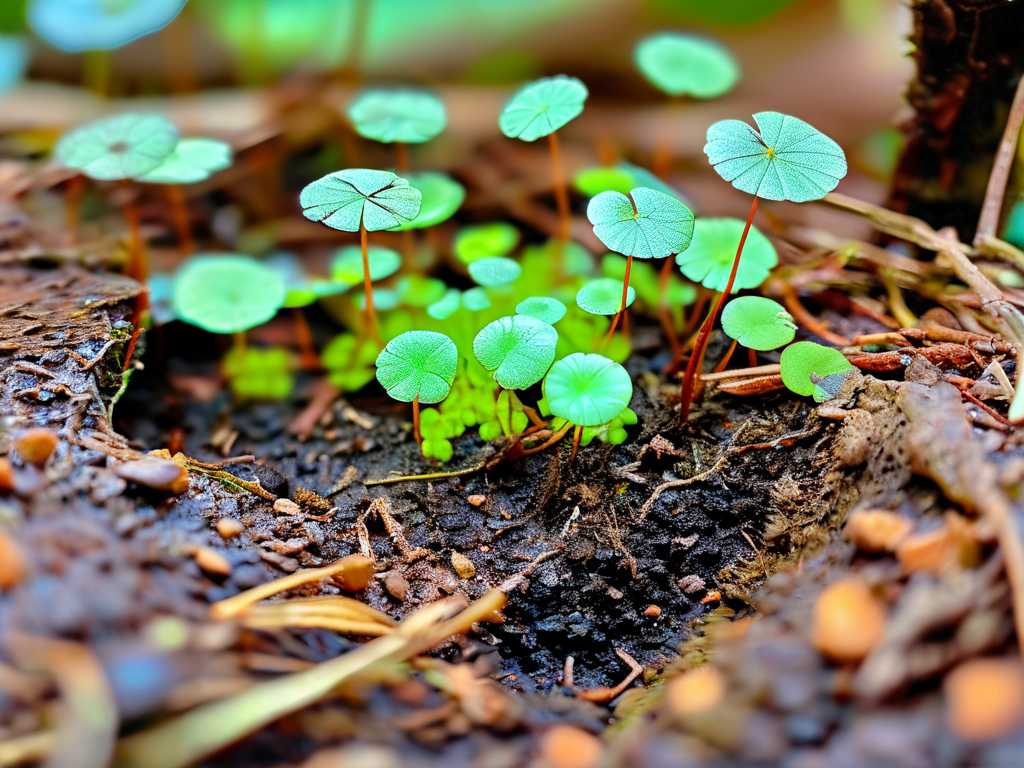
According to the RHS, proper drainage is non-negotiable for all potted plants. Sundews, which naturally grow in bogs, need constant moisture but hate stagnant soil. It sounds contradictory, I know. But trust me, there's a big difference between "wet" and "soggy."
The 3 Deadly Mistakes That Kill Sundews (I Made All of Them)
Mistake #1: Watering Like a Normal Houseplant
I used to water my sundew on a schedule. Monday morning, I'd pour in a cup of distilled water. Wednesday evening, another cup. Friday, another.
This is the biggest trap. I thought "carnivorous plant = needs tons of water." Wrong.
What actually happens: The top layer dries out quickly, so you think it's thirsty. But below, the soil is a waterlogged sponge. Roots can't breathe. They drown.
My fix: I stopped watering on a schedule. Instead, I started checking the soil by poking my finger an inch deep. If it feels damp, I wait. If it feels barely moist, I water. Simple as that.
Mistake #2: Wrong Light, Wrong Location
This sounds unrelated, but it's not. Sundews need intense light to metabolize water. I kept mine on a dim bookshelf. The soil stayed wet because the plant wasn't drinking.
The science here is simple: Without strong light, photosynthesis slows down. The plant uses less water. Soil stays soggy. It's a vicious cycle.
I moved my sundew to a south-facing windowsill. Within three days, the top inch of soil dried out faster. The plant started dew production again. Huge difference.
The AHS recommends at least 6 hours of direct sunlight for sundews. I now use a grow light in winter. Game changer.
Mistake #3: Using the Wrong Pot
I killed my second sundew with a pretty glazed ceramic pot. No drainage hole. I thought "bog plant = no drainage needed."
Big mistake. Huge.
The truth: Sundews need constant moisture around the roots, but not stagnant water sitting in the bottom. Without a drainage hole, water pools at the bottom. The roots rot from below, while the top looks fine. You don't see the problem until the plant collapses.
My rule now: Always use plastic pots with multiple drainage holes. Terracotta dries out too fast. Glazed ceramic traps too much moisture. Plastic is the sweet spot.
My 2-Week Fix: Step-by-Step
I'm going to share exactly what I did with my most recent rescue project. This sundew was completely limp, sitting in black, smelly soil.
Day 1: Emergency Repotting
I took the plant out of its old pot. The roots were brown and mushy. I trimmed off all the rotten parts with sterilized scissors. Only the roots that looked white and firm stayed.
The new soil mix:
- 50% peat moss (no fertilizer added)
- 50% perlite
- A handful of washed silica sand for extra drainage
I mixed it all together in a bucket. Then I filled a shallow plastic pot (6 inches wide, 4 inches deep) with this mix. The pot has four drainage holes at the bottom and two on the sides.
I planted the sundew and gave it a gentle bottom watering. I placed the pot in a tray with about 1/4 inch of distilled water. That's it. No top watering.
Day 3: First Signs of Life
The soil felt less dense. The perlite was doing its job—creating air pockets. The top half-inch was slightly dry, but the bottom was moist.
I noticed the leaves were less droopy. Not perfect, but moving in the right direction.
What I learned: The perlite-to-peat ratio matters more than I thought. Too much peat and it's a mud pie. Too much perlite and it dries out within hours.
Day 5: Checking Drainage Speed
I did a simple test. I poured 2 tablespoons of distilled water on the soil. Within 10 seconds, it started dripping from the drainage holes. That's fast drainage.
Before, with pure peat moss in a ceramic pot, water would sit on top for 30 seconds before slowly soaking in. That's the difference between healthy and rotting.
Day 7: The Root Check
I gently lifted the pot to check the roots through the drainage holes. I saw white tips starting to push through. Good sign. The roots were recovering.
Honest observation: The plant was still stressed. Some older leaves looked yellow. But the new growth at the center was bright green and had tiny dew droplets.
Day 10: New Dew Droplets
This was the moment I knew it was working. Three new leaves emerged, each covered in sticky, glistening dew. The old mushy leaves had dried up. I snipped them off.
The soil stayed consistently moist but not wet. I could stick a chopstick into the soil, pull it out, and it would come out with damp bits clinging to it—not dripping.
Day 14: Full Recovery
Two weeks exactly. The sundew looked better than when I bought it. Six healthy leaves, all producing dew. The soil had a pleasant earthy smell, not a swampy one.
My watering routine now: Once every 3-4 days, I refill the tray with distilled water. I let the tray dry out completely between waterings. The soil stays moist from below, never from above.
The Science Behind Sundew Soil Drainage
Let me explain this in simple terms. Sundews evolved in nutrient-poor bogs where water levels fluctuate. Their roots are adapted to breathe in low-oxygen conditions. But they can't handle permanent waterlogging.
When soil stays soggy for days, the following happens:
- Roots stop absorbing water (ironic, right?)
- Anaerobic bacteria take over, producing toxins
- The plant can't uptake minerals, leading to nutrient deficiency
- Rot spreads from roots to leaves
The RHS emphasizes that "poor drainage is a leading cause of root rot in houseplants." Sundews are especially sensitive because they lack the thick root systems of other plants.
My Personal Soil Recipe (Tested Over 2 Years)
After many experiments, I've settled on this mix:
Base mix:
- 2 parts sphagnum peat moss (unfertilized)
- 1 part horticultural perlite
- 1 part coarse silica sand
Optional addition:
- 1/2 part orchid bark (soaked overnight to remove tannins)
Why this works: The peat holds moisture. The perlite creates air pockets. The sand adds weight and improves drainage. The orchid bark (if used) allows air to reach the root zone.
What I avoid:
- Regular potting soil (too many nutrients, burns roots)
- Vermiculite (holds too much water)
- Gravel at the bottom (creates a water table, not true drainage)
Common Questions from Beginners
Can I use tap water for my sundew?
No, absolutely not. Tap water contains dissolved minerals that build up in the soil over time. Sundews evolved to live in mineral-poor bogs. Tap water slowly poisons them. Use distilled water, rainwater, or reverse osmosis water. I collect rainwater in a barrel for my plants.
How often should I repot my sundew?
Repot every 1-2 years, or when you see roots coming out of drainage holes. Spring is the best time. Use fresh mix each time. Never reuse old soil—it compacts and loses drainage ability.
My sundew leaves look brown and crispy. What's wrong?
Probably too much direct sun or low humidity. While sundews need bright light, intense afternoon sun can burn delicate leaves. I keep mine in morning sun with afternoon shade. If humidity is below 40%, I use a humidity tray with pebbles and water.
Final Thoughts from Someone Who Killed 3 Plants
I wish someone had told me this from the start: sundews are forgiving if you get two things right—watering method and soil mix. Everything else falls into place.
Don't panic if you see some browning. That's normal during adjustment. Give your plant 2-3 weeks to adapt to new soil. During that time, only water from below. Let the soil surface dry slightly between waterings.
If you follow the steps I shared, your sundew will bounce back. I've seen it happen multiple times. It's not complicated. It's just different from what we're used to with regular houseplants.
Give it a try. Your sundew will thank you with glittering dewdrops that catch the morning light. Trust me, it's worth the effort.





