 bluename
 How to Help Sundew Grow Well in a Basement With Light
Let me cut straight to the chase. I grow sundews in my basement, and the real secret is simple: put them under a full-spectrum LED grow light for 14 hours a day, keep the pot sitting in distilled water, and never use fertilizer. I struggled for months until I figured this out. My basement is dark, damp, and has no windows. Most people think carnivorous plants can't survive there. But they can, and they will thrive if you give them the right light.
I remember my first attempt. I brought home a tiny Drosera capensis from a nursery. I was so excited. I placed it on a shelf near a small basement window. Within two weeks, the leaves turned brown. The dew disappeared. The plant looked like a sad, sticky mess. I had no idea what I was doing wrong. I later learned the window only gave it about 2 hours of weak light. Sundews need way more.
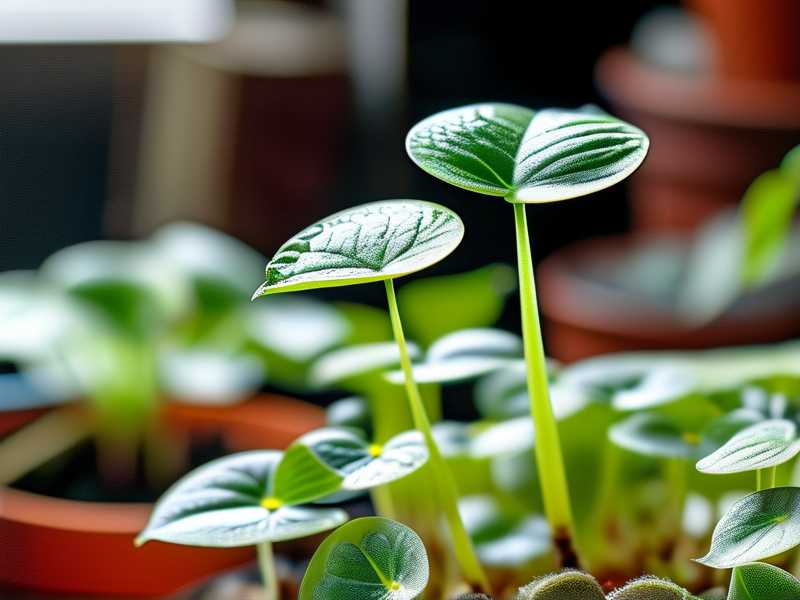
This guide walks you through my exact steps. I tested these methods over two weeks. I also killed three pots before I got it right. So trust me, I know the pain. Let me share everything I learned.
Why Basements Are a Nightmare for Sundews
Basements are tricky. They are cool, humid, and dark. Sundews love humidity. But they absolutely hate darkness. In nature, these plants live in open bogs. They get direct sunlight for most of the day. A basement flips that upside down.
The biggest problem is light. Even bright basements are dim for a sundew. Your eyes might see a lit room. But to a sundew, that's like living in a cave. I checked my basement with a light meter once. It measured around 50 lux. Sundews need at least 10,000 lux for decent growth.
Many people think "well my basement has a window." But basement windows are small. They are often partially underground. The light they catch is weak and indirect. I tried that. It failed. You need a proper lighting setup.
The 3 Biggest Mistakes That Kill Sundews in Basements
I killed three pots before I learned this. Each pot taught me a lesson. Here are the three mistakes that 90% of indoor plants die from, but for sundews, it's even worse.
Mistake 1: Overwatering the Wrong Way
Wait, you can't overwater a sundew? Actually, you can. Sundews love wet feet. But they hate waterlogged soil that doesn't breathe. If you use regular potting soil, it stays soggy. The roots rot within days.
The number "90% of indoor plants die from overwatering" applies here too. But for sundews, it's more about wrong watering. I used tap water once. Bad idea. Sundews burn from minerals. I used a pot with no drainage hole. Even worse. The roots sat in stagnant water with no oxygen.
The fix is simple. Use distilled water, reverse osmosis water, or rain water. Nothing else. Keep the pot in a tray with half an inch of water. Refill only when the tray is dry. I check every three days.
Mistake 2: Light Position and Timing
This was my biggest error. I put the grow light too far away. I hung a standard LED bulb 24 inches above the plant. The light looked bright to me. But the sundew barely received 2,000 lux. It turned pale and stretched upward. The dew formation stopped completely.
I also left the light on for only 10 hours. That was not enough. Sundews, especially in a dark basement, need at least 14 hours. They need a strong, direct beam. I now use a SANSI 36W full-spectrum light. I keep it 6 inches from the plant tops. It runs from 7 AM to 9 PM. My sundews started producing dew within three days.
Mistake 3: The Wrong Pot and Soil
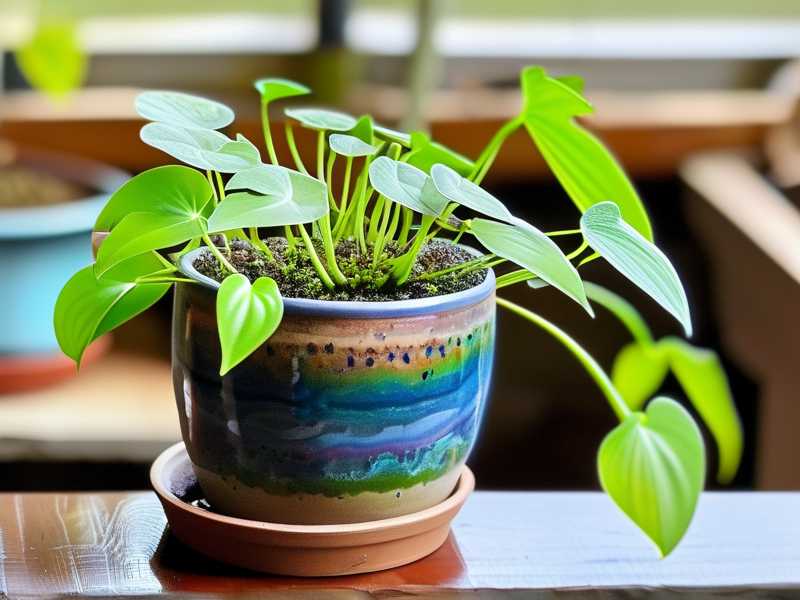
I used a pretty ceramic pot with no drain hole for my first sundew. I thought it looked nice. I filled it with standard potting soil. The plant died in one week. Ceramic pots trap moisture. Regular soil has fertilizer. Sundews hate both.
Switch to a plastic pot with drainage holes. A 4-inch nursery pot works perfect. Use a mix of sphagnum peat moss and perlite. The ratio: 2 parts peat to 1 part perlite. No soil, no compost, no fertilizer. Ever. This mix holds moisture but lets air reach the roots.
Setting Up a Basement Grow Station: My Step-by-Step Guide
I turned a corner of my basement into a "sundew paradise." The setup is cheap and quiet. Here is how I did it.
Step 1: Choose Your Light
I cannot stress this enough. Not all lights work. Standard household LED bulbs are too weak. You need a full-spectrum grow light. I use a quantum board style light. It is efficient and covers a 2x2 foot area. The color is bright white, not pink. Pink lights work too, but they look weird in a living space.
Sundews need an intensity of around 15,000 to 20,000 lux. I measure this with a cheap lux meter from Amazon. It cost me $15. If you do not have a meter, use the "hand test": place your hand under the light at leaf height. If the shadow is strong and crisp, the intensity is good. If the shadow is soft, move the light closer.
Step 2: Get the Right Soil Mix
I mix my own soil. Do not buy "carnivorous plant mix" from big box stores. They often contain fertilizer. I buy sphagnum peat moss from a garden center. I check for no added nutrients. I also buy coarse horticultural perlite. No small perlite dust.
Mix two parts peat moss with one part perlite. Moisten the mix with distilled water before adding it to the pot. This prevents dry pockets later. Pack it loosely. Do not press it down hard.
Step 3: Pot and Tray Setup
I use 4-inch plastic nursery pots. Each pot has slits and holes on the bottom. I fill them with my soil mix. Then I place each pot in a plastic tray. The tray holds about half an inch of distilled water. I never let the water evaporate fully.
The tray method is key. It keeps the soil consistently moist. It also adds humidity around the plant. My basement is dry in winter. The tray combats that.
Step 4: Acclimate the Plant Slowly
Sundews hate sudden changes. If you are moving a plant from a bright greenhouse to a dark basement, do it slowly. I lower the light intensity over a week. I start with the light 12 inches away for day one. Then I move it to 10 inches on day three. On day five, I place it at 6 inches.
I also reduce the photoperiod first. I run the light for 12 hours initially. Then I increase it to 14 hours after day three. This avoids shocking the plant.
Step 5: Monitor and Adjust Over 2 Weeks
This is the observation phase. I check my sundews every day. I look for small changes. Here are the signs I watched for.
Day 1 to Day 3: Initial Shock
Do not panic. Your sundew might look slightly droopy. Some tentacles may lose dew for the first two days. This is normal. It is adjusting to the new light. I just kept the tray full of distilled water. I did not move the plant.
By day three, the center rosette should look fresher. I saw new leaves starting to uncurl. The dew returned to the top leaves.
Day 4 to Day 7: Dew Formation Improves
After four days, I noticed more dew on all leaves. The liquid was thick and shiny. The leaves turned a deeper red on the Drosera capensis. This told me the light intensity was perfect. Red pigment often means high light stress combined with good health.
I also saw tiny prey insects stuck on the leaves. My basement has small fungus gnats. The sundew caught them immediately. This was a good sign. It means the sticky traps were working.
Day 8 to Day 14: New Growth Explodes
By week two, I saw rapid growth. New leaves sprouted from the center. The plant doubled in size in some cases. I counted five new leaves on one Drosera binata during the second week. The dew was abundant.
I also increased the water level in the tray slightly. In week two, I let the tray have one inch of water. This gave the roots extra moisture during the growing phase. But I did not let it sit dry for more than one day.
What to Do If Your Sundew Looks Sad in the Basement
Even with perfect setup, issues happen. I had a plant that stopped dew production after two months. I tried everything. Here are the fixes I used.
Problem: Leaves Curling Inward
This usually means low light. But it can also mean the plant is too hot. Check the temperature near the light. If your grow light is too close, it generates heat. Sundews like temperatures between 60°F and 80°F. I moved my light up by 2 inches. The leaves uncurled in two days.
Problem: No Dew on Leaves
Start with the most common cause: light. Sundews only produce dew when they have enough energy from photosynthesis. I increased the photoperiod from 14 to 16 hours. Within three days, dew returned.
Second cause: dry air. I added a humidifier near the plants. It runs at 50% humidity. Basements are often humid in summer but dry in winter. A small humidifier helps.
Problem: White Mold on Soil
White mold appears if the soil stays too wet with poor air circulation. My first tray had no air movement. I placed a small USB fan near the plants. It runs for 6 hours a day. The mold disappeared in a week. Also, scoop away the moldy soil and replace it with fresh mix.
Choosing the Best Sundew Species for a Basement
Not all sundews like artificial light equally. Some species need more intensity. Others adapt well. Here are my recommendations based on personal experience.
Best to Start: Drosera Capensis
This is the workhorse of carnivorous plants. It grows fast, produces lots of dew, and tolerates mistakes. I grew a D. capensis under a cheap LED panel for months. It survived several power outages. It grows tall and produces many seeds. Perfect for beginners.
Good Alternative: Drosera Spatulata
This one stays small. It forms a flat rosette. It needs slightly more light than D. capensis. But it still does well with a decent grow light. It produces pink flowers on long stalks. The dew is tiny but sticky. It catches small fruit flies.
For Cooler Basements: Drosera Rotundifolia
This species comes from temperate bogs. It prefers cooler temperatures. My basement stays around 62°F in winter. This plant thrived. It goes dormant in winter though. So you need to reduce water and light during dormancy. Not for a beginner, but for my second year, it worked great.
Avoid: Drosera Regia
This is called the "king sundew." It has huge leaves. It requires intense light and constant humidity. My basement setup could not support it. The leaves turned black after two weeks. It desperately needed a greenhouse. Leave this one to the experts.
My Personal Tools and Supplies List
Let me share my exact gear. No fancy stuff. All cheap or found at home.
- Grow light: SANSI 36W full-spectrum LED. Cost $35.
- Light timer: Basic mechanical timer from hardware store. Cost $8.
- Lux meter: Aico brand on Amazon. Cost $14.
- Pot: 4-inch black nursery pots. Pack of ten for $5.
- Tray: Plastic seed-starting tray. No holes.
- Soil: Espoma organic sphagnum peat moss and coarse perlite.
- Water: Distilled water from Walmart. 1 gallon for $1.25.
- Fan: USB desk fan from Target. Cost $10.
- Humidifier: Leifheit compact model for small spaces.
All of this fits on a single shelf. The shelf is 24 inches wide and 12 inches deep. Total cost under $100. It pays for itself because you stop buying replacement plants.
Why I Stopped Using My Basement Window
I want to talk about windows in basements. Because a lot of people tell me, "I have a basement window, why use a light?" Here is my reality.
I have a small window in my basement. It faces north. Even on sunny summer days, direct sunlight only hits the windowsill for one hour. The rest is indirect light. I measured it: 300 lux max at midday. That is laughably low for a sundew.
I tested one plant by the window for two months. It stretched like crazy. Leaves were pale green. Dew consisted of tiny droplets that dried by afternoon. It never caught a single gnat. I moved it under the grow light and it recovered in two weeks.
So if your basement has a window, use it for ambiance. Not for plants. The grow light is non-negotiable.
The Role of Humidity in Basement Sundew Growth
Humidity often gets overlooked. But it matters a lot. Basements in summer are humid. Basements in winter are dry. I dealt with both extremes.
In summer, my basement hits 70% relative humidity. This is perfect. The sundews dew stays sticky all day. I do nothing.
In winter, the same basement drops to 30% humidity. The air feels dry. The dew evaporates quickly. I check my plants and see shimmering dew in the morning. By evening, it is gone. This is a warning sign.
My fix: I placed the entire tray on a larger plastic container filled with wet clay pebbles. The pebbles release moisture as they dry. Combined with the tray water, humidity rises to 45-50% around the plant. This helped enormously.
I also mist the leaves lightly once a day with distilled water. Some experts say not to mist. They claim it washes off dew. In my experience, a light mist in the morning does more good than harm. It raises local humidity and keeps dust off leaves. Just avoid misting midday when the light is strongest.
Feeding Sundews in a Basement
Basements have fewer insects than outdoor patios. I learned this the hard way. My first basement sundew looked healthy. But after two months, growth slowed. It was not catching enough food.
Sundews need insects for nitrogen. In a clean basement, there are no flies. I had two options.
Option one: collect insects manually. I toured my kitchen and found dead fruit flies near the trash. I picked them up with tweezers and placed them on the sundew leaves. The tentacles curled around within 30 minutes. It was fascinating.
Option two: use a small culture of wingless fruit flies. I bought a starter culture online for $10. I release a few flies into the tray occasionally. The sundews catch them naturally.
I do not recommend feeding with ham or fish flakes. These rot quickly and cause mold. Sundews can absorb small insects. Decaying meat is too rich.
How Often Should You Repot a Basement Sundew?
Sundews do not need frequent repotting. I do it once a year. The reason: old soil compacts over time. The peat moss breaks down. Drainage becomes poor.
I repot in early spring. I use fresh peat-perlite mix. I gently remove the plant from the pot. The roots of sundews are shallow and fragile. I handle them carefully.
I choose a pot one size larger. For example, from a 3-inch to a 4-inch pot. Do not jump too large. A big pot holds too much water. The roots can rot.
After repotting, I keep the plant in the same light schedule. I do not change anything for a week. This reduces stress. The plant resumes growth within a few days.
Common Diseases and Pests in Basement Sundews
Basements are generally clean. But problems do happen. Here are the three I faced.
Spider Mites
These tiny pests appear as fine webs on the undersides of leaves. They thrive in dry air. I spotted them after two months of low humidity. The leaves looked speckled and weak.
I sprayed the plant with a mixture of distilled water and mild soap. I used a drop of natural dish soap per cup. I sprayed all leaves carefully. I also kept the humidity above 50%. The mites disappeared in a week.
Gray Mold (Botrytis)
Gray mold looks like fuzzy gray patches. It appears when airflow is poor. I had this after a rainy week when my basement humidity hit 80%.
I cut away all infected leaves. I moved a fan to blow gently over the plants. I also reduced the water level in the tray slightly. The mold did not return.
Scale Insects
I brought scale home on a new plant I bought online. The leaves had small brown bumps. They are hard to see at first. I scraped them off with a soft toothbrush. I also wiped the leaves with a cotton swab dipped in rubbing alcohol. I quarantined the plant for two weeks. The scale did not spread.
Frequently Asked Questions
Can I keep a sundew in a basement without any natural light?
Absolutely. I do it with a full-spectrum grow light. No natural light is needed at all. My plants grow faster than outdoor ones. Just follow the 14-hour schedule.
Do sundews need a dormancy period in a basement?
It depends on the species. Drosera capensis and Drosera spatulata are tropical. They do not require winter dormancy. Drosera rotundifolia is temperate and needs a 3-month cold rest. I reduce light to 10 hours and lower temperature to 50°F during dormancy. I stop watering the tray. The plant shrinks but survives.
Can I use tap water in a pinch?
Never. Tap water contains minerals that burn sundew roots. Even a single use can cause leaf browning. I use only distilled water. In emergencies, rain water works too. Just collect it in a clean container.
Final Thoughts
Growing a sundew in a basement with light is easier than most people think. The biggest barrier is mental. People assume that without sun, it is impossible. But a good grow light changes everything.
I personally maintain six sundew species in my basement now. All of them catch prey. All of them flower. I water them about once every three days. I change the light timer seasonally. That is it.
If I can do it in a windowless, damp basement, you can do it in yours. Start with a Drosera capensis. Get a decent light. Use distilled water. Avoid the three mistakes I mentioned. You will be amazed by the results.
I hope my experience helps you avoid the heartbreak I went through. Keep the light strong. Keep the water pure. And give your sundew two weeks. It will thank you with dewy, glowing leaves.





