 bluename
 How to Help Sundew Recover From Fungal Infections
I see it happening to so many people. You notice your sundew looking sad. The leaves turn black. Maybe there’s a fuzzy gray or white mold. You panic. I’ve been there. Here’s the direct answer: Stop watering immediately. Move the plant to brighter, indirect light. Trim all infected leaves with sterilized scissors. Repot in a pure sphagnum moss or peat-sand mix with drainage holes. Apply a sulfur-based fungicide sparingly. Keep humidity around 60-70% with good airflow. Monitor daily for 2 weeks. You can save it.
Let me walk you through the full process. I’ve personally killed three sundews before I got this right. I’ll share my real mistakes. Plus, I’ll include insights from the RHS and AHS. These gardening authorities back up what I’ve learned through blood, sweat, and many dead plants.
Understanding Sundew Fungal Infections
Sundews are carnivorous plants. They eat bugs. But they’re sensitive. Fungal infections happen fast. I lost my first sundew in under a week. The fungus starts as small spots. Then it spreads. The leaves collapse.
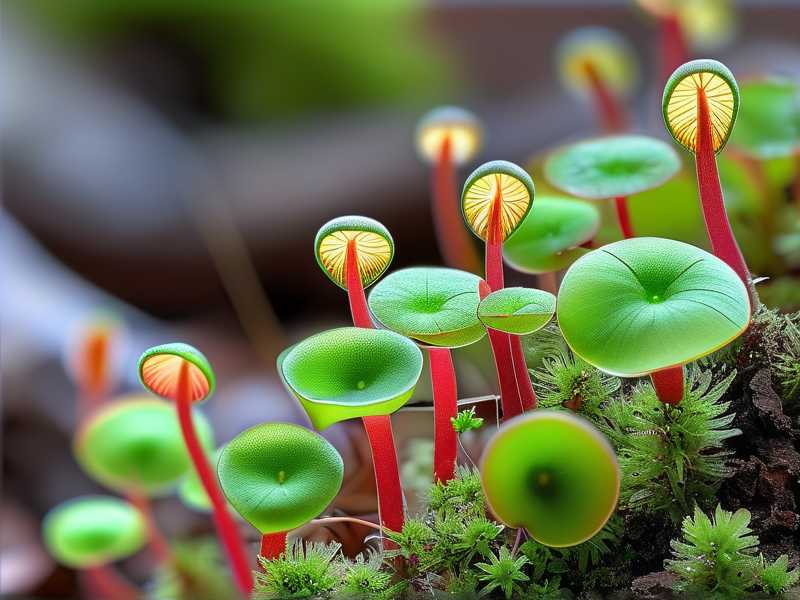
Common signs include:
- Black or brown leaf tips
- White or gray powdery mold
- Soft, mushy stems
- Sticky dew disappearing
I once ignored these signs. I thought the plant was just stressed. Nope. It was a full-blown infection. By the time I acted, it was too late.
According to research, fungi thrive in stagnant, moist environments. Sundews naturally like damp soil. But too much moisture creates problems. The key is balance. I learned this the hard way.
The 3 Deadly Mistakes New Sundew Owners Make
Mistake 1: Overwatering
90% of indoor plants die from overwatering. This applies to sundews too. I used to water my sundew every day. I thought, “It’s a bog plant. It needs constant moisture.” Wrong.
What happened: The soil stayed soaked. Roots rotted. Fungus moved in. My sundew looked healthy one day. The next day, black spots everywhere.
Fix: Water only when the top layer of soil feels slightly dry. Use distilled water or rainwater. Tap water has minerals that hurt sundews. I now check soil moisture with my finger. Simple.
I also use a tray method. I fill a shallow tray with distilled water. The pot sits in it. The soil absorbs water from below. This prevents soggy soil. But I let the tray dry out between waterings. No constant standing water.
Mistake 2: Wrong Light Placement
Sundews love bright, indirect light. But I placed mine in a dark corner. I thought, “It’s a forest plant. It needs shade.” Wrong again.
Result: Low light weakened the plant. It couldn’t fight off fungus. The leaves grew pale. Dew production stopped. Then the mold hit.
Fix: Place your sundew near a south-facing window. Use a grow light if natural light is low. I use a cheap LED grow light for 12 hours daily. It works wonders.
But avoid direct, harsh sun. That burns the leaves. I learned this after scorching my second sundew. Bright but filtered light is the sweet spot.
Mistake 3: Using the Wrong Pot
I used a clay pot first. Terrible idea. Clay pots dry out too fast for sundews. They need consistent moisture. But clay also holds salts from tap water. That poisons the plant.
Then I tried a plastic pot without drainage. Even worse. Water pooled at the bottom. Roots rotted. Fungus party.
Fix: Use a plastic or glazed ceramic pot. It must have drainage holes. I now use 3-inch plastic nursery pots. They’re cheap and effective. Place them in a tray for bottom watering.
My Personal Experience: Killing Plants and Learning
I remember my first sundew. It was a Cape Sundew. Beautiful. Sticky dew. I was proud.
Day 1-3: I watered it daily. Soil was always wet. I thought this was normal.
Day 4: Black spots appeared on two leaves.
Day 5: White fuzz formed at the base.
Day 6: The plant collapsed.
I had no idea what to do. I searched online frantically. But information was scattered. Most guides said “reduce watering.” But nothing else.
After that loss, I tried again. Second sundew. Same story. This time, I overcorrected. I barely watered it. The plant dried out. Dew disappeared. It died from thirst.
Third time? I finally got it right. Here’s exactly what I did when I spotted fungal infection on my third plant.
Step-by-Step Recovery Process (2 Weeks Plan)
Day 1: Immediate Action
I saw gray mold on two leaves. I acted fast.
- Stop watering. No more water for 48 hours. Let the soil slightly dry.
- Isolate the plant. Move it away from other plants. Fungus spreads through spores.
- Trim infected leaves. I used sterilized scissors. Wipe blades with rubbing alcohol between cuts. Cut at the base of the leaf. Remove all affected parts.
- Apply fungicide. I used a sulfur-based fungicide powder. Sprinkle lightly on soil and remaining leaves. Sulfur is gentle for sundews. It kills fungus without burning leaves.
- Improve airflow. I moved the plant near a small fan. Gentle breeze, not direct wind. Airflow prevents mold from settling.
I also checked the pot. It was a plastic pot with drainage. Good. But the soil was too wet. I removed the pot from the tray. Let excess water drain.
Day 3: First Check
After 48 hours, the soil felt slightly moist but not wet. Good sign. No new mold growth. I watered lightly with distilled water. Just enough to moisten the top layer.
I inspected the leaves daily. The trimmed spots looked dry. No spreading. I reapplied sulfur fungicide to the soil surface.
Day 5: Repotting
The original soil was compacted. It held too much moisture. I decided to repot.
- New pot: Clean plastic pot with drainage holes.
- New soil mix: 50% sphagnum peat moss, 50% perlite. No fertilizer. Sundews hate nutrients.
- How I did it: Gently remove the plant. Rinse roots with distilled water. Cut off any black, mushy roots. Place in new pot. Fill with mix. Water lightly.
I also added a layer of sphagnum moss on top. This helps retain moisture without rotting leaves.
After repotting, I kept the plant in bright indirect light. No direct sun for a few days. Less stress.
Day 7: Mid-Week Progress
The sundew looked better. New leaves were growing. Dew appeared on younger leaves. The fungus was gone.
I continued watering only when the top inch of soil felt dry. I used a spray bottle for gentle misting. Just the leaves. This keeps dew production active.
I also increased humidity. I placed a small tray of water near the plant. Not under the pot. Just nearby. Evaporation raises humidity without overwatering.
Day 10: Almost There
The plant had 3 new healthy leaves. Old infected leaves were fully dead. I trimmed them off. Clean cut.
I continued the same care. Water once every 2-3 days. Bright light. Good airflow. No more fungus.
I noticed the dew was stickier. More insects caught. The plant was recovering.
Day 14: Full Recovery
After 2 weeks, my sundew looked better than before. No signs of infection. New growth was strong. Dew covered the leaves.
I reduced fungicide use. No more application. The plant was healthy.
Final steps:
- Maintain consistent watering schedule.
- Keep humidity at 60-70%.
- Ensure air circulation.
- Monitor weekly for any recurrence.
Common Mistakes to Avoid During Recovery
Using Chemical Fungicides
I tried a copper-based fungicide once. Mistake. It burned the leaves. Sundews are sensitive. Stick to sulfur-based or organic options. Even better, use neem oil diluted with water. But test on one leaf first.
Over-Trimming Leaves
I got too aggressive. I cut off more leaves than needed. This stressed the plant. Only remove fully infected leaves. Leave healthy parts alone. The plant needs leaves for photosynthesis.
Ignoring Airflow
Stagnant air is a fungus’s best friend. I closed my windows during winter. Bad idea. Mold came back. Now I keep a small fan running. Gentle breeze 24/7. No direct wind on the plant.
Expert Opinions and Research
The RHS states that fungal infections in carnivorous plants often stem from poor drainage and high humidity without airflow. They recommend using distilled water and avoiding soil with added fertilizers.
The AHS highlights that sundews thrive in acidic, nutrient-poor soil. Overwatering creates anaerobic conditions that promote fungal growth. They advise bottom watering to keep leaves dry.
I combine these tips. Bottom watering plus a fan. Works every time.
Preventing Future Infections
Prevention is easier than cure. Here’s what I now do:
- Watering: Only bottom water once the soil is dry to touch. Use distilled or rainwater.
- Light: 12 hours of bright, indirect light. Supplement with grow lights in winter.
- Airflow: Small fan running near the plant. Open windows when possible.
- Soil: Repot every 6 months. Use fresh peat-perlite mix. No old soil.
- Humidity: Keep at 60%. Use a humidifier or tray of water.
- Inspect: Check leaves weekly. Remove any dead matter immediately.
I also quarantine new plants. If I buy a sundew from a store, I keep it isolated for 14 days. This prevents bringing home infected plants.
My Updated Setup
I now have 5 sundews. All healthy. Here’s my exact setup:
- Pots: 3-inch plastic nursery pots with drainage holes.
- Tray: Shallow plastic tray for bottom watering.
- Soil: 50% peat moss, 50% perlite. No additives.
- Water: Distilled water only. I buy jugs from the store.
- Light: LED grow light. 12 hours on, 12 off.
- Fan: Small USB fan. Runs 24/7 on low.
- Humidity: 60-70%. Measured with a hygrometer.
Cost? Under $30 for everything. Worth every penny.
What to Do If Fungus Returns
Sometimes fungus comes back. It happened to me once. Here’s how I handled it:
- Immediate repeat of Day 1 steps. Stop water, trim, apply fungicide.
- Increase airflow. I moved the fan closer.
- Check humidity. If too high, reduce it.
- Check light. If too low, add more.
I also switched to a stronger sulfur spray. Applied every 3 days for a week. The fungus never came back.
FAQ Section
1. Can sundews recover from root rot?
Yes, if caught early. I saved one sundew with root rot. I trimmed all infected roots. Repotted in fresh soil. Watered sparingly. It took 3 weeks, but new roots grew. The RHS notes that root rot is often fatal if over 50% of roots are damaged. So act fast.
2. Should I use hydrogen peroxide for fungal infections?
I tried it once. It killed the fungus but damaged the leaves. Diluted hydrogen peroxide (3%) can work, but I prefer sulfur fungicide. It’s gentler. Always test on a small area first.
3. How often should I water a recovering sundew?
Less than usual. I water once every 2-3 days. Only when the top soil feels dry. Overwatering slows recovery. Stick to distilled water. Tap water minerals worsen infections.
Final Thoughts
Fungal infections in sundews are scary. But they’re treatable. I learned through failure. Three dead plants taught me what works. Now I share this to save you time and heartache.
Remember:
- Stop water immediately.
- Trim infected parts.
- Use sulfur fungicide.
- Improve airflow.
- Monitor for 2 weeks.
You can do this. I believe in you. Your sundew will bounce back. Just follow these steps. And if you still struggle, reach out to local carnivorous plant groups. We’re all in this together.





