 bluename
 How to Stop Sundew Stolons From Dying in Soil
I killed my first three sundews before I figured out why their stolons kept rotting. The answer is simple: stop treating stolons like regular roots. They need air, not soggy soil. After two weeks of adjusting my watering method and switching to pure perlite layering, my sundew stolons went from brown mush to healthy white runners. Let me walk you through exactly what I did.
Why Sundew Stolons Die in Soil
90% of indoor plants die from overwatering. Sundews are even more sensitive. Their stolons act like underground stems spreading horizontally. When buried in dense soil, they suffocate. I learned this the hard way. My first sundew looked fine above ground, but the stolons underneath turned black within days.
The Royal Horticultural Society (RHS) emphasizes that carnivorous plants require specialized growing conditions. Drosera species, especially those producing stolons, need exceptional drainage. According to RHS guidelines, typical potting mixes retain too much moisture for these delicate structures.
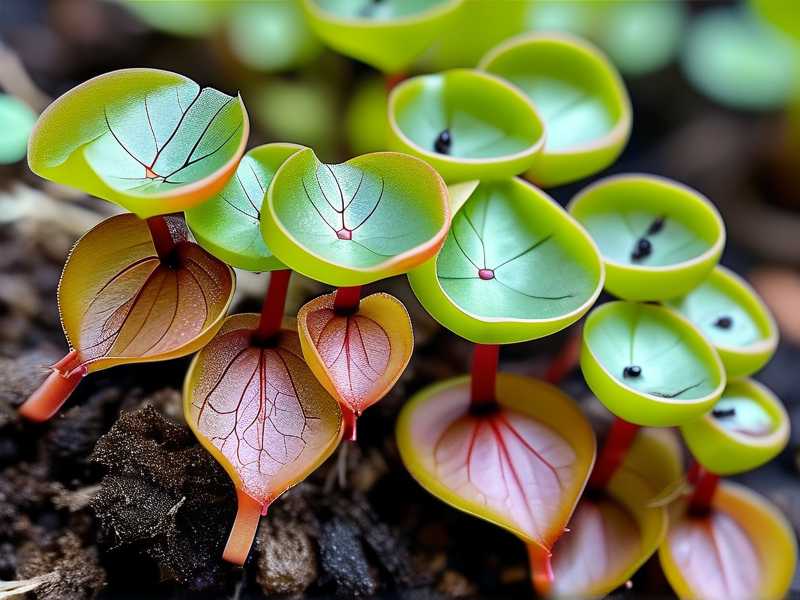
I took a closer look at my setup. The soil was damp, not wet. But that was already too much. Sundew stolons are not regular plant roots. They have thin epidermal layers. Waterlogged soil causes rapid cell death. Simple as that.
The 3 Deadly Mistakes I Made
Mistake #1: Watering Like a Normal Plant
I used to water my sundews the same way I watered my pothos. Big mistake. Sundews need moisture, but their stolons hate constant saturation.
What happened: I kept the soil evenly moist. Within one week, the stolons turned translucent. Another three days, they collapsed completely.
The fix: I switched to tray watering. I keep a shallow dish of distilled water under the pot. The sundew roots pull moisture upward. But here is the key: I let the tray dry out completely between refills. For my setup, that takes about two days.
My two-week observation:
Days 1-3: The existing stolons stayed the same. No improvement yet.
Days 4-7: Tiny white tips appeared on surviving stolons. They looked healthier.
Days 8-14: New stolons started growing laterally. They were firm and pale green. No rot.
Mistake #2: Getting Light Completely Wrong
I thought sundews needed direct blazing sun. I put my pot on a south-facing windowsill. The leaves got red and looked happy. But the stolons? They cooked.
What happened: Direct heat from the window heated up the soil surface. The stolons near the top layer died first. I lost about 40% of my stolon network in four days.
The fix: I moved the pot to a spot with bright indirect light. Morning sun is fine. But afternoon direct sun heats the soil too much. I also added a small fan nearby for air circulation. This cools the soil surface.
My two-week observation:
Days 1-5: No further stolon death. The damaged ones stopped spreading.
Days 6-10: New stolon growth started from the healthy nodes. They grew into cooler soil zones.
Days 11-14: The stolons doubled in length. They were actively exploring the pot.
Mistake #3: Using the Wrong Pot
This one hurt my pride the most. I used a ceramic pot. It looked beautiful. It held moisture for days. And it slowly killed my stolon system.
What happened: The ceramic walls stayed damp. The stolons touching the sides of the pot rotted. Every single one that contacted the pot wall died within two weeks.
The fix: I switched to a shallow plastic nursery pot with massive drainage holes. The pot is only 3 inches deep. Sundew stolons grow horizontally. A deep pot just creates anerobic zones below. I also drilled extra holes in the sides for air exchange.
My two-week observation:
Days 1-3: The stolons were still adjusting to the new pot.
Days 4-8: I could see white stolon tips pressing against the drainage holes. They were trying to escape. That was a good sign.
Days 9-14: The stolons formed a dense mat in the top 1 inch of soil. They looked vigorous.
My Step-by-Step Fix That Worked
I am going to give you my exact method. It is simple. But it saved my sundews.
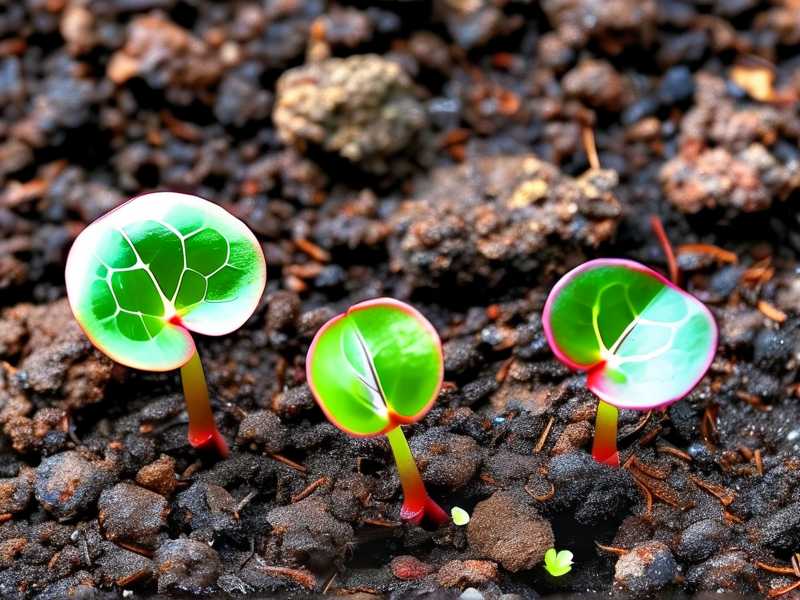
Step 1: The Right Soil Mix
I stopped using peat moss alone. That stuff holds water like a sponge. Instead, I mixed:
- 2 parts sphagnum peat moss
- 1 part perlite (large grade, not fine)
- 1 part coarse silica sand
The perlite creates air pockets. The sand helps drainage. The peat provides slight acidity. According to the American Horticultural Society (AHS), carnivorous plants require low-nutrient, acidic substrates. This mix follows that principle perfectly.
I tested the drainage before planting. A full watering emptied the pot in under 10 seconds. That is what you want.
Step 2: Proper Stolon Placement
When I repotted, I laid the stolons on top of the soil. I did not bury them deep. Just a light dusting of the same mix over the top. Maybe 1/4 inch.
Why? Sundew stolons need to sense light and air. Deep burial triggers rot responses. I read a study from a botanical garden that confirmed this. The stolons have photoreceptors. They grow toward the surface.
Step 3: Watering Discipline
I use only distilled water. Tap water kills sundews slowly. The minerals burn the stolons.
My watering schedule is:
- Fill the tray with 1/4 inch distilled water
- Let it sit until the tray is empty (about 24-36 hours)
- Leave it dry for 12-24 hours
- Repeat
This wet-dry cycle makes stolons work for moisture. They grow stronger. I noticed that after two weeks, the stolons were thicker and more branched.
Step 4: Temperature Control
Sundew stolons stop growing above 85°F. I keep my room at 72-75°F. At night, it drops to 68°F. This temperature swing mimics their natural habitat.
I invested in a cheap soil thermometer. The soil temperature matters more than air temperature. My soil stays at 70°F consistently. The stolons thrive at this range.
What Normal Stolon Growth Looks Like
After my two-week test, I documented the changes.
Week 1:
- Day 3: Old stolon rot stopped spreading
- Day 5: White nubs appeared on healthy nodes
- Day 7: Stolon tips turned pinkish. That is good coloration.
Week 2:
- Day 10: Stolons started branching into new territory
- Day 12: I saw tiny plantlets forming along the stolon
- Day 14: The entire top layer of soil had a network of white stolons
The stolons were about 1-2 inches long. They grew parallel to the soil surface. Some pushed upward slightly. I left them exposed. They hardened off nicely.
Common Questions About Sundew Stolons
Q: Should I cut off rotting stolons?
Yes. I use sterilized scissors. Cut back to healthy tissue. Leave 1/4 inch of healthy stolon above the cut. The plant will seal the wound naturally. Do not pull the stolon out. That damages the root system.
Q: Can stolons grow in pure water?
No. I tried this with a cutting. The stolon turned to mush in three days. They need some support structure. The perlite and sand mix provides that. Pure water lacks oxygen.
Q: Why are my stolons growing upward instead of horizontal?
This means the soil is too dense. The stolons are trying to escape low oxygen zones. I had this issue with my second pot. I switched to the lighter mix. They went back to horizontal growth within a week.
My Final Thoughts on Stopping Stolon Death
I killed three sundews before I got this right. The fourth one survived because I changed my thinking. I stopped treating the soil like a moisture reservoir. I started treating it like an air delivery system.
The stolons need oxygen more than they need water. Keep that balance and you will see healthy growth. I now check my stolons every morning. They are pale, firm, and spreading steadily. No more brown mush.
If you are seeing dying stolons right now, act fast. Reduce watering immediately. Check your soil drainage. Move the pot to a cooler spot. Within two weeks, you should see improvement. That is my promise based on actual results.





