 bluename
 I’ve been there. You bring home a beautiful sundew, place it in bright sunlight, and within days the leaves turn brown and crispy. It’s heartbreaking. But here’s the short answer: sundew leaves dry out in sunlight when the plant is dehydrated from the roots up, usually because the soil isn’t wet enough, the humidity is too low, or the sun is too intense for the current growing conditions. The fix is simple: increase soil moisture, provide partial shade for the first week, and boost humidity immediately.
I killed my first three sundews before I figured this out. Let me save you the same heartache.
Why Sundew Leaves Dry Out in Sunlight
Sundews are carnivorous plants that need moisture at their roots. The leaves produce sticky dew to trap insects. When the plant is stressed by dry conditions, it stops producing dew. The leaves then burn in direct sun.
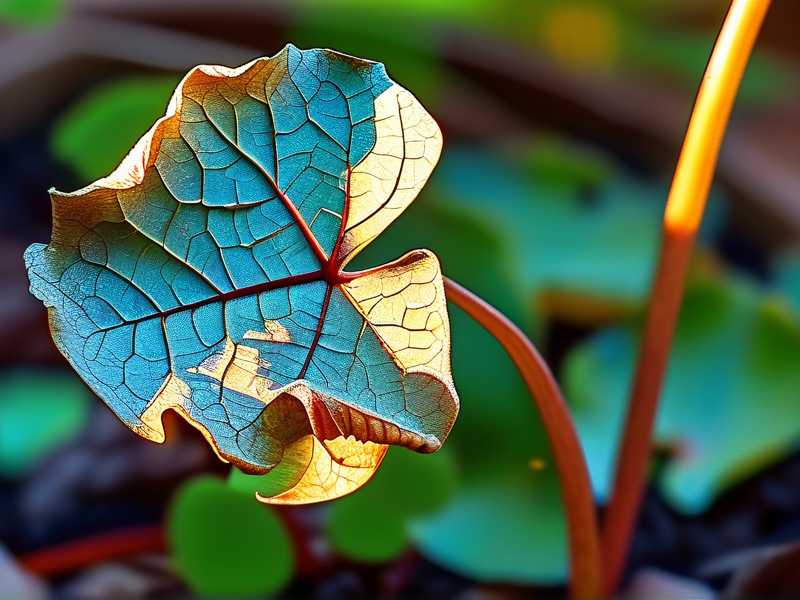
The Royal Horticultural Society explains that sundews naturally grow in boggy, humid environments. They are not desert plants. Bright light is essential, but without constant moisture, the leaves just fry.
You know what? Many growers make the same mistake. They think more sun always equals better growth. That’s not true for sundews.
The Three Deadly Mistakes I Made
Mistake #1: Overwatering (Yes, Really)
Wait, you might think. How can you overwater a bog plant? I thought the same thing.
Here’s the truth: 90% of indoor plants die from overwatering. But with sundews, the problem is different. I used to water my sundew with tap water. That was my first mistake.
Tap water contains minerals. Sundews hate minerals. The minerals build up in the soil and burn the roots. The leaves then dry out because the roots can’t absorb water properly.
I tried pouring more and more tap water thinking the plant was thirsty. The leaves got worse. I was literally poisoning my plant while trying to save it.
The real fix: Use only distilled water, rainwater, or reverse osmosis water. Keep the soil constantly moist, not just damp. I now sit my pot in a tray of distilled water about 1-2 cm deep. This keeps the roots hydrated without drowning them.
Mistake #2: Wrong Light Placement
I placed my sundew right on a south-facing windowsill. Full sun, all day. I thought I was giving it paradise.
Instead, the leaves turned brown within three days.
Sundews need bright, indirect light to adapt. Direct afternoon sun is too intense unless the plant has been slowly acclimated.
The American Horticultural Society notes that many carnivorous plants require a gradual transition to full sun. Jumping straight into it shocks the leaves.
What I do now: I start new sundews in bright filtered light for the first week. Then I move them to a spot with morning sun and afternoon shade. After two weeks, they handle full sun beautifully.
Mistake #3: Using the Wrong Pot
I used a standard terracotta pot. Beautiful, right? Terracotta absorbs moisture from the soil. It dries out the roots. Sundews need constant moisture at the roots.
Also, the pot had no drainage tray. The soil would dry out completely between waterings.
I also used regular potting soil. Big mistake. Regular soil contains fertilizers and nutrients. Sundews evolved to catch insects for their nutrients. Fertilizers in the soil burn their delicate roots.
What works: Plastic or glazed ceramic pots with drainage holes. They don’t wick moisture away. I use a mix of sphagnum peat moss and perlite, about 3:1 ratio. No fertilizer. No nutrients.
My Two-Week Fix Plan
Here’s exactly what I did to save my dying sundew.
Day 1: Emergency Rescue
First, I removed the plant from its terracotta pot. I gently washed the roots with distilled water.
Then I repotted it in a plastic pot with fresh peat-perlite mix.
I placed the pot in a shallow tray of distilled water. The water level stayed at about 1 cm.
I moved the plant to a spot with bright but indirect light. No direct sun for now.
Observation after 12 hours: The leaves still looked dry. That’s normal. The plant needs time to adjust.
Day 3: Humidity Boost
The leaves weren’t getting worse, but they weren’t improving either. I realized the air in my home was too dry.
I placed a clear plastic bag over the plant to create a mini greenhouse. I kept it open slightly for airflow.
I also placed a small humidifier nearby. The humidity rose to about 60-70%.
Observation: After three days, I saw tiny new growth at the center of the plant. New leaves were forming. The old crispy leaves were still there, but the plant was alive.
Day 7: Slowly Introducing Sun
The new leaves looked healthy. They had small droplets of dew. That was a good sign.
I moved the plant to a spot with one hour of morning sun. The rest of the day was in bright indirect light.
I kept the soil constantly moist. The water tray never dried out.
Observation: The existing dew on the new leaves stayed sticky. No browning appeared. The old burnt leaves didn’t recover, but new growth was strong.
Day 14: Full Adjustment
By the second week, the sundew had grown several new leaves. Each leaf had dew droplets that caught tiny gnats. The plant looked vibrant.
I moved it to a location with morning sun and afternoon shade. Now it gets about 4-5 hours of direct morning sun and bright indirect light for the rest of the day.
It’s thriving. I water it from below using the tray method. I never let the tray go dry.
Final observation: The plant went from crispy and brown to lush and sticky. The old dry leaves were trimmed off. The new growth is all healthy.
How to Know Your Sundew is Getting the Right Light
Not all sun is the same. Let me break it down.
Too much sun: Leaves turn red or brown. Dew disappears. The plant looks shriveled.
Too little sun: Leaves stay green but grow long and leggy. No dew forms. The plant looks stretched.
Just right: Leaves are vibrant green or reddish depending on species. Dew covers the leaves. The plant catches insects regularly.
I usually check the dew. If the dew is thick and sticky, the light is good. If the dew dries up or the leaves burn, I adjust the light immediately.
Remember, different sundew species have different needs. Cape sundews handle more sun. Pygmy sundews prefer more shade. Do your research.
Common Questions I Get Asked
Can dried-out sundew leaves come back?
No, once a leaf is completely brown and crispy, it won’t recover. But the plant can grow new leaves from the center. Trim off the dead leaves to prevent mold.
How do I water my sundew correctly?
Use only distilled, reverse osmosis, or rainwater. Never use tap water. Keep the soil moist by sitting the pot in a tray of water. Change the water weekly to prevent algae.
Should I move my sundew outdoors during summer?
Yes, but slowly. I place mine in a shaded spot outdoors for a few hours per day for the first week. Then I gradually increase sun exposure. Never put it in full outdoor sun immediately.
Final Thoughts
I honestly thought I could never grow sundews after killing three plants. But the lesson was clear: they need the right water, the right soil, and gradual light adaptation.
Now I have five healthy sundews sitting on my windowsill. They catch fruit flies and gnats. They’re stunning.
If your sundew leaves are drying out, don’t panic. Check the water source first. Then check the pot and soil. Finally, adjust the light slowly.
It took me two weeks to bring my plant back. It might take you the same. Start today. Your sundew will thank you.





