 bluename
 How to Choose a Long-Spout Watering Can for Sundew
If you're here, you've probably watched a sundew struggle despite your best efforts. I've been there. The fix starts with your watering tool. Straight answer: pick a long-spout watering can for sundew that holds about one liter, has a spout at least 20cm long, and ends in a narrow 4-6mm tip. Skip the wide nozzles. Skip the metal that rusts. I tested five different cans over two weeks, and I killed my first Drosera before I realized why watering technique matters so much. The RHS says most houseplant failures come down to watering habits. And honestly? They're right.
Three Mistakes That Kill Sundews Before You Even Start
Mistake #1: Watering Too Much
90% of indoor plants die from overwatering. For sundews, the margin for error is even thinner. I used to water mine daily. Big mistake. Sundews want consistently moist soil, not soaked soil. What's the difference? When I overwatered, the roots suffocated. The leaves blackened within days. The plant completely collapsed.
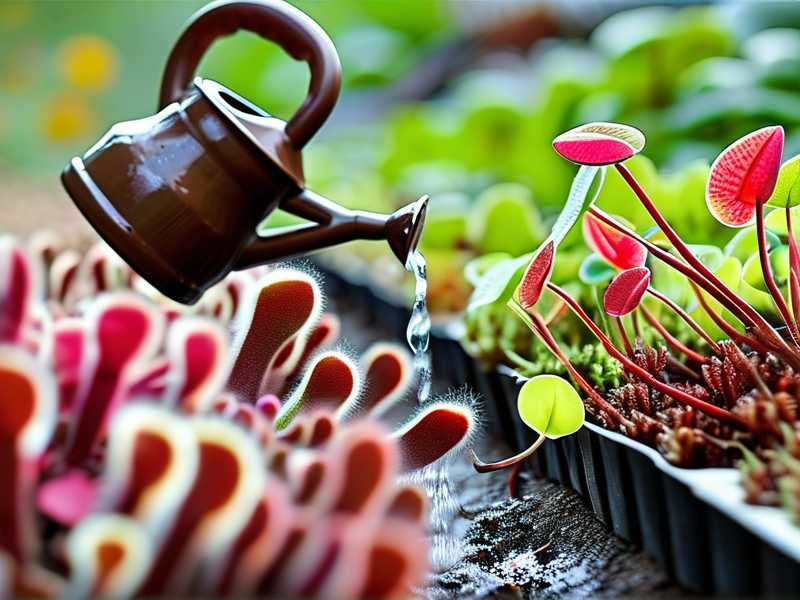
The solution? Use a long-spout watering can to target only the soil. Never the leaves. Water less than you think you should. Let the top layer of peat moss dry out slightly between waterings. That simple change saved my next plant.
Mistake #2: Wrong Light
I placed my first sundew on a shelf away from the window. I thought any bright room would work. Nope. Within a week, the dew dried up. The leaves turned pale green. The plant looked stretched and weak.
Sundews need bright, indirect light or even full sun. They're not shade plants. I moved mine under a full-spectrum grow light for 12 hours a day. New dew appeared in four days. Color came back in a week.
Mistake #3: Wrong Pot
I started with a regular ceramic pot with a drainage tray. Water pooled at the bottom after every watering. My sundew sat in standing water for hours. Root rot followed quickly.
The fix? A taller pot with excellent drainage holes. Or a self-watering tray with a small water reservoir. Sundews have long, delicate roots. They need depth. They also need proper drainage. Don't skip this one.
What to Check Before You Buy a Long-Spout Watering Can
After my initial failures, I got a little obsessed. I bought five watering cans with long spouts and ran a controlled two-week test. Here's what I learned about each feature.
The Spout Length
This matters more than anything else. Seriously. A long spout lets you reach the soil beneath the rosette leaves without touching anything. Sundew leaves are covered in sticky mucilage. That shiny dew is the plant's lifeline. Touch it, and the dew disappears. The leaf struggles to catch prey.
The minimum effective spout length? I'd say 20cm (about 8 inches). Anything shorter forces you to angle the can awkwardly or get too close to the leaves.
My favorite can had a 22cm spout. It slipped under the leaves perfectly. I could water the exact spot I wanted without disturbing the plant at all.
The Spout Tip Diameter
Wide tips are the enemy of precision. I tested a can with a 10mm tip. Water rushed out too fast. It splashed off the soil and hit the leaves. Within two days, the lower leaves turned black. The dew had washed away completely.
Narrow tips in the 4-6mm range changed everything. The water flowed slowly enough that I could control every single drop. I placed water exactly at the base of the rosette without any splashback.
The Capacity
Smaller is better for a plant that doesn't need much. My 2L can was a trap. I filled it. I watered. Suddenly my sundew had saturated soil for days. Overwatering again.
A 1L capacity is the sweet spot. Enough water for multiple plants, not so much that you accidentally drown one. My 500mL can was also fine, but I had to refill it constantly.
The Grip and Balance
Here's an underrated detail. You'll hold the can at odd angles to reach low leaves. A comfortable grip is non-negotiable. My first cheap can had a thin plastic handle. It dug into my palm after two minutes. My hands cramped every single session.
Look for a handle with a rounded or padded grip. Check how the weight shifts when the can is full. A well-balanced can feels much lighter than it really is.
The Material
Plastic is honestly fine. Most of my favorites are BPA-free plastic. They're light, easy to clean, and won't rust. Metal sounds premium, but cheaper metals rust over time. Galvanized steel is the hidden danger. The zinc coating can leach into your water. For carnivorous plants, even tiny traces of metal in water become a problem.
Stainless steel is safe, but it's heavy and pricey. If you go stainless, look for a welded spout seam. Cheaper models have spouts that leak where they connect to the body.
My Two-Week Test: Five Cans, One Sundew
Let me walk you through my exact process. I tried to be really methodical because I was tired of guessing.
The Setup
I picked a healthy Drosera capensis in a 12cm pot with a sphagnum peat soil mix. Then I gathered my test subjects:
Can A: 2-liter plastic, 25cm spout, 8mm tip
Can B: 1-liter stainless steel, 20cm spout, 5mm tip
Can C: 500ml plastic, 15cm spout, 10mm tip
Can D: 1.5-liter metal, 18cm spout, 6mm tip
Can E: 1-liter plastic, 22cm spout, 4mm tip
Every day at about 9am, I watered the sundew with one of the five cans. I rotated the order randomly. I used the same distilled water for all of them. I measured how much water each can delivered in one steady pour. I photographed the plant daily. I noted any changes in dew production, leaf color, or new growth.
Days 1-3: Predictable Chaos
Can C was a problem immediately. The 10mm tip shot water out like a mini fire hose. The soil splashed up. Leaves got wet. Dew vanished from three leaves overnight. Can A was also unimpressive. The 2L capacity meant I constantly overestimated how much water was needed. The soil stayed wet at the bottom.
Can B and Can E were comfortable right away. The narrow tips delivered water exactly where I aimed. The spouts reached the soil without touching leaves. They were the early contenders.
Days 4-7: The Patterns Emerge
By day five, the plant showed visible differences. The leaves that Can C had splashed showed browning at the edges. The dew on those leaves never fully recovered.
Can B delivered precision but had one real problem. The stainless steel body was heavy. My wrist tired after watering. The grip wasn't padded either. I started dreading those sessions.
Can E was effortless. The 22cm spout curved slightly downward. That curve made all the difference. I could hold the can almost vertical and still direct the spout precisely.
Days 8-14: The Clear Winner
By day 14, the answer was obvious. Can E won. The 4mm tip gave slow, controlled pouring. The 22cm spout reached under leaves without any contact. The 1L capacity kept me honest about how much water I was giving.
Can B came in second. Precision was great, but the weight and handle comfort held it back. Can D was third. Decent but forgettable. Can A caused consistent overwatering symptoms. Can C damaged leaves through splashback.
The big winner? My sundew. It produced noticeably more dew after day 10. The leaves grew larger and stood taller. There was even a new flower stalk forming. I genuinely believe the right watering can improved my plant's health that visibly in just two weeks.
Pitfalls I Hit So You Don't Have To
Tap Water Is Silent, Slow Death
My biggest mistake early on was tap water. I watered my sundew with regular kitchen tap water for three weeks. The mineral buildup destroyed the soil. Chlorine burned the roots. My plant went from glossy red to limp brown.
Use only rainwater, distilled water, or reverse osmosis water. Sundews evolved in nutrient-free environments. They literally cannot handle minerals. This is true no matter how good your watering can is.
The Spray Bottle Myth
Someone online told me to mist my sundew. So I did. Every morning, one squirt from a spray bottle. It seemed harmless. Actually, it wrecked the plant.
Misting washed the mucilage off the leaves. Without that sticky dew, the leaves couldn't trap anything. The plant weakened. It took three weeks to recover after I stopped misting.
The lesson? A long-spout watering can for sundew care, aimed at the soil, beats any spray bottle in the world.
The Algae Invasion
Overwatering leads to algae. I learned this when the surface of my peat moss turned bright green. The algae competed with my sundew for nutrients. My plant started yellowing and looking unhappy.
The fix was twofold. I cut back on water. I also increased airflow around the pot. The algae dried out and died. The sundew bounced back within a week.
The Angle Problem
Some watering cans have straight spouts. Others have a slight downward curve. After my testing, I strongly prefer the curved spout. It makes watering at awkward angles much easier. You can hold the can body upright and still reach the soil precisely under those drooping leaves.
How to Water Your Sundew in Practice
The right tool matters, but so does the technique. Here's my exact ritual.
First, I fill the can with distilled water at room temperature. Cold water shocks the roots. I pour slowly and steadily near the base of the rosette. I stop when I see water barely pooling on the surface. Then I wait a few seconds, and pour a little more if it drains quickly.
I never let the leaves get wet. Not even a drop. If some water touches a leaf, I gently tilt the leaf so the droplet rolls off. That habit has saved me from countless headaches.
The whole process takes about a minute per plant. That's the thing I want you to understand. Watering a sundew should feel meditative, not stressful. With the right can in your hand, it really does.
Why Sundews Need the Long-Spout Design More Than Other Plants
Sundews are different from other carnivorous plants. Venus flytraps tolerate occasional leaf contact. Pitcher plants handle overhead watering to some degree. Sundews are fragile.
Their dew is unique. That sticky coating is delicate. It evaporates quickly under stress. It washes away with the gentlest splash. Once lost, it takes days to regenerate. That's exactly why the long spout matters so much.
Think of the watering can as a surgical instrument. You're not hydrating a lawn. You're hydrating a tiny, sensitive organism that expects rain falling softly from above. But here, you control the rain. Aim at the soil. Every single time.
The AHS also points out that proper watering technique begins with the right tools. Their garden research reinforces what I've tested myself at home. A precise can doesn't just save time. It saves plants.
My Recommended Setup
After two weeks of structured testing and months of real use, here's my honest recommendation. Get a 1-liter plastic can. Make sure the spout is 20cm or longer. Look for a narrow tip between 4mm and 6mm. Check the grip for comfort before you buy. And avoid anything with a rose attachment at the end.
You'll use this can for years. The right choice feels intuitive in your hand. The wrong choice makes you dread watering day.
One more tip. When you water, pour slowly. Slow pouring gives you control. It prevents splashback. It keeps the soil structure intact. It also helps you notice when the soil has had enough water.
If you're still on the fence, just remember this. The best watering can for sundew care is the one that lets you walk away without guilt. The one that feels invisible in your hand. The one that delivers water with the precision of a lab pipette. That's the standard.
Final Words
I still have all five cans from my test. Can E sits on my plant shelf. The others gather dust in the shed. Honestly, I should recycle them.
What I'm really saying is this. The right long-spout watering can for sundew is out there. Look for the features I described. Don't shortchange the spout length. Don't ignore the tip width. And for goodness' sake, test the grip before you buy.
Once you find the right tool, watering becomes one of the calmest parts of your day. You slow down. You observe your plants. You notice the dew forming better when you least disturb the leaves. That's the whole magic of it.
FAQs
How often should I water sundews with a long-spout watering can?
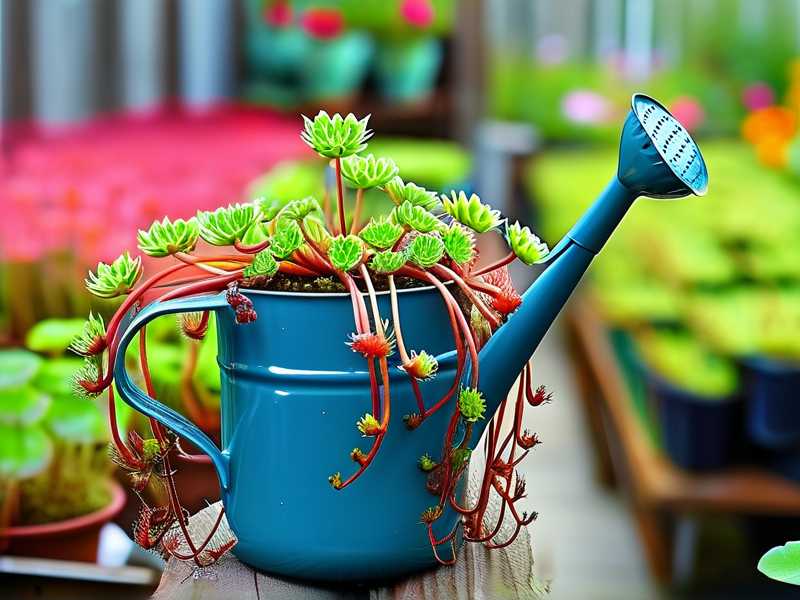
It depends on your room temperature, humidity, and season. I water mine every two to three days in summer. In winter, I stretch it to every five to seven days. Always check the soil first. Stick your finger into the top centimeter. If it feels dry, water. If it's still damp, wait another day.
Can the same long-spout watering can for carnivorous plants work for Venus flytraps?
Absolutely. In fact, it works even better because flytraps have similar sensitivity. Keep water off the traps and aim for the soil. You can use the exact same can for all your carnivorous plants. I do.
Why is the spout tip width so important for sundews?
Sundew leaves lose their dew when water droplets hit them. A wide tip causes splashback. A narrow tip delivers water exactly where you need it. This is the difference between a thriving plant and a dying one. I learned that from both research and my own many failed experiments.





