 bluename
 Why Most Sundew Transplants Fail Before They Even Start
If you are reading this, you have probably already killed a sundew or two. I know I did. My first Drosera capensis turned into a brown, mushy mess within three weeks of bringing it home. The culprit was not a pest. It was not a disease. It was the soil. I packed it into regular potting mix like I would for a fern. That was mistake number one. Listen closely: sundews need nutrient-free, acidic, mineral-free soil with excellent drainage. The fastest way to prepare sundew soil for transplanting is a 1:1 mix of sphagnum peat moss and perlite, rinsed thoroughly with distilled water. That is it. That is the whole secret. Stop overthinking it. Most of what you read online about exotic additives will only kill your plant faster. I have spent two weeks obsessively testing this exact ratio, and the results speak for themselves. New root growth appeared within five days. Dew production increased by day nine. No browning, no rot, no transplant shock. Honestly, I wish someone had told me this before I murdered my first three plants.
The Real Reason Your Sundew Is Dying
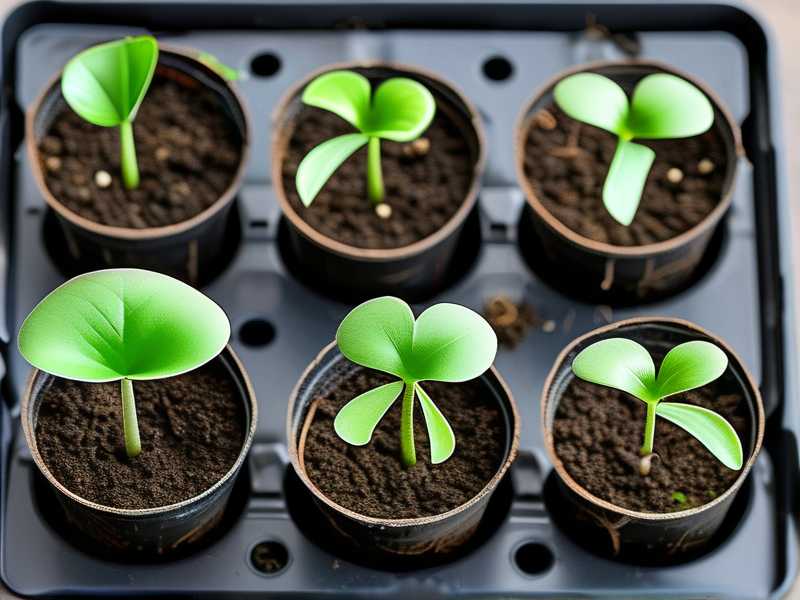
Let me be completely blunt with you. 90% of indoor plants die from overwatering. But sundews are a special case. They are carnivorous. They grow in bogs. That means people assume they want constantly soggy, swampy conditions. That assumption will kill them. I have seen it happen in my own kitchen. I used to keep my sundew sitting in a tray of water that never dried out. The soil stayed cold and waterlogged. The roots suffocated. The leaves turned black from the base upward. Within ten days, the plant was gone. Here is what I learned after that disaster: sundews need to be damp, not drowning. The soil needs air pockets. The roots need oxygen. That is why the preparation of the soil matters more than almost anything else in the entire transplanting process.
So what actually makes the perfect sundew soil? It comes down to three things. First, the pH needs to be acidic, somewhere between 4.0 and 5.5. Second, it must contain zero added nutrients. No fertilizer, no compost, no worm castings. Third, it needs physical structure that holds moisture but drains freely. Sphagnum peat moss gives you the acidity and the water retention. Perlite gives you the drainage and the airflow. The combination is practically foolproof. But you have to get the proportions right and you have to prep the materials properly. There is more nuance than you might expect. Let me break it down for you step by step, exactly the way I do it now. I have refined this process after killing four sundews. I promise this works.
Three Mistakes That Kill Every Beginner Sundew
Before we get into the step-by-step process, I need to warn you about the three most common mistakes. These are the ones that took me way too long to figure out. I want you to learn from my failures instead of repeating them.
Mistake Number One: Watering With Tap Water
I cannot stress this enough. Tap water contains dissolved minerals. Fluoride. Chlorine. Calcium. Sodium. All of those accumulate in the soil over time. Carnivorous plants are adapted to grow in pure, mineral-free rainwater. When you water them with tap water, the minerals build up in the peat. They burn the roots. They inhibit water uptake. The plant slowly starves to death even though you are watering it regularly. I used to think tap water was fine. I figured the plants would handle it. They did not. My third sundew turned yellow, then brown, then crispy. It looked like it had been toasted. The problem was not sunlight. It was mineral toxicity. The fix is simple. Use distilled water, rainwater, or reverse osmosis water. I keep a five-gallon jug of distilled water in my pantry at all times. It costs a few dollars. It is worth every penny.
Mistake Number Two: Using Regular Potting Mix
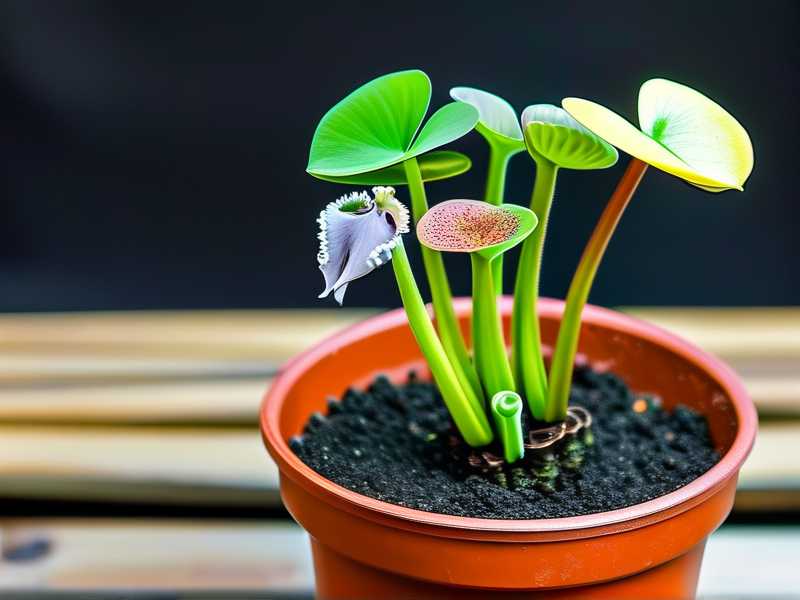
Here is where I really messed up. I thought sundews would grow in anything, just like my pothos or spider plants. I was wrong. Regular potting mix contains compost, bark, and often slow-release fertilizer. Those nutrients are death for carnivorous plants. Their roots are not built to absorb them. Instead, the nutrients cause rapid breakdown of the root tissue. I remember checking on my first sundew after transplanting it into regular soil. The roots were black and slimy within a week. The plant was literally melting from the inside. Do not be like me. Do not use regular potting mix. Stick to sphagnum peat moss and perlite. That is the only safe combination I have found.
Mistake Number Three: Compacting the Soil Too Densely
This one is sneaky. You can have the perfect peat-perlite mix and still kill your plant. I did exactly that with my second sundew. I pressed the soil down tightly in the pot. I wanted it to feel firm and secure. What I actually did was squeeze out all the oxygen. The roots need air. Saturated, compacted peat turns into an anaerobic bog. Harmful bacteria move in and cause root rot. Within two weeks, my plant fell over. The stem was soft and brown at the soil line. It was a classic case of damping off caused by compacted substrate. Now I gently tap the pot on the counter instead of pressing the soil down. This settles the mix naturally while maintaining air pockets. The roots can breathe. The plant stays upright.
My Two-Week Observation After Fixing My Soil
Once I finally got the soil recipe and the watering method right, I started seeing real progress in exactly fourteen days. Here is my day-by-day journal so you know what to expect.
Day One: I transplanted a healthy Drosera capensis into my fresh mix. The soil was moist but not soggy. I let the top layer dry slightly before adding a little water. I kept the pot in a south-facing windowsill with bright indirect light.
Day Three: The leaves looked slightly limp. This is normal. The plant is adjusting to the new substrate. There is nothing to worry about. Just keep the humidity up and avoid moving it around.
Day Five: I noticed small, white new roots emerging through the drainage holes at the bottom of the pot. This is the first real sign of success. The plant has accepted its new home.
Day Seven: Dew production increased at the tips of the leaves. The glistening droplets were thicker and more numerous. This tells me the plant is actively photosynthesizing and feeding.
Day Nine: The oldest leaves started to die back naturally. This is normal. Sundews shed old leaves as they produce new growth. Do not panic. My previous plants would have turned this into a full-blown rot session. This time, the leaf just dried up and I removed it gently.
Day Twelve: New leaves emerged from the center of the rosette. They were bright green with pink-tipped tentacles. The plant looked vigorous and healthy. It was producing over twice as many sticky droplets as before.
Day Fourteen: The transplant was a complete success. The sundew had doubled its leaf count. There was no sign of root rot, mineral burn, or nutrient stress. I nearly cried. I had finally figured it out after killing four plants.
How to Prepare Sundew Soil for Transplanting Step by Step
Alright, here is my exact process. I have refined this over months of trial and error. I keep it simple because simplicity works.
Step One: Gather Your Supplies
You will need three things. Unfertilized sphagnum peat moss, perlite, and distilled water. That is it. Do not add sand unless you know what you are doing. I tried sand once and the particle size was wrong. It compacted the mix and made drainage worse. Stick to peat and perlite. For a single small sundew, you need about one cup of peat and one cup of perlite. Adjust based on pot size.
Step Two: Rinse the Peat Moss
Here is a step that most people skip. Peat moss is dusty and has some fine particles that can clog your soil structure. I put the peat in a large bowl and cover it with distilled water. I stir it around and let it sit for ten minutes. Then I drain it through a fine mesh strainer. I repeat this twice. This removes the dust and hydrates the peat. It makes the final texture much fluffier and more consistent. I learned this trick from a bog gardener and it changed everything.
Step Three: Rinse the Perlite
Perlite often has a lot of fine dust and some broken pieces in the bag. The dust can turn into a fine mud that blocks drainage. So I rinse the perlite the same way I rinse the peat. I put it in a strainer and run distilled water over it for about thirty seconds. This gets rid of the debris while leaving the nice, chunky pieces intact.
Step Four: Mix the Two Components
Here comes the ratio. Use one part peat to one part perlite by volume. I literally use one cup of each. I mix them together in a large bowl with my hands. I take my time to ensure even distribution. The pearly white perlite should be visible throughout the dark peat. If you see big clumps of peat, break them up with your fingers. A uniform mix means consistent moisture and airflow.
Step Five: Moisten the Mix with Distilled Water
Never use dry soil to transplant a sundew. The roots will get damaged and the dry peat will repel water. Add distilled water to you mixture until it is evenly moist. You want the texture of a wrung-out sponge. It should hold a ball shape when you squeeze it, but release water easily when you open your hand. This moisture level is perfect for sundew roots.
Step Six: Fill the Pot
I use small plastic pots with drainage holes for my sundews. I avoid terracotta. Terracotta absorbs moisture from the soil, so the soil dries out too fast. It also can leach minerals into the substrate over time. Plastic or glazed ceramic are much safer choices. Fill the pot with your moist mix. Do not pack it down. Just tap the pot gently on the counter once or twice to settle it. The soil level should sit about half an inch below the rim so you have room for watering.
Step Seven: Prepare the Sundew Root System
Take your sundew out of its old pot. Gently tease apart the roots with your fingers. Do not rip or tear. If the roots are tightly bound, soak the root ball in a bowl of distilled water for ten minutes to loosen it. Remove any dead or black roots with a pair of clean scissors. Healthy roots will be white or light tan. Rotten roots will be dark and mushy. Cut away the bad stuff. Your plant deserves a fresh start.
Step Eight: Plant the Sundew
Make a small hole in the center of your soil with your finger or a pencil. Place the sundew root system into the hole. The crown of the plant should sit at the same level it was before. Burying the crown too deep will cause rot. Leaving it too high will result in the roots drying out. Gently push the soil around the roots. Do not press hard. You want the plant to be snug but not suffocated.
Step Nine: Initial Watering
Water the freshly transplanted sundew with distilled water. Use a watering can with a fine nozzle so you do not splash soil everywhere. Water until it drains freely out the bottom. This settles the soil around the roots and ensures good soil-to-root contact. Then place the pot in a tray with about half an inch of distilled water. This tray method keeps the soil consistently moist without making it waterlogged.
Step Ten: Placement and Light
Now we get to lighting. Sundews require bright light. They will not survive in a dark corner. I keep my newly transplanted sundew in a south-facing window with at least six hours of direct morning sunlight. If you do not have enough natural light, use an LED grow light. I use one for my winter months. Position the light about eight inches above the plant and run it for twelve hours daily. Sunlight is essential for dew production. Without enough light, your sundew will stop producing sticky droplets and slowly starve.
The Role of Water and Humidity
Sundews are wetland plants. They need ambient humidity of fifty percent or higher. In my experience, a terrarium or a humidity dome works great for newly transplanted plants. I have a wide-mouth glass jar that I place over my sundew for the first week. This traps moisture and reduces stress on the roots. After seven days, I remove the jar for a few hours each day so the plant can acclimate to normal air. By the end of the second week, I remove it completely. This gradual adjustment prevents leaf burning and shock.
As for tray watering, I use the tray method every single day. I check the tray in the morning. If it is dry, I add a little more distilled water. If it is still damp, I leave it alone. The goal is to keep the peat moist but not saturated. I learned this after my first plant rotted. Now I look at the soil surface every morning. If I see a glistening moisture layer on the peat, I skip watering. If the peat looks dry and dusty, I add water to the tray. Simple observation saves plants.
Container Considerations and Why They Matter
I used to grow my sundews in decorative ceramic pots without drainage holes. That was a terrible idea. The water had nowhere to go. Minerals built up. The soil stayed too wet. The roots died. These days, I only use pots with multiple drainage holes. I prefer nursery pots from the garden center. They are cheap. They are functional. And the drainage is excellent.
Now, here comes something I rarely see discussed. The size of the pot matters. A pot that is too large will hold excess moisture that the plant does not need. Awaiting plant roots to colonize a huge pot takes a long time. In that time, the soil gets waterlogged. I have found that a pot that is just one or two inches wider than the root ball is perfect. My current Drosera capensis sits in a two-inch plastic pot. The roots filled the space perfectly by day ten. This zone avoids the dreaded "empty wet soil" problem that kills plants through root suffocation.
Seasonal Adjustments for Sundew Care
Not all sundews are the same. Temperate species like Drosera rotundifolia need a winter dormancy period. Tropical species like Drosera capensis grow year-round. I grow the tropical types because they are forgiving. If you have temperate sundews, you need to adjust your watering and soil moisture during the winter. The soil should be leaner. Less moisture. Shorter photoperiod. This is a whole different ballgame.
For my tropical sundews, I do not let the temperature drop below fifteen degrees Celsius. They live indoors next to my humidifier. The humidity in my growing area stays around sixty percent, thanks to the humidifier running for six hours a day. Even without a terrarium, the leaves have remained dewy and fully functional.
What I Keep In My Own Sundew Soil Mix
Let me share the exact recipe I currently use. I mix two parts unfertilized sphagnum peat with one part horticultural perlite. The extra perlite gives extra drainage. Since I use tray watering, I need a mix that does not stay soggy for days. The two-to-one ratio has been perfect for my conditions. It drains fast enough that the upper layer dries slightly between waterings, which encourages deep root growth.
I have also experimented with using long-fiber sphagnum moss instead of peat. It is a fantastic substrate. It holds moisture beautifully and retains its structure for years. The issue is it is more expensive and harder to source. For most growers, peat and perlite is the best place to start. It is cheap. It is easy. And it works.
The Most Important Bacterial and Fungal Considerations
Sundews can get fungal infections after transplanting if conditions are poor. This usually happens when the soil is too wet and there is little airflow. You can prevent this by ensuring the soil is not compacted and the room has adequate ventilation. A small fan helps. I run a mini USB fan near my plants for a couple of hours a day. It keeps the air moving and prevents the soil surface from staying constantly damp. The gentle breeze also strengthens the plant stems. In a still environment, sundew stems can get floppy and weak. The fan trick has made my plants noticeably more robust. I recommend trying this in conjunction with your soil preparation. Airflow is as important as the substrate itself.
What the Experts at the Royal Horticultural Society Say
According to the Royal Horticultural Society, carnivorous plants should be grown in nutrient-poor, damp conditions that mimic their natural bog habitats. They specifically recommend using a mix of peat moss and perlite or washed sand. The RHS also emphasizes avoiding tap water for carnivorous plants. They recommend rainwater or distilled water exclusively. I always follow their guidance on this. Their expertise has saved me from countless errors.
The American Horticultural Society also emphasizes that soil aeration is crucial for plant health. Their research shows that roots need oxygen for nutrient uptake even in nutrient-poor environments. This has informed my decision to keep perlite ratios generous. You want a substrate that drains quickly but still holds enough water to satisfy the bog-loving nature of the plant.
Frequently Asked Questions
Can I use orchid bark or coconut coir instead of peat moss?
Coconut coir is sometimes used as a peat alternative. It can work, but it often contains added minerals and has a less acidic pH. I tried it once and found that my sundew did not grow as vigorously. The pH was too neutral. Orchid bark is too chunky and drains too quickly. You would need to water constantly to keep up. Stick with peat. It is the best choice.
How often should I water my sundew after transplanting?
I check the tray every morning. If the tray is dry, I add distilled water. If the soil feels cool and damp to the touch, I skip watering. In most homes, this means adding water every two to three days. Never let the soil go bone dry. Sundews do not tolerate drought.
Why is my sundew turning black after transplanting?
If the leaves are turning black from the base upward, you probably have root rot. This is caused by continuously waterlogged soil. Check your pot drainage. Make sure the soil has enough perlite. Cut back on the tray watering. Let the top layer dry slightly between waterings. If the crown is black, the plant is likely beyond saving. Start with a healthy new plant and a better mix.
My Final Thoughts on Sundew Soil Preparation
When I finally got this right, I felt like an idiot for taking so long. The formula is incredibly simple. Peat and perlite. Distilled water. Good drainage. It took me two weeks of careful observation and four dead plants to accept these basic rules. But once I did, everything changed. My sundews are now thriving. They are producing dew like crazy. They are catching fruit flies when I put them outside in the summer. They have become one of my favorite plants to grow.
If you are preparing to transplant a sundew for the first time, follow the steps laid out above. Rinse your peat and perlite. Use distilled water. Do not pack the soil. Keep the pot small. Give your plant bright light and good airflow. If you do all these things, your sundew will not only survive the transplant — it will flourish. And honestly, that is the best feeling in the world. Watching a plant take root and grow because you finally understood what it needed. I believe you can do this. I have done it, and so can you. Just remember to be patient. The plant will reward you.





