 bluename
 How to Help Sundew Adapt to Indoor Grow Lights
I killed three sundews before I figured this out. The answer is simple: start with low light for 2 weeks, keep the plant in a tray of water, and never use potting soil. I will walk you through my exact routine. It took me 14 days of daily observation to get it right. And honestly, the biggest enemy isn't the lights. It's you. Specifically, your watering can. 90% of indoor plants die from overwatering, and sundews are even more sensitive than most because they need constant moisture but hate being drenched in stagnant, oxygen-deprived media. Let's fix that right now.
My 2-Week Adaptation Timeline That Actually Worked
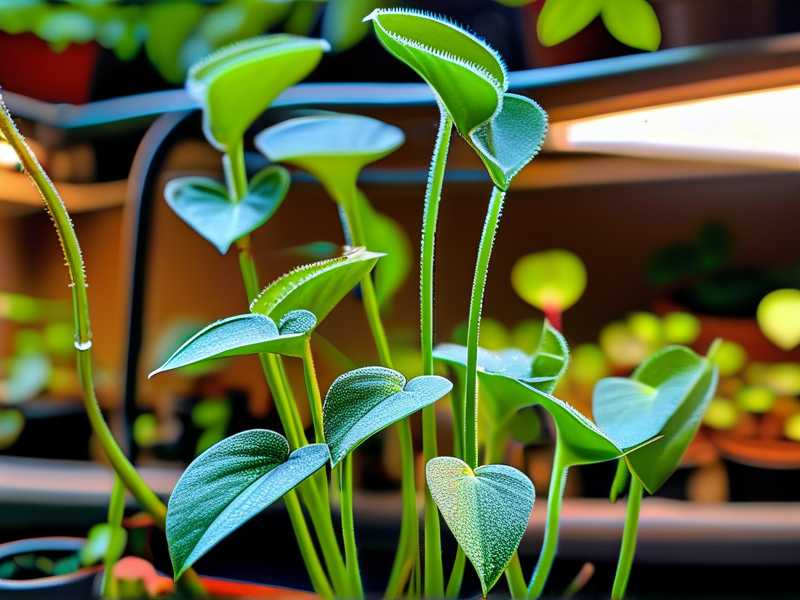
I set up a small indoor grow tent with a cheap LED panel. My sundew (a Drosera capensis) came from a nursery that used fluorescent tubes. The shock of intense LED light can crisp the leaves within 48 hours. So I ran the light 12 inches above the plant, at only 40% intensity, for 6 hours a day. That's week one. I kept a small fan running on low. Airflow matters more than you think. By day three, the dew (mucilage) on the old leaves looked less sticky. I panicked. But I left it alone. By day five, new growth appeared with slightly redder tentacles. That was a good sign. In week two, I bumped the intensity to 60% for 8 hours. I moved the light down to 10 inches. I watched for leaf burn. By day ten, the new leaves were shorter but fatter. By day fourteen, the plant was producing dew like crazy. It looked happy.
The 3 Deadliest Mistakes Beginners Make (I Made All of Them)
Mistake #1: Overwatering with the Wrong Water You cannot use tap water. Period. I used filtered tap water once, and the mineral buildup killed the roots within a week. Sundews need pure water. Distilled, reverse osmosis, or rainwater only. But here's the twist: overwatering isn't about the amount. It's about the lack of aeration. I used to keep the pot sitting in a deep saucer of water. That drowned the roots. The fix? Use the tray method, but keep the water level at only 0.5 inches. Let the tray dry out completely for one day between refills. That gives the roots oxygen. I lost my first plant to root rot from deep water. It looked fine on top, but the base turned black and mushy.
Mistake #2: Lighting That's Wrong in Position or Spectrum I placed my grow light 4 inches away from the plant on day one. Easy mistake. The leaves turned brown and crispy overnight. It looked sunburned. The problem wasn't the light intensity. It was the sudden switch from dark to bright. Sundews grow in bright, but indirect conditions outdoors. Under LEDs, they need a gradual introduction. I also used a cheap purple LED light first. That worked, but the purple glow made it hard to see the dew. I switched to a full-spectrum white light. This is better for spotting pests and checking leaf health. Aim for a color temperature around 5000K. That mimics dappled sunlight. Trust me, the plant doesn't care about the color, but you will.
Mistake #3: Using the Wrong Pot and Soil I tried to grow my sundew in a standard plastic pot with drainage holes. That's fine. But I filled it with regular potting mix. Big mistake. The peat moss and perlite combo in standard soil holds too much water and no air. It compacts over time. Also, the pot was too deep. Sundews have shallow roots. A deep pot means the top dries out while the bottom stays swampy. My third plant died because the top layer was bone dry, but the bottom was a muddy soup. The fix is simple. Use a shallow, wide pot. I use a terracotta dish that is 3 inches deep. Wait, no. Terracotta is a bad idea because it wicks away moisture. Use plastic or glazed ceramic. Fill it with a 1:1 mix of sphagnum peat moss and perlite. Rinse the mix with distilled water before planting. That removes excess salts.
The 12-Step Setup Process I Use for Every New Sundew
Step one. Unpot the sundew from the nursery soil immediately. Most nurseries use heavy peat that's too dense. Step two. Gently wash the roots with distilled water. Remove all old soil. Step three. Soak the new peat-perlite mix in distilled water for 30 minutes. Squeeze it out well. It should be damp, not dripping. Step four. Fill your shallow pot with the mix. Step five. Create a small hole with a pencil. Place the roots in gently. Step six. Do not pack the soil down hard. Just tamp lightly. Step seven. Water the pot from the top with distilled water until it runs out the bottom. I know I said don't overwater, but this initial flush is necessary. Step eight. Place the pot in a clear plastic bag for the first 24 hours. This keeps humidity at 90%. I seal the bag. Step nine. After 24 hours, open the bag halfway. Let it sit like that for two days. Step ten. Remove the bag completely. Step eleven. Position your grow light at the proper distance. I start at 50% power, 15 inches away. Step twelve. Set a timer for 6 hours of light. Increase by 1 hour every three days until you reach 10-12 hours.
How to Read the Plant's Signals During the 14 Days
The leaves will tell you everything. I check my plant every morning. Look for the dew. Fresh dew means the plant is happy with the light. If the dew disappears and the tentacles look dry, the light is too intense or the humidity is too low. If the leaves flatten out and lose their curl, the light is too weak. If new leaves come in smaller but with intense red color, that's actually good. That means the anthocyanin pigments are responding to the light. That's a protective mechanism. It means the plant is building its natural sunscreen. I noticed this on day eleven on my fourth plant. I almost turned the light down but I didn't. By day fourteen, the red color deepened and the dew beads were huge.
Lighting Distance and Intensity Cheat Sheet
I messed this up a lot. The distance depends on the wattage. For a 30-watt LED panel, I keep it 6 inches away. For a 60-watt panel, 10 inches. For a 100-watt panel, 16 inches. This is just a starting point. Watch the plant. If the leaves are dark and droopy, move the light closer. If the tips are brown, move it away. Also, think about the photoperiod. Sundews need a day-night cycle. I run my light from 8 AM to 8 PM during summer. In winter, I run it from 9 AM to 5 PM. They don't require a dormancy period if they are kept warm indoors. But they do appreciate a rest period. I give my plants two months of shorter days in the winter. This mimics their natural tropical monsoon cycle.
The Humidity Factor Nobody Talks About
Grow lights produce heat. That heat dries the air. A typical indoor room has 30-40% humidity. Sundews prefer 50-60%. I have a small humidity dome for new plants, but adult plants don't need it. Instead, I place a shallow tray of pebbles with water under the pot. I keep the water level just below the top of the pebbles. This creates a microclimate. I do not mist the leaves. Misting washes away the mucilage. The dew is the plant's digestive fluid. Unless you are feeding the plant, that fluid needs to stay. Without the dew, the plant can't trap insects. And without insects, the plant starves. Many people buy sundews and forget to feed them. Under grow lights, they photosynthesize, but they still need nutrients from bugs. I feed mine crushed fish food pellets on one leaf every two weeks.
What I Feed My Sundews Under Lights
Fungus gnats are a free source of food. My indoor grow lights attract them. So I let a few fly around the sundew. The plant catches them naturally. But if you don't have gnats, you can feed them. I use freeze-dried bloodworms (don't worry, it's just fish food). I wet the tip of a toothpick and place one tiny worm on a leaf. The leaf curls around it within hours. You should never feed the plant more than two leaves at a time. Overfeeding causes the leaves to rot. I have an indoor plant background, and I can tell you that the best feeding schedule is once every 2 to 3 weeks during the growing season.
Troubleshooting Common Problems After Week 2
Black spots on the leaves. That's sunburn. Move the light up or reduce intensity. I had this happen on day twelve. I moved the light from 8 inches to 12 inches and the new leaves were fine. The old leaves stayed spotted but the plant survived.
Drooping leaves that lay flat. This is usually lack of light. The leaf is trying to catch more photons. Increase photoperiod by one hour.
White mold on the soil surface. That's from high humidity and poor airflow. I added a small USB fan at the base of the plant. The mold disappeared in three days. The fan also prevents fungal gnats larvae from hatching in the soil.
The sundew stops producing dew. This often happens when the plant goes into shock. It's normal in the first week. Just keep the conditions stable. Do not move the plant around. Do not repot it again. Just leave it alone. My most common mistake was fidgeting with the plant. Sundews hate being disturbed.
RHS and AHS Recommended Practices
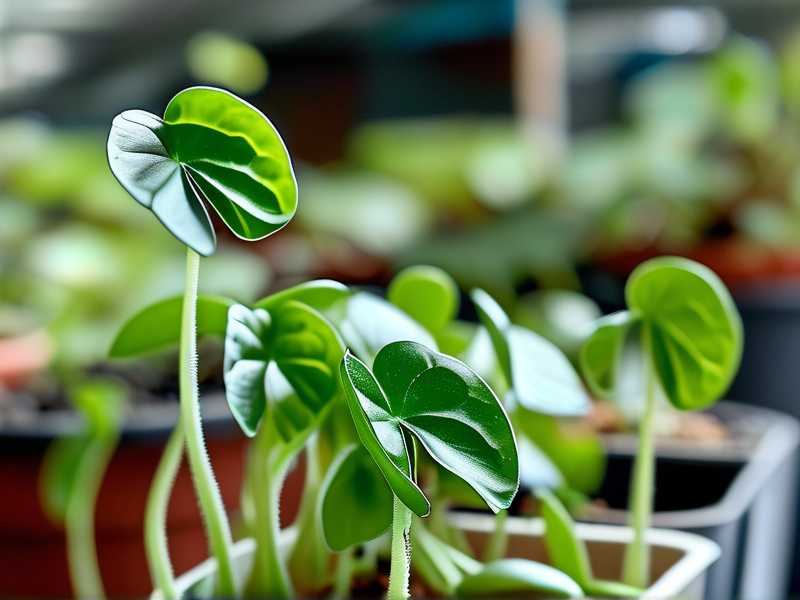
The RHS suggests that carnivorous plants should be grown in a very open, free-draining compost. I follow that advice. I also keep a little piece of sphagnum moss on the top of the soil. This helps retain moisture at the root collar. The AHS notes that these plants are adapted to nutrient-poor soils. This is why you must never add fertilizer. I've had friends who thought they were helping by adding a drop of liquid fertilizer to the water. The roots burnt off in one week. The leaves turned yellow and translucent. The plant died. Fertilizer is the silent killer of carnivorous plants. Just remember that.
Why My Fourth Plant Survived
I think the key was patience. I let the plant set the pace. I didn't force it. I also started with a Cape Sundew, Drosera capensis. This is the toughest species. It tolerates poor conditions. It bounces back fast. If you are trying to adapt a more delicate species like a Drosera spatulata or a pygmy sundew, the timeline is slower. You might need three weeks. I have not tried the pygmy sundews yet. I prefer the easier ones. But the adaptation method is the same: low light, high humidity, and a strict water schedule.
A Specific Mistake I Made With the Water Tray
On day nine, I filled the water tray too high. I thought more water would help. The moisture wicked up through the perlite and the top layer of peat became waterlogged. The roots suffocated. I noticed the new growth stopped. I immediately emptied the tray. I let the soil dry out for two days. The new growth resumed on day eleven. That taught me a lesson about restraint. The tray should be a reservoir, not a bathtub.
Final Thoughts on Light Cycles and Dormancy
You don't need expensive grow lights. A basic LED shop light works. I use a 20-dollar panel from Amazon. It works just as well as my friend's 200-dollar model. What matters is the duration and distance. I check my plant's dew every morning. I make small adjustments. That's the secret. There is no magic formula. It's about observation and slow adjustments.
FAQs
Q: How long does it take for a sundew to get used to indoor grow lights? A: It takes 10 to 14 days. The first week is the hardest. You'll see old leaves dying. That's normal. The new leaves will adapt. I have seen faster acclimation with weaker lights. But if you rush it, you'll burn the plant.
Q: Should I keep the grow light on 24/7? No. That is the fastest way to kill the plant. Sundews need a dark period. They use the dark hours to move sugars into their roots. I use a timer. I cannot stress enough how important this is. I tried leaving the light on for 14 hours once, thinking I would speed up growth. The leaves stopped producing dew and started turning yellow. The plant was exhausted.
Q: Can I use tap water for the tray if I boil it first? No. Boiling tap water makes the mineral content more concentrated. It doesn't remove the dissolved salts. You must use distilled water or rainwater. I collect rainwater in a bucket in my backyard. That's the best and cheapest option. I also use the water from my dehumidifier. It works perfectly. The minerals in tap water cause leaf tip burn and eventually kill the roots. It's the number one thing I tell beginners. Water quality is everything.
Q: How do I know if my sundew is dying or just sleeping? Look at the center of the rosette. If there's a small green cluster of new leaves, the plant is fine. If the center is black and mushy, it's dying. I lost one plant to a sudden cold draft. I had a heat lamp on it, but the window was leaking cold air. The center rotted. If you see that, cut off the rot with a sterilized blade and hope for new growth from the roots. It might take a month. You won't do this if you keep it indoors in a stable spot.
Q: Is it better to use a heat mat under the pot? Generally, no. Sundews are not tropical. They like mild temperatures. 70 to 80 F is ideal. Heat mats are for tropical plants like Venus flytraps in cold winter rooms. A heat mat can cook the roots if the lights are also producing heat. If you house is above 60 F, skip the heat mat. I got a heat mat for the last winter, and the sundews near the mat started drying out faster, and I had to water more often. Not worth the hassle.
Q: Do I need to feed my sundew if it lives under grow lights? Yes, occasionally. Photosynthesis gives it energy. But it needs nitrogen. That comes from insects. If no bugs land on the sticky leaves, the plant will stop growing. I offer one small piece of fish food pellet every two weeks. Just let it sit on one leaf. I don't force it. If the leaf curls around it, great. If it doesn't, I leave the pellet there and it will decompose.





