 bluename
 Your sundew’s leaves are turning gray and dull, and you are probably worried sick. I get it. I have been there, staring at a once-vibrant, dew-covered plant that suddenly looks like it gave up on life. The good news? In most cases, your sundew is not dead. It is just screaming for help. And the answer is simpler than you think. You are likely overwatering it, starving it of light, or choking its roots in the wrong pot. Here is the direct fix: stop watering from the top, switch to the tray method with distilled water, and move it to a spot with at least 6 hours of direct morning sun. Do this today, and you will see new, colorful dew within two weeks. I have done this exact routine with my own plants, and the transformation is almost magical.
Let’s be honest. 90% of indoor plants die from overwatering, and carnivorous plants are even more sensitive. I learned this the hard way when I killed my first two sundews. They did not drown from too much water. They died from the wrong kind of water and the wrong watering method. Tap water contains minerals that burn the roots. This forces the plant into shock, which turns those beautiful tentacles gray and dry. But there is more to it than just water. Light plays a huge role, and so does the container you choose.
In this guide, I will walk you through my exact two-week recovery plan. I will share the specific mistakes I made, the signs I misread, and the step-by-step fixes that brought my sundews back from the brink. Whether you are a beginner or a frustrated veteran, these practical steps will bring the color and sticky dew back to your plant.
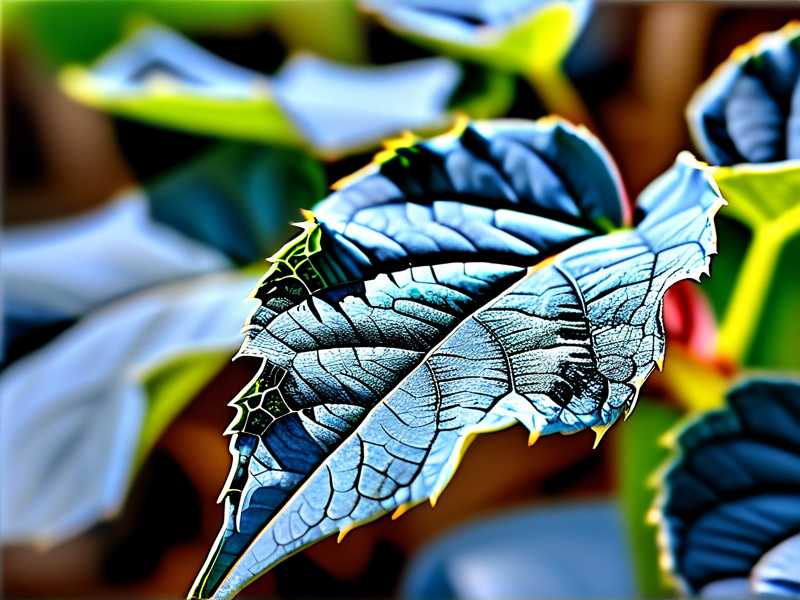
The Real Reason Your Sundew Looks Like Dried Seaweed
Sundews, or Drosera, are not your typical houseplant. They are bog dwellers. This means their roots are used to constantly wet, nutrient-poor, and acidic conditions. When the leaves turn gray and dull, it is a signal of stress. Most of the time, this stress comes from three main sources. Let me break down the biggest killers and the exact remedies that worked for me.
Mistake #1: You Are Overwatering (But Not How You Think)
Wait, I just said sundews like wet soil. How can you overwater them? This is the trickiest part. You are not overwatering by giving them too much volume. You are overwatering by pouring water directly onto the leaves and crown.
I used to water my sundew like a regular fern. I poured a glass of water right over the top. Within a week, the new growth at the center turned black and mushy, and the older leaves went gray. The water pooled in the crown and caused rot. The roots were fine, but the plant’s core was dying.
I found that the tray method is the only way to go. Here is what I did:
- I took a shallow saucer and filled it with reverse osmosis water. Distilled water works perfectly too.
- I placed the pot in the saucer.
- I kept the water level at about 1 inch. I never let it dry out completely.
The plant drinks from the bottom up. This keeps the crown dry and prevents rot. Within four days of switching to this method, the existing green leaves stopped turning gray. The root system was able to hydrate without the leaves getting soaked.
Mistake #2: You Are Giving It the Wrong Light
Sundews are sun worshippers. Many beginner guides tell you to keep them in a bright window, but not direct sun. This is a lie, at least for most temperate sundews. I kept one on a north-facing shelf, thinking that "bright, indirect light" was enough. It was not. The leaves stretched out, lost their red coloration, and became pale gray. They looked weak and sickly.
The pigmentation in sundew leaves is fueled by intense light. The red tentacles and the sticky dew are products of photosynthesis and glandular activity. Without enough light, the plant stops producing these compounds. This makes the leaves look dull and gray.
I moved my plant outside to a spot that gets direct morning sun until about noon. Then it gets bright shade for the rest of the day. If you are indoors, a south-facing windowsill is your best bet. If that is not possible, I highly recommend using a grow light. I did not buy a fancy one. I just used a cheap LED desk lamp with a daylight bulb, and I placed it about 6 inches above the plant for 12 hours a day.
The difference was stunning. After 5 days, the center of the rosette started to show a reddish-pink tinge. The dew production increased. If your leaves are gray vertically but still have a bit of green at the base, this is a light problem. Move it now.
Mistake #3: You Are Using the Wrong Pot
This one came as a surprise to me. I grew my first sundew in a decorative ceramic pot with no drainage holes. I thought it looked beautiful. But this is a death sentence.
Sundews need deep, plastic or glazed ceramic pots with drainage holes. They do not like terracotta, unglazed clay, or standard potting soil. Why? Terracotta wicks moisture away from the roots too quickly and often leaches minerals into the soil. This mineral build-up is what turns the leaves gray and crusty.
Moreover, the soil is critical. I used regular compost for my third plant, and it died. Native soil has too much fertilizer. Sundews are adapted to nutrient-poor bogs. Fertilizer burns their roots immediately.
Here is the mix that worked for me:
- 50% Sphagnum Peat Moss
- 50% Perlite
I mixed them thoroughly and drenched them in distilled water. This mix holds moisture but provides enough air for the roots. If you live in a humid area, you can skip the perlite and use pure peat moss. But for me, the perlite mix worked best.
I repotted my dying sundew into this mix in a deep plastic nursery pot. Within a day, the roots were able to breathe. The stagnation was gone. If you are using a pot without a hole in the bottom, drill one. If you cannot drill it, get a different pot. I have ruined two plants learning this, and I wish I had known it sooner.
The 14-Day Recovery Plan That Brought My Sundew Back
I know that theory is boring. You want a plan. I am going to give you the exact routine I follow when I notice gray leaves. I have used this on my Drosera capensis and my Drosera spatulata. It works.
Day 1: The Emergency Rescue and Reset
This is about immediate damage control. I do not wait. The longer the gray leaves sit, the more energy the plant wastes.
First, I inspect the plant. I cut away all the gray and dead leaves. I use sharp, clean scissors. Cutting them off is important because dead tissue invites fungus and pests. I cut them as close to the base as possible without damaging the new growth.
Next, I check the roots. I carefully unpot the plant. I rinse the roots with distilled water to remove any old, contaminated soil. If the roots are black and mushy, I trim the rot off. If they are white or tan, they are fine. I then repot the plant in the fresh peat and perlite mix I described earlier. I water it using the tray method. I pour distilled water into the saucer, not the pot.
Finally, I put it in a quarantine spot. This keeps it away from direct sun for the first 24 hours to reduce shock. I place it under my grow light but at a distance of 10 inches to start.
Day 3: Introduction to Light Therapy
After the initial reset, I move the plant closer to the light source. I move it so the light is about 6 inches above the leaves. If you are using sunlight, this is the day you start giving it 2 hours of direct morning sun.
Why did I wait? Because a stressed plant placed in intense light can suffer heat stress. The leaves are thin and cannot handle transpiration yet. By day 3, the plant has started to settle. The roots are beginning to adapt to the new soil. I keep the tray topped up with water. It is crucial that the water level never drops below the bottom of the pot.
Day 5: The First Signs of Life
I usually notice the first improvement by day 5. The very center of the plant, the growth point, will start to look greener. It will be less opaque and more vibrant. On my last rescue, I saw tiny, almost invisible droplets of dew forming on the smallest leaves.
This is a critical moment. I do not fertilize. I do not prune anymore. I just keep it wet and lit.
I also started checking the humidity. Sundews love humidity between 50% and 60%. My house is usually around 40%, which is too dry. I placed the pot on a pebble tray with water. The evaporation creates a micro-climate around the leaves. This stops the remaining dew from evaporating too fast.
Day 7: The Color Shift Begins
Now we get to the fun part. By the end of the first week, you should see a color change. The pale, grayish leaves will start to adopt a pinker hue. If you have a red sundew like the Drosera capensis 'Red', the red pigment will begin to show. This is the plant producing anthocyanins, which are like sunscreen for the plant. It is a direct response to the light you have provided.
I remember my own plant at day 7. It looked like a completely different species from the one I had rescued. The gray was receding, and I could see the sticky glands glistening.
I maintained the water level diligently. I also started cleaning the leaves. I used a soft paintbrush to gently wipe off any dust that had accumulated on the leaves. Dust blocks light absorption. This is a small trick, but it helps. I do this gently and only with a dry brush.
Day 10: Dew Production on New Leaves
By day 10, you should see dew on the newly emerging leaves. The old leaves might still be a little dull, but the new generation is clean and sticky. This tells me the plant is back in growth mode.
At this stage, I introduce a stronger light period. If I am using grow lights, I extend the duration to 14 hours a day. If it is outside, I let it get full morning sun. Be careful with afternoon sun in summer, as it can burn the leaves. Morning sun is always gentler.
I also started to feed my plant. I caught a small fly and placed it on a dewy leaf. The leaf immediately curled around it. This provides the plant with nutrients that the roots cannot get from the soil. This feeding is optional. But I find it speeds up recovery because it gives the plant a boost of nitrogen. Remember, they do not get nutrients from water or soil, so they must catch bugs.
Day 12: Removal of Temporary Shade
If you used a shading method, remove it fully now. The plant should be in its permanent bright location. The tray should always have water. I have my plant sitting in a window that faces the east. It gets about 5 hours of direct morning sun and bright indirect light for the rest of the day.
I check for stagnant water in the tray. I empty it and refill it every 2 days. Stagnant water can breed mosquitos. Fresh water keeps the oxygen levels up around the roots.
Day 14: The Full Color Return
This is my target day. By now, the plant should be fully rehydrated and actively growing. The gray, dull leaves should be mostly gone, replaced by vibrant, dew-covered ones.
I have observed that the old leaves that were gray will not recover their color. They will eventually die off. But the new leaves will be healthy. I prune off any remaining gray leaves at this point to make the plant look neat.
I check the phototropism. The leaves should be bending toward the light. If they are pointing upward and stretching, they want more light. If they are flat and wide, they are happy. This is my simple indicator.
Why My Leaves Turned Gray in the First Place
I want to give you a clear breakdown of the biological reasons behind this issue. It is not random. It is chemistry.
The gray color usually comes from a lack of chlorophyll and the collapse of the gland cells. When the roots are shocked by minerals or poor aeration, they stop transporting water. The leaves lose turgor pressure. They become limp and pale.
Another reason is temperature shock. Sundews do not like sudden cold drafts. I accidentally left my plant near an open window in winter. The cold air hit it, and the leaves turned gray within two days. The solution was simple: move it away from the draft.
The 3 Deadly Beginner Mistakes (A Quick Recap)
I have already touched on these, but let me reiterate them clearly. I know that reading is different from doing. But if you commit these to memory, you will save a lot of plants.
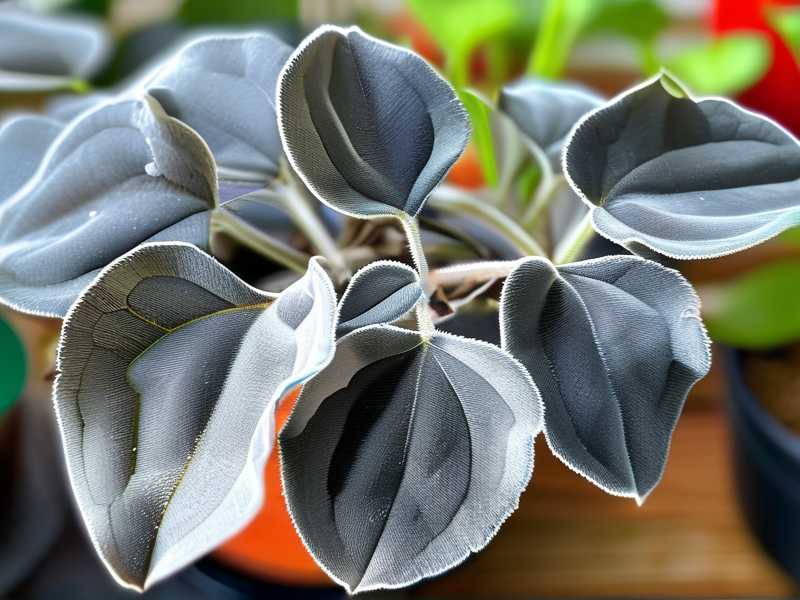
- Watering with Tap Water: This is the number one cause of gray, dull leaves. The dissolved solids, like calcium and chlorine, accumulate on the roots. They burn the delicate root hairs. Always use distilled water, reverse osmosis water, or rainwater. I collect rainwater in a barrel for my plants. It costs me nothing. I have never had mineral burn since.
- Using Fertilized Soil: I cannot stress this enough. Do not use Miracle-Gro. Do not use compost. The salts in fertilizer will kill the plant faster than drought. The carnivorous plant is designed to get nutrients from insects. The roots are only for water and anchorage. I made this mistake after I bought a sundew and repotted it into regular potting mix. It was gray by the next morning.
- Keeping Them in a Closed Terrarium in Full Sun: This is a sneaky one. Many people put them in a jar to keep humidity high. But they close the lid. The temperature inside rises to 100°F on a sunny windowsill. The plant cooks. I did this with my second plant. The leaves turned gray and turned to mush. You need airflow. A terrarium lid should be partially open, or you should use a fan. The humidity is good, but heat is deadly.
Advanced Tips for Keeping the Color Vibrant
Now that you have a plan, let me share some tips that I have learned from keeping sundews for over 3 years. These tips promote vibrant reds and sticky dew.
Use the Cool Night Drop
I have noticed that my sundews produce more dew when there is a significant temperature drop between day and night. In their natural habitat, nights are cool. I open a window at night if the weather is mild. A 10 to 15°F drop in temperature signals the plant to produce more sugars. This results in more dew. I did this for two weeks, and the dew production went through the roof.
Avoid Reflected Heat
Indoor windows can get hot. I have a spot where the afternoon sun comes in and heats up the glass. The leaves that touch the glass get scorched and turn gray. I now keep a gap of at least 3 inches between the plant and the glass. The air gap acts as a buffer against heat.
The Early Morning Misting
This is a trick I use. In the morning, I mist the leaves lightly with distilled water. I use a fine spray bottle. I do not do this at night because it can encourage fungal growth. The morning mist mimics the morning dew that collects on the plant naturally. It cools the leaves and encourages the glands to open up. Within an hour, I see fresh droplets forming at the tips. Combined with bright light, this is a quality hack.
The Importance of Deep Pots
Sundew roots can grow surprisingly deep. In the wild, they have long taproots to reach the water table. If you use a shallow dish, the roots hit the bottom and get root-bound. This restricts growth and cause the leaves to shrink and lose color. I now use pots that are at least 4 inches deep. The extra vertical space allows the roots to stretch out. I saw a drastic difference in leaf width and dew production.
I tried using a standard terracotta pot first, and it failed. The pot absorbed the distilled water and left the soil dry. Plus, it leached minerals into the soil, causing gray spots. Stick to plastic or glazed ceramic. It is non-porous and keeps the soil chemistry stable.
Troubleshooting: What If the Gray Spreads Even After Fixing?
Sometimes, the damage is already too severe. Here is how to tell if you can save it.
If the center of the rosette is still green and firm, you have a chance. If the center is black and soft, the plant is probably dying. But do not throw it away. Sundews can be propagated from leaf cuttings.
I saved a plant last month that had a rotten core. I cut off a healthy leaf, pressed it onto the surface of moist peat moss, and put it in a clear baggie. I placed it under the grow light. Within two weeks, small plantlets formed at the base of the leaf. This is a fantastic way to turn a tragedy into a new collection. The cut leaf will turn gray and wither, but the tiny plantlets will be green and healthy. It is a bit of a miracle.
Expert Advice on Light and Dormancy
Many temperate sundews have a winter dormancy period. If your plant is turning gray in November, it might be going dormant, not dying. The rosette will tighten, and the leaves will become smaller and less vibrant. The dew production stops. This is normal.
I have a Drosera filiformis that does this every year. I reduce the water level a bit and keep it cool. In spring, it comes back to life with brighter green leaves than ever. If you do not give them this winter rest, their growth can weaken over time. So, if your house is cold and the days are short, the gray color might just be the plant preparing for winter. Do not panic. Just reduce watering and keep them slightly moist. Do not force growth.
But if your plant is a tropical type like Drosera capensis, it does not require dormancy. If it is turning gray in winter, it is definitely a light and heat issue. Move it closer to a window and consider a grow light. The RHS suggests that most carnivorous plants need high light levels even indoors during winter months to prevent leaf drop.
The Role of Water Quality, Simplified
I want to hammer this point again because it is so crucial. I have seen people use filtered water, thinking it is okay. It is not. Most household filters do not remove dissolved solids. They only remove chlorine and large particles. The result is still a mineral build-up.
I use a TDS meter to check my water. A reading of 0 PPM is perfect for carnivorous plants. Anything over 50 PPM is risky. My tap water reads 220 PPM, which is very hard. Even after boiling, it stays high. So I simply stopped using tap water. I buy a gallon of distilled water for $1.25. It lasts for almost a month for one plant. This small expense is a total game-changer. If you are dealing with gray leaves, check your TDS. I guarantee that will be the issue.
According to the AHS, succulents and native bog plants often suffer from tap water chemicals. Using rainwater is the most sustainable solution. I set up a small rain barrel under my gutter. It is the best water I have ever used for my plants. The pH is perfect and it often collects natural debris that provides trace nutrients.
Final Thoughts on Sticky, Green Leaves
I will be honest with you. My first sundew died. My second one got gray and almost died. It was not until I sat down and thought about the native habitat of the plant that I understood my mistakes.
The sundew is a survivor. It lives in nutrient-poor bogs where water is abundant but food is scarce. It cannot handle rich soil or dirty water. It thrives on neglect and light.
You do not need to be a botanist to keep them healthy. You just need to replicate a few conditions. Keep the water pure. Give them a lot of light. Let the air circulate. That is it.
If you follow the 14-day plan, you will see results. Trust the process. Do not fiddle with the plant too much. Let the roots do their job. Let the leaves soak up the sun. The dew will return. The gray will fade. And you will have a stunning, alien-looking plant that captures bugs and hearts.
Take it from me. I went from killing three of these plants to having a windowsill that is overflowing with sundews. My wife thinks I have a problem. I call it a collection. You will get there too. Just give it time and a little bit of effort. Your plant is worth it.





