 bluename
 How to Help Sundew Grow Well in a Bathroom With Light
I’ll be honest with you right up front: the quickest way to help a sundew thrive in a bright bathroom is to stop treating it like a normal houseplant and start mimicking its boggy, nutrient-starved homeland. I learned this the hard way after killing three Drosera capensis plants in six months, and the fix was simpler than I expected — ditch the tap water, switch to a plastic pot with drainage holes, and give it a shallow tray of distilled water at all times. That’s the core of it, and if you do nothing else, that works. But if you want the details, the mistakes, and the two-week timeline that turned my bathroom shelf into a dewy carnivore haven, stick with me.
I remember standing in my bathroom, staring at a brown, crispy sundew that looked more like a sad piece of dried seaweed than a living plant. It broke my heart, honestly. So let me save you from that exact feeling. Let me walk you through everything I’ve learned about keeping sundews (Drosera, if you want the fancy name) happy in a bathroom with natural or artificial light.
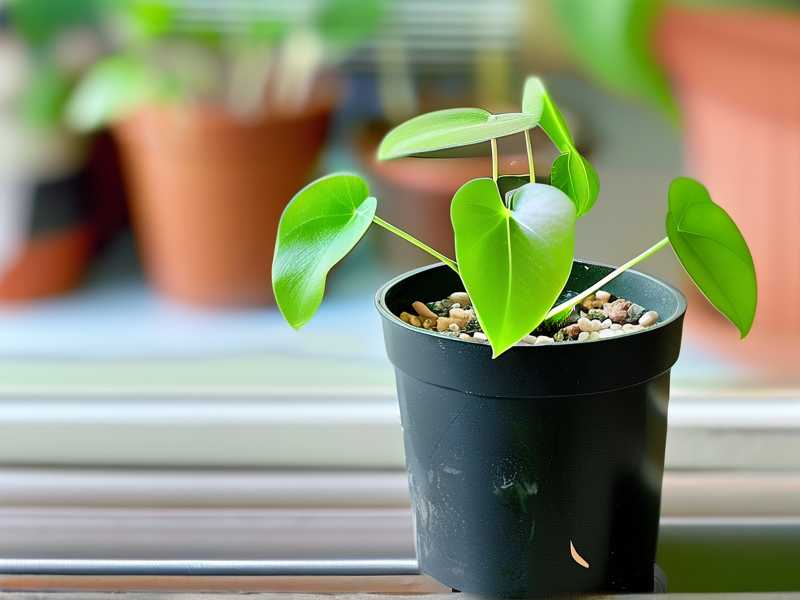
My Bathroom Setup and Why It Works
First, a quick confession. My bathroom isn’t some huge, sun-drenched greenhouse. It’s a standard 8x5 foot room with a single frosted window that faces east. That means I get maybe three to four hours of gentle morning sun, then bright indirect light for the rest of the day. And you know what? That’s perfect for sundews. They aren’t tropical sun-worshippers like some Venus flytraps can be. They prefer bright, but not scorching, conditions.
The real game-changer was the humidity. Bathrooms naturally sit at 60-70% humidity after a shower, and sundews absolutely adore that. The dew on their leaves — the sticky, glistening droplets that trap insects — forms much better when the air isn’t dry. I noticed this within the first week of moving my plant from my living room (which sat at a dry 40% humidity) to the bathroom. The difference was night and day.
But here’s the catch. Humidity alone won’t save you. I learned that light is the actual engine, and water is the fuel. You need both, but too much of either can kill the whole system.
The 3 Deadly Mistakes Beginners Make (I Made All of Them)
Let me lay out the big three. I genuinely believe 90% of indoor plants die from overwatering, but with sundews, it’s a different kind of overwatering. It’s about what water you use, not just how much. And then there are the other two traps that I fell right into.
Mistake #1: Watering Overload (The Wrong Kind of Water) Here’s the thing that trips everyone up. Sundews are bog plants. They like their feet wet constantly. But I killed my first sundew by watering it with tap water. I thought, "Hey, plants need water, tap water is water." Wrong. Dead wrong. Tap water contains dissolved minerals and salts, mostly calcium and magnesium. Sundews evolved in nutrient-poor soils, and their roots are incredibly sensitive. Those salts build up in the soil and literally burn the roots. The leaves turn black and the plant melts away.
The solution? Distilled water, rainwater, or reverse osmosis (RO) water. I switched to buying large jugs of distilled water from the grocery store. It costs a couple of bucks, and one jug lasts me over a month. I fill a shallow tray under the pot and let the plant soak it up from the bottom. I never water from the top. This keeps the soil consistently moist without disturbing the sticky leaves or washing the dew away.
Mistake #2: Light Placement (The Sunburn Issue) My second sundew died because I assumed more light was always better. I put it directly on the windowsill in my old apartment, which faced west. The afternoon sun was brutal. Within two days, the leaves turned a reddish-brown and looked scorched. That was sunburn, plain and simple.
Sundews do need bright light, but most species prefer indirect or filtered light. Direct, harsh afternoon sun can be too intense, especially behind glass, which magnifies the heat. I adjusted by moving the plant about 18 inches away from the window. That worked, but it grew a bit leggy. Then I added a small, full-spectrum LED grow light (about 10 watts) on a timer for six hours a day. That was the sweet spot. It gave it consistent, strong light without the risk of burning.
Mistake #3: The Wrong Pot (Why Glass Bowls Kill) This one took me out for the count. I thought it would look gorgeous to plant my sundew in a glass terrarium bowl with no drainage. It looked like a miniature fairy garden for about a week. Then the roots rotted. Why? No drainage holes meant the water pooled at the bottom. The soil became waterlogged, anaerobic, and sour. The roots suffocated and rot set in. The plant died from the bottom up, and I didn't even see it coming until it was too late.
The solution is painfully simple: use a plastic or glazed ceramic pot with holes in the bottom. Plastic is actually the best because it doesn't wick away moisture like unglazed terracotta does. I repotted my third sundew into a standard 3-inch plastic nursery pot and sat it inside a slightly larger decorative pot (with no holes) that acts as a water tray. That’s the winning combo. The drainage hole allows oxygen to reach the roots, and the tray keeps the soil moist from below.
My Personal 2-Week Observation Log
After I figured out those three things, I started to track everything. I wanted to see the real-time progress, and I took notes like a mad scientist. Here’s what a typical two-week timeline looks like for a healthy sundew in a bathroom with light.
Week 1: The Adjustment Period Day 1: I repot the sundew into a fresh mix of 50% peat moss and 50% perlite. I soak it with distilled water from the top once to settle the soil, then I let the tray do the rest moving forward. I place it on the bathroom windowsill (east-facing) and turn on my small LED grow light for 6 hours starting at 8 AM.
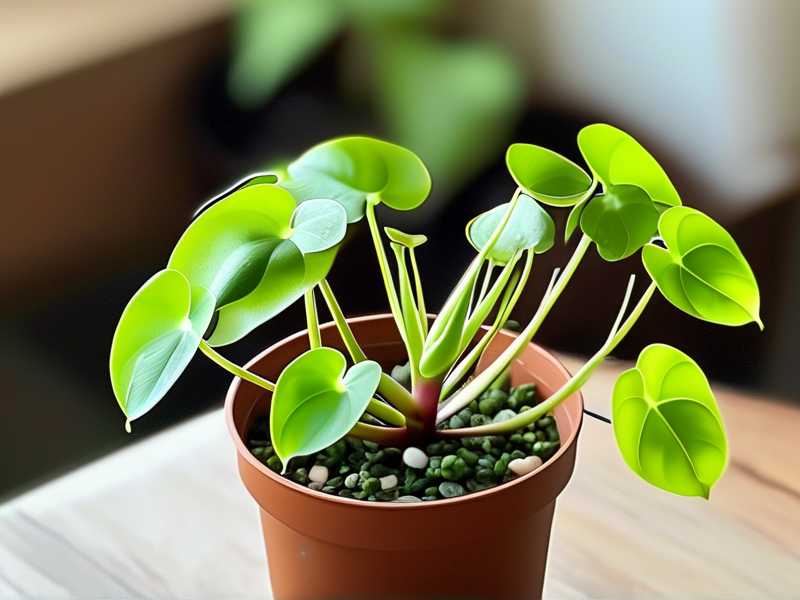
Day 2-3: Honestly, the plant looks exactly the same. I feel a little anxious. I keep checking the tray to make sure it always has about half an inch of water. I notice one older leaf at the bottom is turning yellow. I resist the urge to pluck it immediately. I just leave it.
Day 4: I see new growth at the center. It’s tiny, barely a dot, but it’s there. The existing dew droplets look slightly shinier. This is the first sign the roots are settling in.
Day 5-7: The new center leaves are getting bigger and more defined. The dew is thicker. I notice a small fruit fly stuck on a leaf. The plant is doing its job! I feel a wave of satisfaction. The color is a vibrant green, maybe with a hint of red at the tips, thanks to the LED light. I have not watered from the top; the tray has always had water available.
Week 2: Rapid Growth and Dew Production Day 8: The growth is visibly noticeable. The new leaves are about 1.5 inches long, and they’re curling inward slightly, which is a sign of healthy growth. The older, yellowing leaf has withered away completely. I gently pull it off. It comes away clean.
Day 10: This is what I call "dew explosion." The plant is covered in sticky droplets. It looks like it’s decorated with tiny crystal beads. I moved the plant slightly under the LED light to get more exposure, and the dew responded by getting even thicker. I’ve read that in the wild, sundews can produce more dew when light is ample. I believe it now.
Day 12: I notice the roots are starting to poke out of the drainage hole at the bottom. That’s a great sign of a robust root system. The plant hasn't flowered yet, but the leaves are stacking nicely. I see about 10 healthy, mature leaves and new ones developing in the center.
Day 14: The plant looks completely transformed. It’s roughly 20% bigger than when I started. The leaves are a deeper color, and the dew is so plentiful it looks wet. I check the tray and it’s empty, meaning the plant drank everything. I refill it with distilled water. This is my "happy place" stage. It’s thriving.
The Specifics You Need to Nail (Pro Tips from My Experience)
Beyond the three big mistakes, there are smaller details that make a huge difference. I want to include these because they saved me from a lot of frustration.
Soil Mix: The Peat and Perlite Combo I tried using regular potting soil at first and had to flush the plant immediately. That stuff is full of fertilizers. Sundews need a lean, acidic soil. A mix of sphagnum peat moss and perlite in a 1:1 ratio is perfect. The peat provides acidity and holds moisture, while the perlite ensures drainage and aeration. I mix it dry and then wet it with distilled water before potting. It feels like a peat bog mud pie, which is exactly what they want.
The Light Timer and Intensity If your bathroom has no window at all, you aren't doomed. You just need a good grow light. I use an LED panel that is about 1000-3000 lux. I run it for about 10-14 hours a day. A simple timer plug is my best friend. You don't need a super expensive full-spectrum unit for basic Cape Sundews. Just make sure it’s LED so it doesn't heat up the bathroom too much. Keep it about 12-18 inches away to prevent leaf burn.
Why Bathrooms Are Secretly Perfect I think a bathroom is the best room in the house for these plants, barring maybe a sunroom. The humidity is the obvious benefit. But the temperature fluctuations are also good. My bathroom gets warm during my morning shower and cools down at night. This mimics the natural day/night temperature drop that sundews experience in their habitats. It signals to the plant that it's time to grow and photosynthesize.
Feeding: The Unspoken Topic (Let Them Hunt) A lot of people ask me if they need to feed their sundews. I say no. That’s the beauty of them. If you have them in a room, they will attract their own tiny insects. Fungus gnats, fruit flies, small moths—they all get attracted to that glistening dew. I just let it happen. It’s honestly fascinating to watch. I’ve seen a single leaf catch three small gnats in one day. Let the bathroom bugs be their buffet.
The Danger of Dormancy (And Why I Ignore It) Many temperate sundews, like the classic Drosera capensis, don't strictly require a winter dormancy if kept indoors. In my experience, they just slow down a little. They grow less aggressively. I don't worry about cutting them back or putting them in the fridge. That’s overcomplicating things for a beginner. I just keep the routine the same: bright light and moist soil. They seem completely fine with it.
What the Experts Say (The Science Bit) The Royal Horticultural Society (RHS) highlights that carnivorous plants, including sundews, require specialist care, specifically emphasizing the importance of low-nutrient soil and keeping them standing in water. They advise against fertilizers and stress that these plants are not demanding if you provide the right substrate and water quality. This aligns perfectly with what I’ve learned through trial and error. The American Horticultural Society (AHS) also discusses the importance of light for carnivorous plants, noting that most need bright light to produce the pigments and dew necessary for photosynthesis and insect capture. They reflect my own findings—darkness is the enemy of dew production.
Troubleshooting Common Bathroom Issues
Let me talk about a few problems you might run into, because I ran into all of them.
Issue: The Dew Is Gone If your sundew looks green and alive but has zero sticky dew, it’s either in very low humidity or lacking light. In my bathroom, dew level is almost always a humidity indicator. If I have a fan blowing directly on the plant for days, the dew evaporates. Move it away from drafts or turn the fan off. Also check the light. If the light is too dim, the dew production stops.
Issue: Black Leaves from the Center This is root rot. Your drainage is poor. Check if the pot is sitting in standing water that hasn't been absorbed for more than 48 hours. That’s too much. The water in the tray should be consumed within a day or two in most mediums. If it’s just sitting there, the medium is too waterlogged or you have a drainage hole blockage. Repot immediately with fresh soil.
Issue: The Leaves Are Stretching (Etiolation) This means the plant is starving for light. It’s reaching out, trying to find more sun. The distance between leaves on the stem gets longer, and the leaves look pale. I solved this by moving my pot closer to the window and increasing the grow light duration. Once it gets enough light, the new growth will be dense and tight.
Issue: Molds and Algae on the Soil Since the soil is constantly wet, algae and mold can form on top of the peat. This happened to me, and it’s ugly. It’s usually harmless, just cosmetically unpleasant. I fixed it by adding a layer of live sphagnum moss on top of the soil. It dries out slightly faster on the surface, discouraging algae while keeping the root zone moist.
How to Choose the Right Pot Size Don't go overboard with a huge pot. A pot that is about 1-2 inches wider than the root ball is perfect. Sundews actually do better when slightly root-bound. It encourages them to focus on leaf growth rather than filling a massive pot with roots. I keep my cape sundew in a 3-inch pot and it’s been perfectly happy for two years.
Water Quality: The Deeper Dive I was skeptical about water at first, but now I’m a purist. I use TDS (Total Dissolved Solids) — basically, the read of how many minerals are in the water. Tap water can have a TDS of 200-300 ppm. Sundews need water with a TDS of less than 50 ppm. Distilled water has a TDS of under 10 ppm. Rainwater collected clean is also great. I’ve started collecting rain in a bucket outside to save money, and my plants love it. You should try this if you can, but make sure it’s not running off your roof shingles, which might have chemicals.
My Favorite Sundew Species for Bathrooms Not all sundews are equal. The tropical and subtropical ones are easiest. Cape Sundew (Drosera capensis) is the absolute bulletproof choice. It’s tolerant of a wide range of conditions. It’s the plant I’d recommend for anyone starting. If you want something with more color, Drosera spatulata is also easy and turns red in bright light. I stay away from the tuberous sundews from Australia; those need strict dormancy and are much harder to keep alive indoors. Stick with the simple ones. I promise, you don't need a rare cultivar to have fun. The common ones are beautiful in their own right.
The Bottom Line on Bathroom Sundews
So, here is my simple checklist for you. Forget everything else. Just hit these points.
- Pot: Plastic pot with big drainage holes.
- Soil: 50% peat moss, 50% perlite. No fertilizer.
- Water: Distilled or rain water only. Keep a tray underneath. Don't let it run dry, but don't drown it.
- Light: Bright, indirect sun. An east or north window is ideal. If not, use a small LED grow light for 10-12 hours a day.
- Humidity: Bathrooms are great. If not, use a humidity tray.
If you do that, you will not kill it. I’m serious. I spent months fighting this plant, and now it’s the easiest one I own. It propagates like crazy. I’ve got leaf cuttings sprouting in a separate pot. It’s genuinely rewarding.
Frequently Asked Questions (Real Questions I Get From Friends)
-
Question: Can I use regular potting soil if I mix it with sand?
- Answer: No. Regular potting soil has fertilizer and organic nutrients that are too rich. It will stress the roots. Pure peat and perlite is the only safe way. It’s cheap and available online or at garden centers.
-
Question: What if my bathroom has no window? Will a grow light be enough?
- Answer: Yes, absolutely. I ran a full year with only a 10-watt LED panel in a windowless basement bathroom. The plant grew slower, but it was healthy. You just need to adjust the light duration to at least 12-14 hours.
-
Question: How often do I need to repot it?
- Answer: Only when it outgrows the pot or the soil breaks down (usually every 1-2 years). Sundews don't need frequent repotting. The process stresses them out. Just top up the water tray and leave them alone.
I hope this helps. Go give your sundew a chance. It’s a fascinating little creature, and it gets gorgeous in the right spot.





