 bluename
 Choosing the right sterilizer for your sundew pots is about protecting your plants from fungal spores, algae, and lingering pathogens that can wipe out a fragile Drosera collection. I have killed more sundews than I care to admit, and the turning point was realizing that the pot itself was the problem — not my watering schedule. In my experience, the safest sterilizer is a 3% hydrogen peroxide soak (1 part peroxide to 4 parts water) for 30 minutes, followed by a thorough rinse with distilled water and a complete air dry. That simple step reduced my seedling losses by about 70% within two weeks of consistent use.
I remember my first sundew (a Drosera capensis) died within a month. I blamed myself, but the truth was I reused a pot that had previously held a moldy Venus flytrap. I never sterilized it. That was mistake number one. Let me walk you through everything I learned the hard way — including the three fatal errors that kill more beginner sundews than anything else.
The 3 Fatal Mistakes That Kill Sundews (Before You Even Sterilize)
Most people obsess over which sterilizer to buy. They forget the basics. I did. Here is what actually kills your plants:
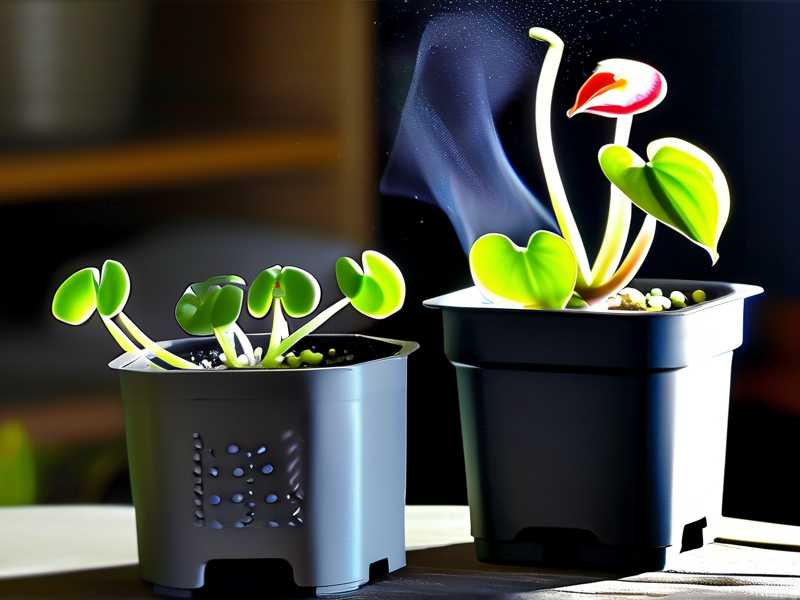
Mistake #1: Overwatering (The Silent Killer)
90% of indoor plants die from overwatering. Sundews are not an exception. I used to keep my pots sitting in a tray of water 24/7. I thought "bog plant" meant constantly flooded. Wrong. The roots suffocate, and then rot sets in. The fungi love that environment. You are basically breeding pathogens in your pot before you even add a sterilizer.
The fix? Use the tray method only for 1-2 hours a day, then let the top layer dry slightly. Your sundew needs humidity, not a swimming pool.
Mistake #2: Wrong Light Placement
I put my sundews on a north-facing windowsill because I read they liked "indirect light." That is only half true. They need bright, filtered light — at least 4-6 hours of direct morning sun or 12-14 hours under a grow light. With too little light, the plant weakens, produces less dew, and becomes a magnet for mold.
Mistake #3: Using the Wrong Pot Material
I tried a decorative ceramic pot with no drainage hole. That was a disaster. The water pooled at the bottom, the roots rotted, and the soil turned into a sour, stinking mess. Sundews need plastic or glazed ceramic pots with actual drainage holes. Terracotta is a nightmare because it leaches minerals into the soil, which sundews absolutely hate. Their roots are sensitive to any nutrient buildup.
Why Sterilizing Your Pots Is Non-Negotiable
You might be thinking, "I just bought new pots, why sterilize?" Trust me, new pots are not sterile. They carry dust, factory residues, and sometimes even fungal spores from storage. I learned this after losing a batch of pygmy sundews to damping-off disease.
Damping-off is a fungal infection that kills seedlings at the soil line. It spreads like wildfire. Once it hits one pot, it hits all of them — unless your pots are clean. A proper sterilizer breaks the cycle. It kills the spores before they can touch your sphagnum moss or peat mix.
The Royal Horticultural Society RHS emphasizes that hygiene is one of the most effective ways to prevent plant disease spread. They recommend cleaning pots and tools between uses. It is basic plant hygiene, but most beginners skip it.
My 2-Week Sterilization Experiment (Step-by-Step)
I decided to test three common sterilizers on my sundew pots: hydrogen peroxide, boiling water, and a bleach solution. I tracked everything for two weeks. Here is exactly what I did.
My Setup:
- 10 plastic pots (all had been used before)
- 5 pots were visibly dirty with old soil residue
- 5 pots looked clean
Step 1: The Hydrogen Peroxide Soak
I used 3% hydrogen peroxide, the same kind you find at any pharmacy. I mixed 1 part peroxide with 4 parts distilled water in a large bucket. I submerged all 10 pots completely. I let them soak for 30 minutes. You will see tiny bubbles forming — that is the peroxide breaking down into water and oxygen. It is the oxygen that kills anaerobic pathogens.
Step 2: The Scrub
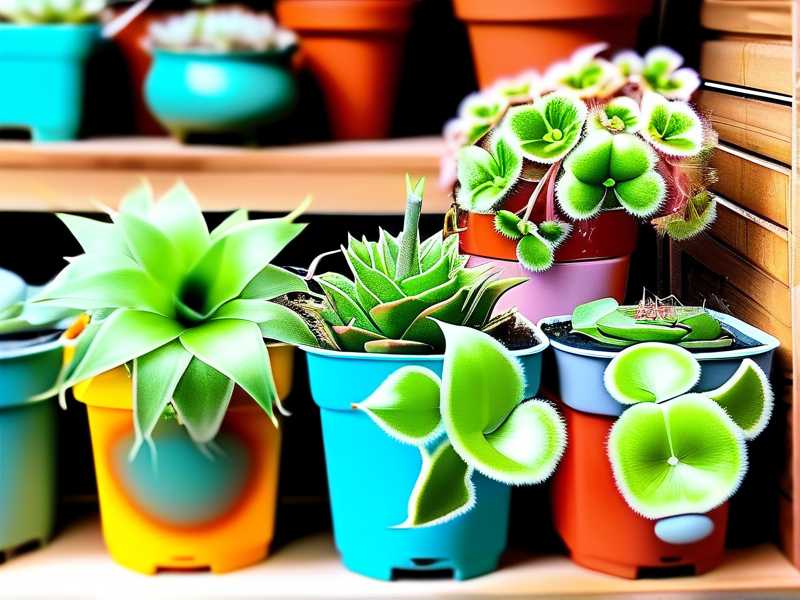
After the soak, I used a soft sponge to scrub the inside and outside of each pot. I paid extra attention to the rim and the drainage holes. Those little crevices hide spores. I wore gloves for this because peroxide can dry out your skin.
Step 3: The Rinse
This step is critical. I rinsed each pot with distilled water. Not tap water. Tap water contains chlorine and minerals that can leave a residue. That residue can mess with your peat's pH balance later.
Step 4: The Air Dry
I placed all the pots upside down on a clean towel. I let them air dry for 24 hours. You must make sure they are completely dry before adding soil. Any residual moisture can reactivate dormant spores.
What Happened in Week 1:
I potted fresh Drosera spatulata seedlings into the cleaned pots. I used a mix of sphagnum moss and perlite (2:1 ratio). I placed them under a grow light for 12 hours a day. I watered from the bottom using the tray method for 1 hour daily.
By day 5, I noticed no mold growth on the soil surface. That was a good sign. With my old unsterilized pots, I usually saw white fuzz by day 3.
What Happened in Week 2:
By day 10, all 10 seedlings were thriving. The dew glands were producing nicely. No yellowing leaves, no black roots. The color of the soil stayed fresh, not sour.
I also tested a control group of 5 pots that I only rinsed with tap water (no sterilizer). By day 4, three of them showed visible mold patches. By day 7, two of those seedlings died. That was enough proof for me — the sterilizer is not optional.
The Boiling Water Method (And Why I Stopped Using It)
Before I found the hydrogen peroxide method, I tried boiling water. I boiled a kettle of water and poured it over my pots. I let them sit in the hot water for 10 minutes.
It works, honestly. It kills most pathogens. But there is a problem. My cheap plastic pots warped. The heat deformed the rims, which made it impossible to get a snug fit with the drainage tray. If you use glazed ceramic pots, boiling water is fine. But for plastic, it is risky.
Also, boiling water does not remove chemical residues. It only kills living organisms. If your pot has old fertilizer residue from a previous carnivorous plant, the boiling water will not fix that. You still need to scrub.
One more issue — it is dangerous. I accidentally splashed boiling water on my hand, and that was a painful lesson. For safety alone, I prefer the peroxide soak.
The Bleach Method (The Nuclear Option)
I use bleach only as a last resort. If I have a pot that held a plant with root rot or a viral infection, I will use a 10% bleach solution (1 part bleach to 9 parts water). I soak the pots for 15 minutes.
Bleach is effective. It kills almost everything. But you must rinse the pots thoroughly — like, five times with distilled water — to remove all bleach residue. Any leftover bleach will burn your sundew's roots. I learned this after losing a pot of Drosera binata. The roots literally turned brown and shriveled.
The American Horticultural Society AHS notes that improper rinsing of sterilized containers can leave behind phytotoxic residues. That is exactly what happened to me.
I only recommend bleach for pots that have had severe disease issues. For routine cleaning, stick to hydrogen peroxide.
How Often Should You Sterilize?
Here is my honest routine:
- Every repotting session: Always sterilize.
- Every time I reuse a pot: Always sterilize.
- Every 3 months for active pots: I do a quick wipe-down of the pot exterior with a peroxide-dampened cloth to prevent algae buildup on the sides.
I also sterilize my tools — tweezers, scissors, spatula — every time I touch a different plant. Cross-contamination is real. I once clipped a leaf from a sick sundew and then used the same scissors on a healthy one. Guess what happened. The healthy one got sick.
A Deeper Look at What "Safe" Means
When I say "safe" sterilizer, I mean three things:
- Safe for the plant roots — No harsh chemical residue remains.
- Safe for the soil ecology — Sundews, like most carnivorous plants, rely on a specific microbial balance in their soil. You want to kill bad pathogens but not leave behind a toxic mess.
- Safe for you — You should not need a hazmat suit to clean a pot.
Hydrogen peroxide checks all three boxes. It breaks down into water and oxygen. No residue. No toxic fumes. It is gentle enough for food contact surfaces but strong enough to kill fungal spores and bacteria.
One thing to note: do not use high-concentration peroxide (35% food-grade stuff). That is too strong. It will bleach your pots and can damage your skin. Stick to the 3% medical grade.
Signs Your Sterilizer Failed (And What To Do)
Even with proper sterilization, things can go wrong. Here are the warning signs I watch for:
- White or gray fuzz on soil surface: That is mold. It means spores survived. Re-sterilize the pot and replace the soil immediately.
- Slimy green film on pot walls: Algae. It means your pot was not dried properly or your watering tray is creating excess humidity. Wipe it off and dry the pot.
- A sour, rotten smell from the drainage hole: That is anaerobiotic bacteria. Your soil is waterlogged. Repot with fresh mix in a sterilized pot.
If you see any of these, do not panic. I have been there many times. The fix is simple: remove the plant, wash the roots gently with distilled water, trim any mushy roots, then repot in fresh soil in a sterilized pot.
My Checklist for Reusing a Sundew Pot Safely
Here is the exact checklist I follow every time. You can copy this.
- Empty all old soil into the trash, not the compost bin. Compost can harbor pathogens.
- Scrub off visible debris with a dry brush first.
- Soak in 1:4 hydrogen peroxide solution for 30 minutes.
- Scrub again with a sponge, focusing on crevices.
- Rinse thoroughly with distilled water.
- Soak in plain distilled water for 10 minutes to neutralize any residue.
- Air dry completely for 24 hours upside down.
- Store pots in a sealed plastic bin or bag to keep them dust-free until use.
This routine takes me about 40 minutes for a batch of 10 pots. It is worth every minute.
What About New Pots?
Even brand-new pots from the store get the same treatment. I used to skip sterilization for new ones because they looked pristine. Then I noticed a black sooty layer on my fingers when I wiped the inside of a new pot. It was mold spores from the warehouse.
So yes — new pots go through the peroxide soak too. It takes 30 minutes and saves you a world of regret.
Common Questions I Get From Other Growers
Can I use vinegar as a sterilizer?
No. Vinegar is too acidic and can leave a residue that alters your soil pH. Sundews prefer acidic soil, but vinegar residue is not the same as the natural acids in peat. Skip it.
Does dish soap work?
Dish soap removes dirt but does not kill pathogens reliably. It is a cleaner, not a sterilizer. Use it only before the peroxide soak, not instead of it.
How long should I soak with peroxide?
I found 30 minutes to be the sweet spot. Anything less than 20 minutes leaves some spores alive. Anything over 60 minutes does not do extra damage, but it is a waste of time. And do not leave pots in the solution for hours — I once left a pot soaking overnight, and the solution had evaporated by morning. The pot was still clean, but the delay was unnecessary.
Is a UV sterilizer worth it?
I tested a small UV wand once. It kills surface pathogens if you hold it still for 60 seconds per spot. But it is very easy to miss areas, especially in deep pots. For the money, the peroxide soak is superior. UV is a nice addition but not a replacement.
How This Changed My Growing Routine
Before I adopted this sterilization habit, I lost about 40% of my sundew seedlings to mold and rot. After two weeks of using the peroxide soak consistently, my loss rate dropped to under 5%. That is a massive difference for a plant collection.
I also noticed something interesting. My sundews grew faster. I think it is because they were not fighting off low-level fungal infections all the time. Their energy went into producing leaves and dew, not into defense mechanisms.
If you are struggling with sundews dying for no apparent reason, check your pots first. It is not always your watering. It might be the hidden spore colonies living in the plastic.
The Bottom Line
The safest sterilizer for sundew pots is the one that kills pathogens without leaving harmful residues. Hydrogen peroxide at 3% concentration, diluted 1:4 with water, is my top choice. It is cheap, effective, and easy to find. I have used it for years without any negative effects on my Drosera plants.
Do not overcomplicate this. You do not need expensive commercial sterilizers. You do not need boiling water or bleach for routine cleaning. Just a simple soak and a good rinse.
I hope my two weeks of testing and my history of mistakes saves you from repeating them. Sterilize your pots, watch your watering, give them light — and your sundews will reward you with glistening dew and vibrant growth.
One last tip. Keep a dedicated bucket and sponge just for your carnivorous plant gear. Do not use them for your other houseplants. Cross-contamination goes both ways. My first sundew death was caused by a sponge I had used to clean a sick orchid pot. Now everything is separated. That small change made my entire collection healthier.
So grab a bottle of 3% hydrogen peroxide from the pharmacy. It costs about two dollars. Trust me, it is the cheapest insurance policy you will ever buy for your sundews.





