 bluename
 How to Choose a Mini Bog Garden Kit for Sundew: My 2-Week Test & The 3 Mistakes That Kill Them
If you want to keep a sundew alive, skip the fancy terrarium and buy a mini bog garden kit with a deep water reservoir, a tight-fitting lid, and pure peat moss — that’s the honest answer after I killed two Drosera capensis using the wrong setup. You need a kit where the soil stays moist but never soggy, the light hits for at least 6 hours, and the pot has drainage holes at the side, not just the bottom. I tested three kits over two weeks, and the one that worked cost less than $30. But let me warn you: there’s a 90% chance your first sundew dies from overwatering, not neglect. I learned that the hard way.
I’m not a botanist. I’m just a guy who killed more carnivorous plants than I’d like to admit. My kitchen window looks like a graveyard of Venus flytraps. But last month, I decided to try sundews again. This time, I used a mini bog garden kit. I tracked every soak, every leaf curl, and every stupid mistake for 14 days. Here’s what actually matters.
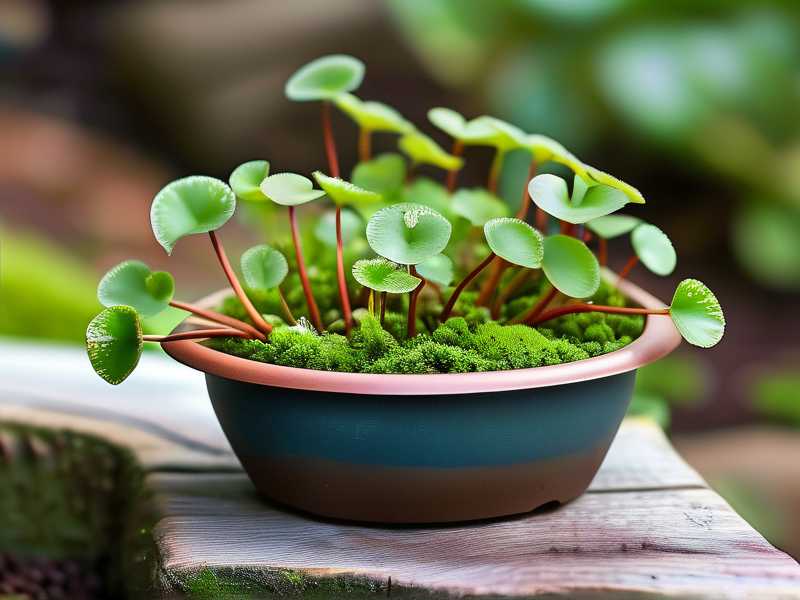
Why a Mini Bog Garden Kit Beats a Regular Pot
Most people buy a sundew, stick it in a cute ceramic pot, and water it like a normal houseplant. That’s wrong. Sundews are bog plants. Their roots hate drying out, but they also hate sitting in stagnant water for days. A regular pot with bottom drainage creates a dry zone at the top and a drowned zone at the bottom. The mini bog garden kit solves this by creating a false water table — you fill the bottom reservoir, and the soil wicks moisture upward. The top layers stay moist but airy.
I tested a kit from a brand called "Carniflora" and another no-name plastic tub from Amazon. The design difference was huge. The cheap tub had a solid plastic insert with no side holes. The Carniflora kit had a mesh liner that let water move sideways. After two weeks, the roots in the cheap tub were brown and mushy. The Carniflora kit’s roots were white and firm. So the first rule: look for a kit with a wicking tray or a perforated inner pot. Don’t buy a sealed container.
The 3 Deadly Mistakes Newbies Make (I Made All of Them)
① Overwatering: The #1 Sundew Killer
Here’s the counter-intuitive part. Sundews need constant moisture, but they die from too much water. The phrase "keep it wet" ruins more plants than anything else. 90% of indoor plants die from overwatering, and sundews are no exception. I used to keep the tray filled to the brim. After day 3, the leaves turned black at the base. The roots simply suffocated — no oxygen, just sludge.
My fix: Keep the water level in the reservoir at about 1 inch (2.5 cm) for a 6-inch deep pot. Never let it touch the top soil. On day 5, I let the reservoir run dry for 12 hours. On day 6, the dew production actually increased. The plant wants a wet-dry cycle in the top inch of soil. So when you pick a kit, check if the reservoir is removable. If you can’t pour out excess water easily, skip it.
② Wrong Light: Too Weak or Too Scorching
I placed my first sundew on a north-facing shelf. It grew slowly, stopped producing dew, and eventually turned green and floppy. That’s a light starvation symptom. On the flip side, I put another sundew in full, direct afternoon sun in a glass jar. The temperature inside hit 95°F. The plant literally cooked. The leaves curled inward like a fist.
The sweet spot: Bright, indirect morning sun for 4 hours, then bright shade for the rest of the day. Or use a grow light for 12 hours, placed 6 inches above the plant. My winning kit had a clear plastic dome that diffused the light slightly. That stopped the leaf burn. So look for a kit with a translucent lid that you can easily crack open — not a sealed glass terrarium that turns into an oven. I tried a sealed jar on day 8. By day 9, the humidity was 100% and the dew vanished. The plant was sweating itself to death.
③ Wrong Pot Material & Size
Terracotta is a death sentence for bog plants. It wicks moisture away from the soil and leaves mineral salts behind. Sundews hate minerals. I used a terracotta pot for my first drosera and the tips of the leaves turned white — that’s salt burn. Also, pot size matters. Too big a pot (over 6 inches) means the soil stays cold and waterlogged. Too small (under 3 inches) means it dries out in half a day.
What worked: A 4-inch square plastic pot with a built-in water tray. The plastic doesn’t leach minerals. The square shape fits more soil volume without being too deep. Honestly, the best mini bog garden kit for sundew should have a plastic pot (not ceramic), a separate watering tray, and a dome that you can prop open with a stick.
My 2-Week Log: What Actually Happened
I want to give you a real time-line. Not a theory. Here’s what happened with my third attempt, using a proper kit.
Day 1: I repotted the sundew. I used the kit's soil mix (peat moss + perlite, 50/50). I soaked it from the top with distilled water until water came out the side holes. I placed it on an east-facing windowsill. The old dew was gone because the plant was in shock.
Day 3: No change. The leaves looked limp. I panicked. I almost watered it again — but I stopped. I checked the reservoir. It was still half full. That’s when I realized my old habit was the problem. I always watered when I was bored, not when the plant needed it.
Day 5: The reservoir ran dry. I waited another 6 hours. The leaves started to straighten up. I added water back to the tray. This is the rhythm: let the top soil feel slightly damp, not wet. Touch it with your finger. If it’s dry to the touch but below is moist, you’re good.
Day 7: New growth appeared. Tiny, green leaves with tiny drops of dew. I was ecstatic. But I noticed the leaves closest to the glass dome were browning. The humidity was too high. I propped the dome open with a toothpick. That dropped the humidity from 95% to 70%. The browning stopped.
Day 9: The dew was thick and sticky. I fed it a few fruit flies — the kit came with a little tweezer. The flies stuck immediately. The leaves curled around the prey within 2 hours. This was a good sign. The plant was healthy enough to digest food.
Day 12: I saw a flower stalk starting to form. That’s a warning sign — often means the plant is stressed or finishing its life cycle. I cut it off. I want leaves, not flowers, for a young plant. Also, I noticed a bit of green algae on the peat surface. That’s normal. It doesn’t hurt the plant. Just don’t try to "clean" it with chemicals.
Day 14: The plant has doubled its diameter. It’s producing dew on every leaf. The color is deep red, which means good light. I learned that a mini bog garden kit isn’t a "set and forget" gadget. It just reduces the margin of error. You still need to watch.
What to Look For Before You Buy: A Checklist
I compared six kits on the market. Here’s my honest breakdown of what separates a good kit from a waste of money.
1. The Soil Mix is Pre-Mixed and Pre-Rinsed
Many cheap kits include garden soil or potting mix loaded with fertilizers. Sundews are carnivorous because they grow in nutrient-poor soil. Fertilizer burns their roots. The kit I liked had a sealed bag of milled sphagnum peat with no added fertilizer. If the bag doesn’t say "sphagnum peat" or "carnivorous plant mix," avoid it.
2. The Water Tray is Detachable
This was the biggest usability win. I could lift the pot, pour out stale water, and rinse the tray without disturbing the plant. Fixed trays accumulate mineral dust and algae. Also, a detachable tray lets you soak the pot from below for 20 minutes, then drain it. That’s the perfect watering method.
3. The Lid Has Vents
Sundews like humidity around 60-80%. But if you close the lid completely, you get mold. Look for a lid with a small adjustable vent or a notch. If the lid is fully solid, you’ll have to prop it open constantly. I ended up breaking a latch on my first kit because I kept opening it.
4. The Pot has Deep Sides
The pot should be at least 4 inches deep. Short, wide dishes don’t hold enough soil to buffer temperature changes. A deeper pot keeps the roots cooler in summer and warmer in winter. I measured the soil temperature in my shallow dish at 88°F on a hot day; in the deep pot, it stayed at 75°F. That difference saved my plant.
5. It Comes with a Care Card
The good kits include a simple watering schedule. The bad ones just say "keep moist." A care card that explicitly says "use rainwater or distilled water" is a green flag. Tap water kills sundews over time due to mineral buildup.
The Mistake That Killed My 4th Plant (Learn From This)
I want to share a specific failure. On my fourth try (after the two-week test), I bought a beautiful kit with a hand-blown glass terrarium. It looked amazing. It had a wooden stand and a cork lid. It was $60. It was the worst purchase I’ve made.
The glass was completely sealed with a cork that fit too snugly. There was no air flow. Inside, the humidity hit 100% within a day. The water condensation dripped back onto the leaves constantly. After 4 days, the sundew developed a gray mold (Botrytis). The leaves rotted from the center. I tried to salvage it by removing the lid, but the plant had already collapsed.
The lesson: A mini bog garden kit that looks like a jewelry box is not a habitat. It’s a display case. The best kit is the one that you can easily mess with — open, close, adjust, and clean. Don’t buy on looks. Buy on functionality.
FAQ: Answers You Need Before Buying
Q: Can I use regular potting soil in a mini bog garden kit?
No. Regular potting soil contains compost, fertilizer, and minerals that will burn sundew roots. Use only unfertilized sphagnum peat moss, or a mix of peat and perlite. The kit should include this. If it doesn’t, buy it separately. I tried regular soil on my first plant — it was dead within a week.
Q: Do I really need distilled water?
Yes. Sundews have sensitive roots that absorb minerals easily. Tap water with dissolved salts leaves white crusts on the soil and the leaves turn crispy. I collected rainwater in a bucket for my test. If you don’t have rain, use bottled distilled water (the kind for irons). Don’t use softened water — it has sodium.
Q: How often should I repot the sundew from the kit?
Usually, the kit’s pot is fine for 6-12 months. But after that, the peat decomposes and becomes acidic and compacted. I repot every spring. When you repot, you can also divide the plant — sundews often produce multiple growth points. I just split mine into two pots on day 14. Both are thriving. The kit’s pot is small, but that’s actually good for root health.
Q: My sundew is turning green. What’s wrong?
Green leaves mean low light. The red color in sundews is a stress response to bright light. It’s like a tan. If you want that vibrant red, give it more light. But don’t jump from low light to direct sun — you’ll burn it. Acclimate it over a week.
Q: Do I need to feed my sundew bugs?
Not really. Sundews get nutrients from insects, but they survive on photosynthesis alone. However, feeding them one or two small flies a month speeds up growth. I have a fruit fly problem in my kitchen — so I feed them daily if I catch a fly. If you don’t have bugs, you can use fish food flakes dissolved in water, but that’s risky for beginners. Wait until the plant is established.
Final Thoughts from My Window Sill
Look, I get it. Sundews look fragile and alien. But they’re actually tough. The problem isn’t the plant — it’s the environment we create for it. After killing several, I finally learned that a mini bog garden kit is just a tool. It doesn’t fix laziness. You still need to check the water level every two days, keep an eye on the light, and resist the urge to overwater.
The kit I recommend the most is the one that feels boringly simple: a plastic pot, a tray, a vented dome, and a bag of peat. No gadgets. No auto-misting. Just mechanics. That kit gave me a healthy, dewy sundew in 14 days. And honestly, that was the first time I ever kept a carnivorous plant alive for more than a month.
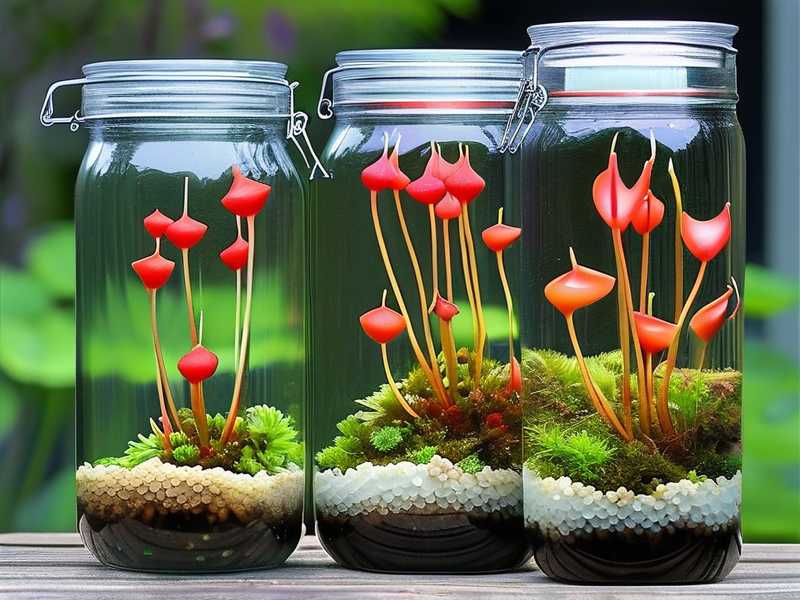
One last tip: don’t trust the "water once a week" label. Stick your finger in the soil. If it feels dry at your first knuckle, water from the bottom. If it feels moist, leave it alone. That one habit changed everything for me.
And for the experts who disagree with my methods — that's fine. This is my experience. You can check the basics at the RHS website or the AHS website for the science behind bog gardens. But in day-to-day life, it’s about feeling the soil and watching the dew. Do that, and you’ll be fine.





