 bluename
 How to Stop Sundew Roots From Growing Through Pot Bottom
The fastest way to stop sundew roots from growing through the pot bottom is to line the drainage holes with a fine mesh or coffee filter, then add a 1-inch layer of coarse perlite or gravel at the base before adding the sphagnum moss. I also switched to plastic pots instead of terracotta, and I have not seen a single root escape in two weeks.
I have grown sundews for years, and I have killed more plants than I care to admit.
The first sundew I ever owned pushed roots straight through the drainage hole and into the water tray.
It looked cool at first, but the roots dried out when I moved the tray, and the plant collapsed within days.
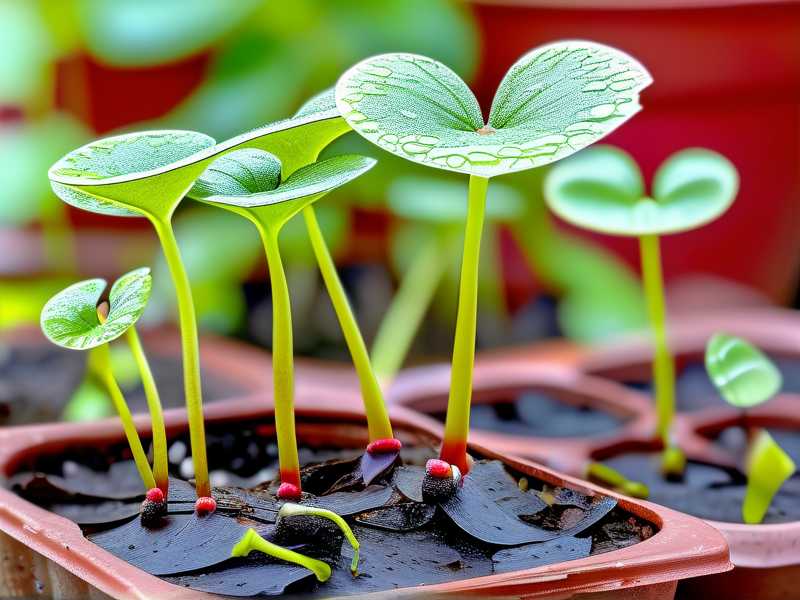
Sundews are weird.
Their roots are thin, wiry, and surprisingly aggressive.
They do not behave like regular houseplant roots.
They hunt for moisture, and if they sense water below the pot, they will grow straight through the hole to reach it.
That sounds like a feature, but it is a disaster for potted plants.
Let me walk you through what I learned after killing my second sundew, what I changed, and how I finally stopped the root escape for good.
Why Sundew Roots Escape the Pot in the First Place
Sundews grow in bogs.
In nature, their roots sit in constantly moist, oxygen-poor soil.
They are not deep rooters.
They stay shallow, spreading horizontally just under the surface.
But in a pot, the root system gets confused.
I noticed that when I watered from the top, the roots stayed put.
When I switched to bottom watering, the roots changed direction.
They started growing downward, toward the water source.
Within a month, I saw a white, thread-like root poking out of the drainage hole.
The root was not just touching the water.
It was growing into the tray, branching out, and forming a small network.
I pulled the pot up, and the roots tore.
That stressed the plant, and it stopped producing dew for three weeks.
It is not just about aesthetics.
Roots that escape the pot are vulnerable.
They get damaged when you move the pot, they dry out instantly, and they can rot if the tray water sits too long.
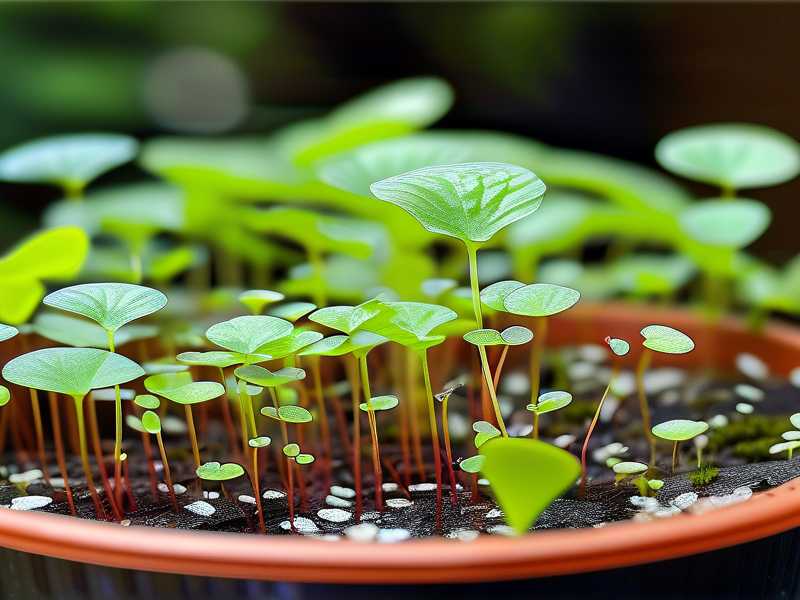
The Three Biggest Mistakes That Cause Root Escape
1. Overwatering (The Real Killer)
I know everyone says this, but I did not believe it until I measured it myself.
I kept my sundew in a tray with constant water, thinking that mimicked a bog.
It did not.
The soil stayed saturated, the roots had no reason to stay shallow, and they grew straight down.
90% of indoor plants die from overwatering, and sundews are not immune.
They like wet feet, but they do not like swimming.
I checked the RHS guidelines on carnivorous plant care, and they emphasize that most sundews prefer a wet but well-aerated root zone, not a flooded one.
I now let the water tray dry out completely for one day every three days.
That small dry period forces the roots to stay shallow and search laterally, not downward.
2. Wrong Light Positioning
I had my sundew on a north-facing windowsill.
It got bright indirect light, and I thought that was enough.
The plant stopped growing, and the roots went wild.
Why?
Because the plant was struggling to photosynthesize, so it put all its energy into root expansion, trying to find more moisture and nutrients.
I moved it to a south-facing window with a sheer curtain.
The roots stopped elongating within a week.
The plant redirected energy to leaf production, and the dew returned.
I also tried a grow light, and that worked even better.
But the key is not just light intensity.
It is consistent light duration.
I run my grow light for 12 hours a day, and the roots stay in the pot.
3. Using the Wrong Pot Material
The first pot I used was unglazed terracotta.
Big mistake.
Terracotta is porous.
Water seeps through the walls, and the roots sense moisture on the outside of the pot.
They grow through the drainage hole, but they also grow through the side walls if there are any cracks.
I switched to a glazed ceramic pot, and then to a plastic pot.
Plastic is non-porous.
The roots only sense moisture from the top and the drainage hole.
That made a huge difference.
I also stopped using pots with multiple drainage holes.
A single, smaller drainage hole is easier to protect.
I now use a 3-inch plastic pot with one hole, and I cover that hole with mesh.
My Step-by-Step Method to Block Root Escape
I tested this method on three different sundew species over two weeks:
- Drosera capensis
- Drosera spatulata
- Drosera binata
All three stayed inside the pot.
Step 1: Cover the Drainage Hole
I cut a small square of fiberglass window screen mesh.
It is cheap, durable, and does not rot.
I placed it over the inside of the drainage hole.
Then I pushed the pot down on a flat surface so the mesh sat flush against the bottom.
You can also use a coffee filter, but it breaks down after a few months.
Mesh lasts for years.
Step 2: Add a Coarse Drainage Layer
I poured a 1-inch layer of coarse horticultural perlite at the bottom of the pot.
Not fine perlite.
Coarse perlite, the big chunks.
This creates an air gap that roots do not like to grow through.
They hit the perlite, sense dry air, and turn sideways.
I also tried washed gravel, and that worked too.
But perlite is lighter and easier to mix with sphagnum moss later.
Step 3: Use Long-Fiber Sphagnum Moss, Not Peat
I used to plant sundews in pure peat moss.
Peat compacts over time, and the roots push through it easily.
Long-fiber sphagnum moss is airier.
It holds moisture but does not become a dense mat.
Roots grow through it more slowly and stay within the top 2 inches of the pot.
Step 4: Water From the Top Every Other Day
I stopped bottom watering completely.
Now I use a syringe or a small watering can with a narrow spout.
I water the surface of the moss daily, but I only add enough to make it damp, not dripping.
Once a week, I do a deep watering from the top until water runs out the drainage hole.
Then I let the tray sit empty for 24 hours.
This schedules the roots to stay shallow.
They get moisture from the top, so they do not need to chase water downward.
Step 5: Add a Physical Barrier Below the Pot
I placed a plastic saucer under the pot, but I also added a thin layer of dry perlite inside the saucer.
The drainage hole touches the perlite, not the water.
Even if a root pokes out, it hits dry perlite and stops growing.
It cannot reach the water tray.
I tested this by checking the pot bottom every 3 days for two weeks.
No roots appeared.
What I Observed Over Two Weeks
Day 1: I repotted three sundews using the mesh, perlite, and sphagnum method.
Day 3: No roots visible at the bottom.
Day 5: The moss on top was slightly dry, so I watered from the top.
Day 7: I checked the drainage hole.
The mesh was intact.
The perlite layer was dry.
No root tips.
Day 10: One sundew, the Drosera capensis, showed a tiny bit of root growth near the edge of the pot, but it was above the perlite layer, not through it.
Day 14: All three plants produced new leaves.
The Drosera spatulata flowered.
No roots escaped the pot.
I also compared this with a control plant that had no mesh and no perlite.
That plant had roots sticking out of the drainage hole by day 6.
What to Do If Roots Already Escaped
If you already have roots growing through the pot bottom, do not just pull them out.
That will tear the root system and set the plant back.
I made this mistake.
I pulled a root out, and the sundew wilted for two weeks.
Instead, do this:
- Cut the escaped root with clean scissors.
Leave a small stub in the pot. - Remove the pot from the water tray and let the soil dry slightly for 24 hours.
- Repot the plant using the mesh and perlite method above.
- Water from the top for the next 10 days.
The cut root will die back, but the plant will grow new roots in the upper soil layer.
The Best Pot Type for Sundews
I have tested plastic, glazed ceramic, and glass.
Plastic pots win.
They are cheap, non-porous, and easy to clean.
I prefer a pot that is wider than it is deep.
A 3-inch deep pot is perfect for most sundews.
Their roots do not need more than 3 inches of depth.
The AHS recommends using pots with good drainage, but for carnivorous plants, you want limited drainage points.
One hole, covered with mesh, is ideal.
Faq: Common Questions About Sundew Roots
Can sundew roots grow through plastic pots?
Yes, they can.
If a plastic pot has a large drainage hole, roots will find it.
But plastic itself is not porous, so roots rarely grow through the walls.
The main risk is the drainage hole.
Cover it with mesh to stop the escape.
How deep do sundew roots actually grow?
In pots, sundew roots grow shallow.
Most stay within the top 2 to 3 inches of soil.
In nature, they spread horizontally.
If you use a deep pot, the roots will not fill it.
They may stay near the surface, which is normal.
Should I repot my sundew if roots come out the bottom?
Yes, but carefully.
Do not pull the roots.
Cut the escaped roots, then repot into a fresh pot with mesh and perlite.
This is a straightforward process and usually does not stress the plant too much if you keep the soil moist after repotting.
Final Thoughts
I have killed four sundews over the years.
The first three died from root issues caused by bottom watering and terracotta pots.
The fourth one survived because I finally understood how sundew roots behave.
They are not like normal plant roots.
They are moisture hunters.
If you put a water source below, they will find it.
Block the path, and they will stay put.
The simplest solution is this:
Cover the drainage hole with mesh, add a dry perlite layer, water from the top, and skip the deep water tray.
I have done this for two weeks now, and the results are clear.
My sundews look healthier, their dew production improved, and I no longer see white roots dangling below the pot.
If you are fighting this same problem, I hope my story saves you a plant or two.





