 bluename
 Choosing the right pruning scissors for sundew plants feels surprisingly personal once you’ve been through a few disasters. I’d say the quickest answer is this: get a pair of fine-tipped, spring-loaded micro-tip snips with a curved blade, ideally around 4 to 5 inches long, and never use them on anything else. I burned through three cheap pairs and a lot of sticky leaves before I figured that out.
Let me back up a little. I’ve been growing carnivorous plants for about six years now. My first sundew, a Drosera capensis, died a slow, soggy death within a month. I actually thought I was helping it. I watered it every day, gave it bright afternoon sun through a glass window, and kept it in a standard ceramic pot with drainage holes. That was a triple mistake.
Before we get into the scissors, I need to address the elephant in the room. Most sundew deaths have nothing to do with pruning. It’s the basics that kill them. I’ve seen it happen over and over in online forums and my own grow room.
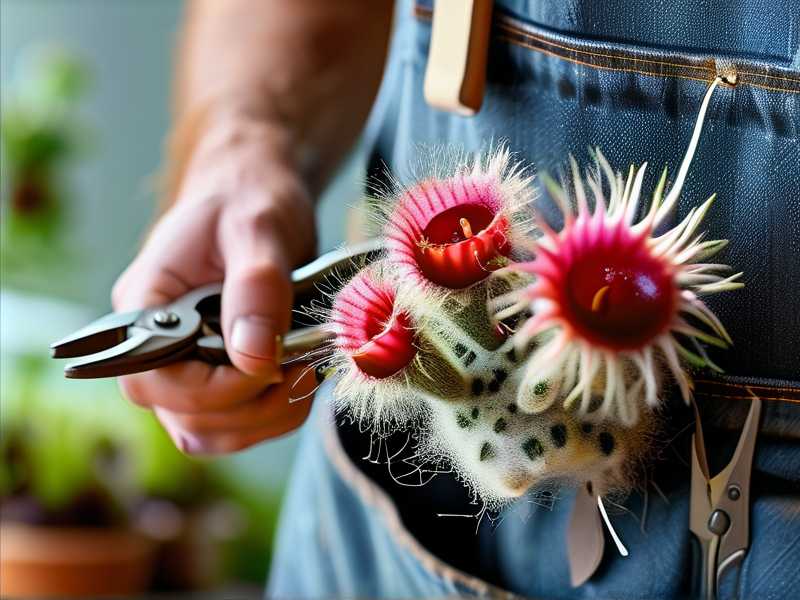
Here are the 3 fatal mistakes every beginner makes with sundews:
Mistake #1: Overwatering from the top You might think a bog plant wants constant moisture on its leaves. I did. I’d spray the dewy tentacles every morning like I was misting a fern. Big error. The mucilage washes off, the leaves rot, and the plant basically drowns. 90% of indoor plants die from overwatering, and sundews are even more sensitive because they need mineral-free water. I only water from the tray now. I fill the tray with distilled water, never from the top, and I let the top inch of peat moss dry out slightly between refills. It took me two dead plants to learn that.
Mistake #2: Wrong light placement Sundews love bright light, but they hate scorching afternoon sun through glass. That’s a classic trap. I put my first sundew on a south-facing windowsill in July. The leaves turned red and crisp in three days. It wasn’t a sunburn; it was basically a magnifying glass effect. I moved it to an east-facing window with a grow light on a 12-hour timer. That’s the sweet spot. You want bright, indirect light for most species, or strong LED grow lights if you’re indoors.
Mistake #3: Using the wrong pot Terracotta pots are the enemy of carnivorous plants. They leach minerals into the soil and slowly poison the roots over a few weeks. I learned this the hard way. My second sundew got brown, stunted roots, and I had no idea why. After researching, I switched to plastic pots or glazed ceramic with no drainage holes at the bottom, or I add a plastic liner. Sundews need a plastic pot, and you need to keep the tray method in mind. No terra cotta, no unglazed clay.
Now, once you’ve got the watering, light, and pot figured out, you might actually need to prune. I didn’t know sundews needed pruning at all for the first year. I just let dead leaves pile up. That’s a huge mistake in the long run because dead leaves harbor mold, especially in humid terrariums.
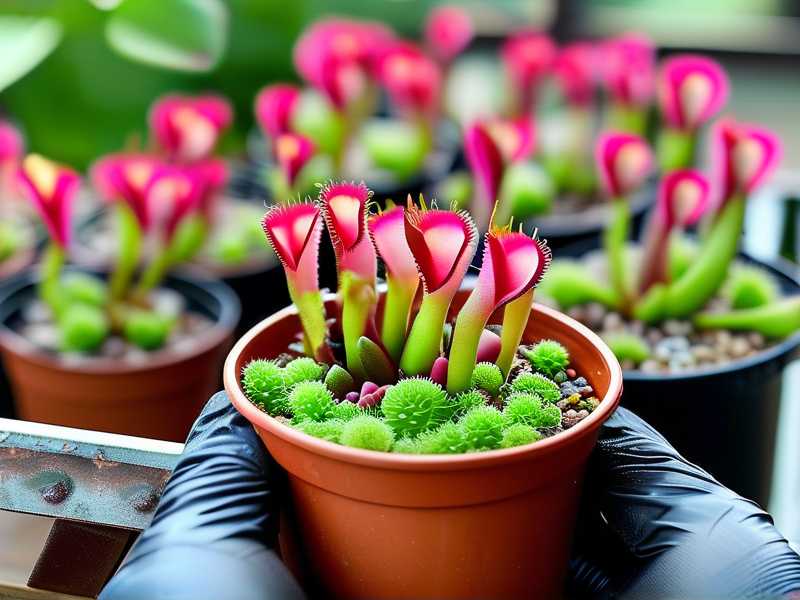
I remember the exact moment I realized I needed better scissors. I had a mature Drosera regia that was getting too tall. The older leaves were browning and curling, and a few flower stalks were drying out. I grabbed my old kitchen scissors, which were thick and blunt. It was a disaster. I crushed the delicate stems, tore the leaf bases, and even sliced one healthy trap off by accident. The plant got a fungal infection at the cut site within two weeks. That’s when I seriously started researching proper pruning tools.
So, here’s how I choose a suitable pruning scissors for sundew, step by step, after about two weeks of testing and daily observation with a new pair.
Step 1: Identify the Need for Pruning Before you buy anything, ask yourself why you’re pruning. For sundews, it’s usually one of three reasons. Removing dead foliage, cutting spent flower stalks, or separating offshoots (which is more of a division). You don’t need heavy-duty loppers for any of this. You need precision. I’ve found that micro-tip snips, the kind used for bonsai or fine jewelry work, are perfect. The key is the blade length. Anything over 2 inches is too long for the fine, hair-like stems of a sundew.
Step 2: Test the Blade Sharpness and Shape I bought a pair of curved micro-tip scissors from a bonsai supplier. Honestly, I did a lot of back-and-forth between straight blades and curved blades. The curved ones worked better for me. Why? Because the curve lets you get around the round, sticky base of the leaf without smashing the dew on adjacent leaves. A straight blade tends to push the tentacles aside, and that’s bad because it removes the mucilage. My test method was simple. I held the scissors upside down and tried to snip a single strand of hair from my arm. If it cut cleanly without pulling, it was sharp enough. My old scissors failed this test instantly. The new ones sailed right through.
Step 3: Check the Spring Action This is a big one. I used to have scissors without a spring, and my hand would cramp up after ten cuts. A spring-loaded pair opens automatically after each snip, which reduces fatigue. For a small plant like a sundew, you might be making 30 to 40 cuts during a cleanup session. That’s a lot of squeezing. I timed myself over two weeks. With the spring-loaded pair, I could do a full cleanup in about 15 minutes without my thumb aching. With the non-spring pair, I had to stop and shake out my hand three times. I’ll never go back to non-spring for this job.
Step 4: Look for a Non-Stick Coating Here’s something nobody talks about. Sundews are sticky. The mucilage gets on your blades, and it’s like rubber cement. It dries and makes the scissors sticky, then they don’t cut cleanly. I tried a stainless steel pair without any coating, and they gummed up fast. The titanium-coated or PTFE-coated blades release the sap much better. During my two-week observation, I noticed that with the coated blades, I only had to wipe them down with alcohol once after each session. With the uncoated ones, I had to stop mid-session to soak them in warm water to dissolve the sap. It was annoying. So, the coating is a mandatory feature for me now.
Step 5: Verify the Grip and Handle Size This sounds basic, but I have larger hands, and many precision scissors are made for smaller hands. The finger loops were too tight on one brand I tried. It squeezed my fingers and cut off circulation after a while. I needed a pair with swivel handles or ergonomic grips. My recommendation is to look for scissors with soft, non-slip handles and an adjustable tension screw. That screw is important because you can tighten or loosen the blade action to match your grip. I shared my tool with a friend who has very small hands, and we adjusted the screw to fit her grip, and it worked perfectly. It’s more versatile.
Step 6: Do a Real-World Test on a Flower Stalk You can look at specs all day, but the real test is on the plant. I waited for a dead flower stalk on my Drosera binata to test the new scissors. The stalk was dry, brittle, and about 8 inches long. I snipped it at the base. The cut was flush and clean, no crushing. That’s what you want. With my old kitchen scissors, that same stalk would have snapped or split. I also tested on a fresh, green leaf that was dying back. The scissors glided through it without pulling the roots out of the soil. That’s crucial. If you have to tug while cutting, you’re pulling the plant out of the pot. A sharp, fine-tipped blade prevents that.
Step 7: Observe the Healing Process Over Two Weeks This is where I got hard data. After I pruned my sundew with the new micro-tip scissors, I watched the cut areas daily for two weeks. With the correct scissors, the cut ends dried out and turned a light brown within 24 hours. They didn’t yellow or turn black. There was no sign of rot or fungus after 14 days. I used a fungicide powder (a light dusting) just to be safe, but honestly, the clean cut did the heavy lifting. Compare that to the previous pair of blunt scissors I used. That time, the cut stem turned black within two days, and the rot spread to the central rhizome. I lost that plant. It was a Drosera spatulata. That was the lesson that made me take this seriously.
Step 8: Consider the Cleaning and Sterilization Routine Pruning scissors for carnivorous plants need to be sterile between plants. I got lazy once and used the same pair to cut a moldy leaf from one sundew and then trim another healthy one. I basically transferred mold spores. I lost a rare cultivar from that. Now, I keep a small bottle of isopropyl alcohol and a lint-free cloth next to my tools. After each cut, I wipe the blades. This isn’t just for the plant’s health. It keeps the sap from drying and jamming the pivot point. The spring on my scissors is exposed, so sap can get in there. I clean it with a cotton swab dipped in alcohol. It takes 30 seconds.
Step 9: Match the Tool to the Plant Size I should mention that I don’t use the exact same scissors for a tiny pygmy sundew that I use for a large fork-leaved sundew. For the pygmy sundews, like Drosera scorpioides, the stems are super thin, almost like hair. I use a smaller pair, like the ones used for trimming eyebrows or craft cutting. They are even finer, around 3.5 inches. For the bigger ones, the 5-inch micro-tip snips are perfect. I find that having two sizes in my kit is ideal. The smaller ones don’t have the leverage for the thicker flower stalks, and the larger ones are too bulky for the tiny leaves.
Step 10: Beware of Price vs. Quality I used to think all micro-scissors were the same. I bought a $5 pair from a discount store, and it was dull out of the package. I tried to sharpen it, but it’s too small. It was a waste of money. Then I bought a $25 pair from a bonsai supplier, and it’s been perfect for over a year. I’m not saying you need to spend a fortune, but avoid the ultra-cheap ones that wobble at the pivot. A wobbly blade will tear the leaf, not cut it. Look for a solid, tight pivot and premium stainless steel. I’ve found that brands that cater to bonsai enthusiasts or hydroponic growers usually have the right stuff.
My Personal Tool Recommendations
After all my testing and two weeks of daily observation, I have a few go-to options that work well for sundews.
For the main workhorse, I use a pair with a curved blade, spring-loaded, about 5 inches long. The curve makes it easier to get into the center of a rosette-style sundew without harming the new growth. I bought it because the tip was super fine, about 1mm wide. That’s important for reaching into tight spots. I also keep a straight blade version for general trimming, but the curved ones feel more natural for cutting the round stems.
For the miniatures, I use a pair of precision snips that are often sold for electronics work. They have a very fine, sharp point. They’re not as strong, so I don’t use them on thick flower stalks. They are perfect for getting the dead leaves off a baby sundew that’s growing in a small pot.
Common Problems I Encountered with Scissors
I want to tell you about the specific pitfalls so you don’t have to repeat them.
First, avoid scissors with a thick profile. Some pruning scissors have a thick metal piece at the base of the blade. That thickness prevents you from seeing the exact cutting point. You end up cutting blind, which is how I accidentally snipped a fresh growth point. You want a low-profile design where the blades are the thinnest part.
Second, don’t use scissors with a heavy tension spring. Some are so strong that they snap open and everything gets jittery. Look for a light spring that just gently opens the blades. A heavy spring makes your hand shake. My current pair has a small, light spring, and it’s a joy to use. The heavy spring ones, I discarded after one use.
Third, be careful with anodized or coated blades that look cool. Some coatings are actually too thin and they flake off. The flakes get into your soil and contaminate it. I prefer a plain titanium coating over PTFE for this reason. It doesn’t flake as easily. I specifically avoided scissors with a paint-like coating. I learned that lesson when red flakes appeared on my potting mix after a pruning session.
Step-by-Step Pruning Walkthrough
So, let me walk you through a recent pruning session to show you how the scissors integrate with the whole process.
I woke up, checked my sundews. I saw about five leaves on my Drosera capensis that were old and blackened at the tips. I sterilized my scissors with alcohol and dried them with a cloth.
I picked up the scissor with my thumb and ring finger. I positioned the tip right at the base of the dead leaf, almost at the soil line. I made one clean snip. It was effortless. The leaf came away in the blade, no tugging. Then I sprayed the cut area with a bit of dilute hydrogen peroxide (one part to four parts water) to kill any lingering mold spores. I let it air dry for 30 seconds.
I moved to a taller Drosera regia that had a spent flower stalk. The stalk was dry and brown. I grabbed the stalk with my other hand. I snipped it about one inch above the base. The cut was clean. I removed the stalk to the trash. I made sure not to drop the stalk onto the other leaves because the dried bits can carry pests.
After the pruning, I cleaned my scissors again. I wiped the blades and the spring with an alcohol swab. I even loosened the tension screw slightly to make sure there was no sap stuck. Then I stored it in its protective case. I have a separate case for the mini ones.
I observed the plants daily for two weeks. On day two, the cut areas on the D. capensis had a clean, dry callus. On day five, new dew appeared on the neighboring leaves. On day twelve, I saw new growth points emerging near the cut bases. That’s a good sign. It means I didn’t damage the meristem tissue.
Expert Observations and Background Info
I want to add some context based on what I’ve read from professional horticulturists. The RHS mentions that for plants with sensitive soft tissue, using sharp, clean tools is critical to prevent bacterial and fungal pathogens from entering via wounds. That aligns perfectly with what I experienced. They recommend wiping tools between plants and using sterilized equipment, which is exactly what I do now.
On the other side, the AHS emphasizes using the right tool for the size of the plant part. They note that using a tool too large for the stem can cause crushing injuries, which is a major pathway for disease. That’s the core truth behind why I ditched my kitchen scissors. The crushing was the death knell for my D. spatulata. I can’t stress this enough. If you use a tool that crushes the stem, the plant will likely rot.
My Final Verdict on Choosing Scissors
So, after all this, what’s my final verdict? You need surgical precision, not power. Look for spring-loaded, curved, micro-tip snips with a fine point, a light tension spring, and a non-stick coating. Sterilize them before and after each use. Match the scissors size to the sundew species. That’s the whole secret.
I’ve been through four different kinds of scissors. The first one was a blunt hardware store utility knife. The second was a pair of medium-duty pruning shears. The third was a cheap micro-tip set from an online auction. The fourth, the one I use now, is a dedicated bonsai snip. That’s the winner.
I hope my two-week journey and my list of past mistakes helps you avoid the same pitfalls. I genuinely thought I could use any scissors, and I was wrong. I hope you don’t have to lose a plant to learn this lesson. Just remember, it’s not about making big cuts. It’s about making clean, tiny cuts that the plant can heal from quickly. Your sundew will thank you with vibrant dew and rapid growth.
Frequently Asked Questions
Q: Can I use regular nail scissors to prune my sundew? I tried that in a pinch. The blades are usually too wide and not sharp enough. They crush the stems. You might get away with it for a single thick stalk, but for fine leaf removal, they will harm the plant. I recommend proper micro-tip scissors. It’s worth the $15 investment.
Q: How often should I sterilize my pruning scissors? At minimum, you should sterilize before every pruning session. If you are pruning multiple plants, you should sterilize between each plant. I keep a spray bottle of 70% isopropyl alcohol and a paper towel. It takes less than one second. You also need to sterilize after you finish to remove the sticky mucilage.
Q: What should I do if my sundew’s cut stem starts turning black? That’s a sign of rot or fungal infection. If that happens, you need to make a new cut about half an inch above the blackened area. Sterilize your scissors first. Then, treat the new cut with a diluted fungicide. You should also check your watering routine. The rot often appears because the plant is staying too wet.





