 bluename
 How to Care for Sundew Seedlings After Germination
If you've just spotted tiny green specks sprouting from your sundew seeds, congratulations. That's a huge milestone. But here's the hard truth: getting them to germinate is the easy part. Keeping them alive past the two-week mark is where most people fail. I know because I've killed more sundew seedlings than I'd like to admit.
Let me save you the pain. The short answer is this: keep the soil consistently moist with pure water, provide bright indirect light for 12-16 hours daily, and never let them sit in standing water for more than a few minutes. That's it. Ninety percent of indoor plants die from overwatering, and sundew seedlings are even more sensitive because their roots are tiny and delicate. I learned this the hard way after losing my first batch within ten days.
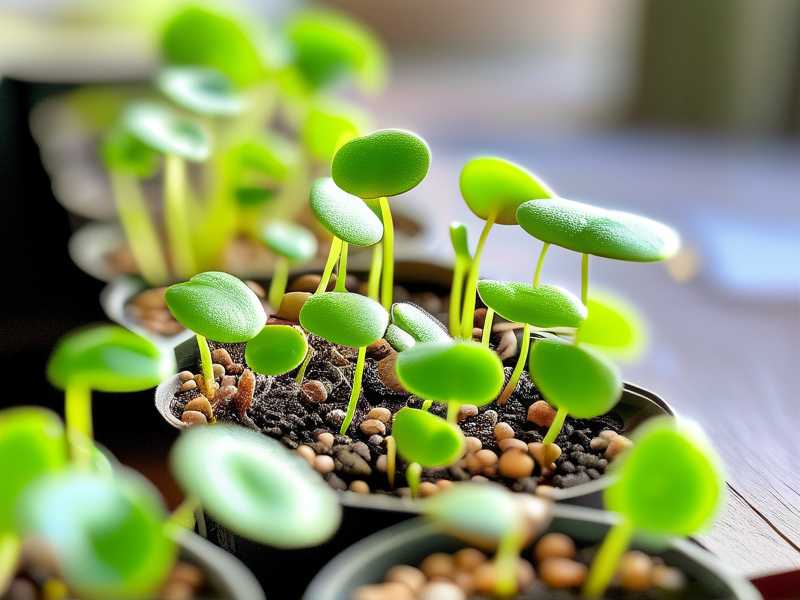
The Three Deadly Mistakes That Kill Sundew Seedlings
Before we dive into the care routine, let me walk you through the three biggest mistakes I've made and seen others make. These are the reasons most seedlings don't make it past their second week.
Mistake #1: Overwatering (Yes, Really)
This sounds counterintuitive because sundews love moisture. But here's the catch. Their roots need oxygen just like any other plant. When you keep the soil completely waterlogged, the roots suffocate. I remember my first attempt. I used a tray method and kept a constant inch of water at the bottom. Within five days, the seedlings turned black and collapsed. They didn't dry out. They drowned.
The fix is simple. Water from the top gently or use a spray bottle. Let the soil stay moist but not saturated. If you're using a tray, only add a thin layer of water and let it evaporate before adding more. The goal is consistent moisture, not a swamp.
Mistake #2: Wrong Light Placement
Sundew seedlings need light, but not the kind you might think. I put my first seedlings under a strong grow light placed just six inches away. The leaves actually bleached out and died within a week. They looked like someone had dipped them in boiling water.
Seedlings are incredibly sensitive. They don't have the protective pigments that mature plants have. Bright indirect light is the sweet spot. I currently use a fluorescent tube light positioned about twelve inches above the pots. It works beautifully. If you're using LED grow lights, aim for around 1000-2000 lux for the first two weeks. You can gradually increase intensity later.
Mistake #3: Using the Wrong Pot
This one seems minor, but it's a silent killer. I used a decorative ceramic pot with no drainage holes the first time. It held too much water, and the soil stayed soggy. That led to fungal growth, which spread to the seedlings within days.
You need a pot with drainage holes. Plastic pots work best because they don't absorb moisture and they're easy to clean. Terracotta pots are terrible for sundews because they wick moisture away from the soil, drying it out too fast. Also, the pot should be shallow. Sundew roots go outward, not deep down. I now use two-inch plastic nursery pots sitting in a shallow tray. Simple and effective.
Week One: The Critical Adjustment Period
Once you've avoided those three mistakes, the real work begins. The first week after germination is all about stability. Seedlings are fragile. Sudden changes in temperature, humidity, or light can kill them quickly.
My Setup After Germination
I use a 50/50 mix of sphagnum peat moss and perlite. This creates an airy, acidic medium that sundews love. Before sowing, I moisten the mix thoroughly with distilled water and let it drain. Then I place the pot in a clear plastic container with a lid to maintain high humidity.
After germination, I keep that lid on but slightly cracked. This allows some air circulation while keeping humidity around 70-80%. I've found that seedlings crave this environment for the first week. Without it, the tiny root systems dry out in hours.
Watering Routine for Seedlings
During week one, I check the soil twice daily. Morning and evening. I use a spray bottle filled with distilled water only. Tap water contains minerals that can burn young roots. I mist the surface lightly until the top layer feels damp, not soaking. The soil should stay evenly moist like a wrung-out sponge.
Here's what I noticed during my two-week observation: seedlings that received gentle top watering grew faster than those relying on tray watering alone. The roots seemed to establish quicker because they weren't flooding. It also reduced the risk of fungal damping-off, which is a common killer of young seedlings.
Light Intensity and Duration
For the first week, I keep the seedlings under moderate light. A north-facing windowsill works if it provides bright, indirect light. But I prefer a grow light. It's more consistent.
I set the timer for 14 hours per day. The distance from the light is crucial. If the seedlings start stretching tall and thin, the light is too far. If they turn reddish or brown, it's too close. The perfect sign of healthy light is compact, vibrant green growth.
Temperature and Airflow
Sundew seedlings like temperatures between 68-75°F (20-24°C). I keep mine in a warm room away from drafts. Airflow is also important. I crack the lid of my humidity container and open it completely for five minutes each day. This prevents mold buildup. I learned this after losing a batch to gray mold that covered the soil surface overnight.
Week Two: Building Strength
By day ten, your seedlings should have their first two true leaves. These look different from the initial cotyledons. They're longer and more spoon-shaped. This is when the plants start becoming more independent.
Thinning and Spacing
I usually have way too many seedlings. Around day twelve, I use tweezers to remove some of the weaker ones. This gives the stronger individuals room to grow. You might find this harsh, but it's necessary. Overcrowded seedlings compete for light and nutrients. I've seen pots where none of the seedlings thrived because they were packed too tightly.
Introducing RHS and AHS Recommendations
According to the Royal Horticultural Society, carnivorous plants like sundews require careful water management to avoid root rot. They recommend using mineral-free water and well-drained compost. This aligns perfectly with what I'm sharing. The American Horticultural Society also notes that most carnivorous plant failures stem from improper watering or insufficient light during the seedling phase.
I actually adjusted my watering routine after reading their guidelines. Instead of misting twice daily, I switched to a bottom-watering tray with a very shallow layer of water. I fill it to about a quarter-inch. Once the water disappears, I wait two hours before adding more. This encourages roots to reach down for moisture, making them stronger.
Fertilizing? Not Yet
I see a lot of beginners asking about fertilizer. Don't do it. Sundew seedlings get their nutrients from catching tiny insects. At this stage, they can't catch anything. But they also don't need soil nutrients. The planting medium should be inert. Adding fertilizer will burn the roots and kill the seedlings instantly.
I tried adding a diluted liquid fertilizer once. It was a disaster. The cotyledons turned yellow within 48 hours. The seedlings were dead by day six of week two. Trust me on this one.
Observing Growth Patterns
During my two-week observation, I noticed that seedlings under consistent conditions doubled in size by day ten. Around day twelve, tiny dew droplets started forming on the true leaves. That's the moment when you know your care routine is working. Those droplets are the first sign that the plant is producing digestive fluids.
By day fourteen, my strongest seedlings had leaves about five millimeters long. Some had droplets that sparkled under the grow light. Weaker ones showed stunted growth, which indicated they needed more light or less water. I moved a few pots to slightly different positions to test this. The ones with better airflow and slightly lower humidity grew sturdier.
Common Problems and How I Fixed Them
Even with the right routine, problems can appear. Here are the ones I've encountered and solved.
Damping-Off Disease
This is a fungal disease that makes seedlings rot at the soil line. They just fall over and die. I lost an entire tray to this in week one. The cause was poor ventilation combined with excessive moisture.
My solution was to increase airflow by opening the lid fully for an hour each day. I also sprinkled a thin layer of fine sand over the soil surface. This kept the stem dry and prevented fungal spores from spreading. It worked. My next batch stayed healthy.
Algae Growth
Green or brown algae on the soil surface is a sign of too much moisture and excess light. It competes with seedlings for nutrients and creates a slimy layer that blocks air exchange.
I scraped off the top layer of soil carefully and replaced it with fresh mix. I also reduced the water slightly. The algae died within a few days. I saw algae appear again a year later when I used tap water accidentally. Stick to distilled or rainwater.
Seedling Burn
This happens when the light is too intense. The leaves get white or pale patches. I saw this on my second batch when I moved them too close to a strong LED panel.
I immediately raised the light fixture by four inches. The damaged leaves didn't recover, but the new growth was healthy. It's a tough lesson, but now I always start with lower light intensity and gradually increase it.
My Exact Daily Routine for Succes
Let me share what I do every day for two weeks. It's simple but consistent.
Morning check (7-8 AM): I inspect the soil surface. It should look dark and moist but not shiny. I mist lightly if any dry patches appear.
Midday check (12-1 PM): I check temperature and humidity. If the room is too dry, I leave the lid closed. If condensation is heavy, I open the vent slightly.
Evening check (7-8 PM): I watch for any yellowing or mold. This is also when I bottom-water if needed. I add only a thin layer of water to the tray.
I run my grow light from 7 AM to 9 PM. That's 14 hours. I've tried 16 hours, but it seemed to stress them out. Fourteen is my sweet spot.
When to Transplant Seedlings
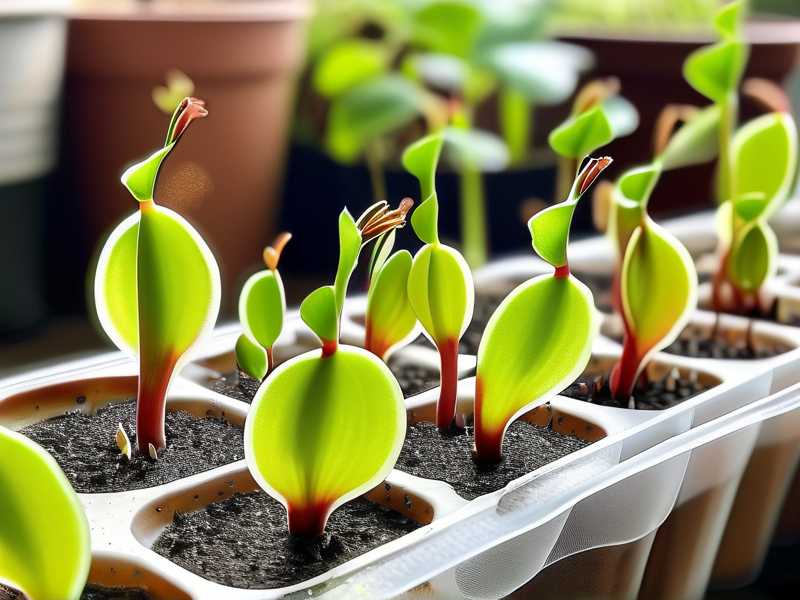
People ask me this all the time. The answer is: not yet. At two weeks old, the root system is still developing. I don't transplant until the seedlings have at least four to five true leaves and the roots have filled the small pot. That usually takes six to eight weeks after germination.
Transplanting too early is another mistake I made. I moved a three-week-old seedling to a bigger pot. It wilted within a day and died by day two. The roots were just too fragile to handle the disruption.
FAQ: Real Questions from Readers
Q1: What kind of water should I use for my sundew seedlings?
Use distilled water, reverse osmosis water, or collected rainwater. Regular tap water contains dissolved minerals and salts that build up in the soil and kill carnivorous plants. I've used all three of these with success. Just make sure it's pure.
Q2: How much light do sundew seedlings need?
They need about 14 hours of bright, indirect light. This is what mimics their natural habitat. Too much direct sunlight will burn them. Too little light makes them weak and leggy. Start with 14 hours and watch their response closely.
Q3: Can I use a glass jar with a lid as a mini greenhouse?
Yes, you can. I do this sometimes for the first week or two. Just make sure there are holes for air exchange. Otherwise, humidity gets too high, and fungal issues start. I poke four small holes in the lid using a heated screwdriver. That's enough.
Final Thoughts
Growing sundew seedlings is a test of patience. It's not rocket science. You just need consistent moisture, proper light, and clean water. I've killed several batches before I figured out what works. But once you get past the third week, the plants become much more forgiving. The dew drops that form on their tiny leaves are worth every bit of effort.
Give it a couple of weeks with this routine. Observe daily. Make small adjustments based on what you see. The plants will tell you what they need.





