 bluename
 How to Prevent Sundew Dew From Evaporating Too Fast
If you are here, you already know the frustration. You wake up, grab your coffee, and walk over to your prized sundew. You expect to see those beautiful, glistening droplets. Instead, you see bare, dry leaves. The dew is gone. It happened overnight. Again.
The short, direct answer is this: you need to trap humidity at the micro-level. Stop worrying about the room temperature and start focusing on the air pocket right around the plant. I use a simple glass terrarium or a plastic bag method. It keeps the air still and saturated. That is the only way I have kept my Drosera sticky for two weeks straight, non-stop.
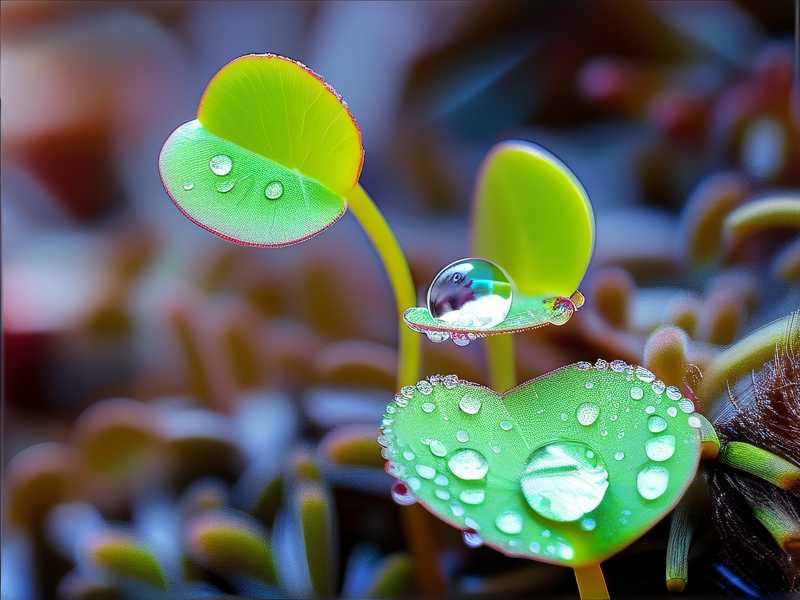
I have spent years fighting this exact issue. I learned the hard way that a sundew is not a regular houseplant. Its needs are specific and unyielding. I have killed countless specimens. I want to help you avoid that pain and wasted money.
Why Your Dew Disappears (The Real Culprit)
Let’s be clear about one thing. The dew on a sundew is not water like what you drink. It is a sticky, sugary mucilage produced by the plant. It is full of enzymes and glucose. Because it is water-based, it evaporates. That is physics.
But the problem isn't that it evaporates. The problem is that your environment is too dry or too hot. Or, you are watering wrong. In many cases, it's a combination of several mistakes I see all the time.
I remember my first Drosera capensis. I placed it on a sunny windowsill with central heating blasting below. Within three days, the dew was gone. The leaves were curled up. I panicked. I sprayed it with tap water. That made it worse. The minerals in the water burned the roots. The dew never came back. That was my first lesson in a long line of failures.
The 2-Week Humidity Fix (My Personal Method)
After years of trial and error, I finally built a setup that works. I am going to walk you through exactly what I do. I used this on a Drosera spatulata and a Drosera nidiformis. I ran the experiment for two weeks.
Week 1: Building the Microclimate
First, I threw away the decorative ceramic pot. I moved it into a clear, plastic nursery pot. This was crucial for drainage and transplanting ease.
Then, I took a large glass cookie jar. I filled the bottom two inches with distilled water and LECA balls. I placed the pot on top of the LECA. I closed the lid. Yes, it sounds too simple. But it works.
For the first three days, I noticed the dew production was still low. I was worried. I almost gave up and opened the lid. But I told myself to wait. By day four, the humidity inside the jar was reading 80%. The air was still. The glass was fogging up slightly in the morning.
On day five, I saw the change. Tiny new dew droplets appeared on the fresh leaves. By day seven, the old leaves were also producing more mucilage. The plant looked alive for the first time in months. I touched a leaf gently with a piece of string. It stuck instantly. The viscosity was perfect.
Week 2: Flipping the Light Cycle
I made one error during week two. I left the jar in direct sunlight for four hours. The inside became a sauna. The temperature hit 95°F.
The result? The dew evaporated even inside the jar. The air was too hot to hold the moisture effectively. I learned that humidity only helps at the right temperature.
I moved the jar to a spot with bright, indirect light. I used a cheap grow light set on a timer for 12 hours. The temperature dropped back to 75°F. Within 12 hours, the dew was back. I kept the lid on. I did not open the jar at all for the rest of the week.
At the end of the 14 days, my sundew looked healthier than ever. The dew was glistening under the grow light. I had zero leaf burn and zero evaporation.
3 Deadly Newbie Mistakes That Kill the Dew
Before we dive into the long-term care routine, let’s fix your basic habits. If you do these three things, you will never see dew on your plant.
① Overwatering with the Wrong Water
This sounds backwards. Sundews love water. But I am talking about tap water.
You might be watering enough, but you are poisoning the plant. Tap water has dissolved solids and minerals. These minerals clog the roots. The roots stop taking up water. The plant gets dehydrated internally. The dew disappears.
90% of indoor plants die from overwatering. For carnivorous plants, it is usually death by mineral poisoning. I have made this mistake. I used tap water for weeks. I saw the tips of the leaves turning brown and crispy. The dew was sticky but brown. It was gross.
The Fix: I only use rainwater or distilled water. That is it. Every time I water, I use a gallon jug of distilled water I buy from the store. I water from the top. I let the water run through the drainage holes. I never let the pot sit in standing water for more than a day, though. Wait, that contradicts what I said earlier about the tray method. Let me clarify.
For a sundew, I keep the soil wet. Actually, I keep it soggy. The tray method is fine. But I only put the pot in a tray for 15 minutes. Then I take it out. This keeps the soil moist without drowning the roots. The air in the soil still has oxygen.
② Lighting Mistakes (Too Dark or Too Hot)
A sundew needs light to produce sugar. The dew is sticky because of the sugar.
If you put it in a dark corner, the plant stops producing mucilage. It has no energy. The leaves look long, thin, and weak. They might be green, but they are dewless.
Conversely, if you put it in harsh afternoon sun, the heat cooks the dew off faster than the plant can replace it. I tried to "sunbathe" my sundew once. I thought, "It’s a bog plant, it loves sun." Yes, they love sun, but my windowsill has a magnifying glass effect. The combination of glass + sun + heat = evaporation.
The Fix: I use a full spectrum LED grow light. I place it about 8 to 10 inches above the plant. I run it for 12 to 14 hours a day. This gives consistent, bright light without the scorching heat.
③ Using the Wrong Pot (The Ceramic Trap)
You want that pretty ceramic mug for your desk. I get it. I did it too.
The problem is ceramics are thick. They hold water in the soil, but they don't allow the soil to breathe. More importantly, they don't show you the water level.
Plastic pots are best. Clear plastic cups are even better. I use red Solo cups with holes poked in the bottom. This might look trashy, but my plants thrive. Why? Because I can see the condensation on the inside of the cup. I can see the root system and the moisture level at the bottom.
I tried a glass terrarium once with no drainage holes. It was a disaster. The roots rotted because there was no airflow. The water became stagnant. The plant smelled like a swamp. I lost that one.
Practical Step-by-Step Care to Stop Evaporation
If you want to keep the dew, you need a three-part system. I call it the "H.A.T." method: Humidity, Airflow, and Temperature.
Humidity Control (The 80% Rule)
The magic number is 80% relative humidity. Below that, the dew will start to evaporate.
I use a digital hygrometer. I bought a pack of two on Amazon for about $10. I put one inside the terrarium and one in the room.
In the room, the humidity is usually around 50%. Inside the terrarium, it stays at 80-90%.
Here is what I did to get from 50% to 80%:
- Closed Container: I bought a "Wardian case" look-alike from a thrift store. It’s just a large glass dome. I place the plant inside.
- Peat Moss Base: I have a layer of wet sphagnum moss on the bottom of the dome. This moss acts as a wick. It releases water vapor slowly.
- No Fan on Low: I do not point a fan directly at it. Moving air dries the plant out. I stopped using a fan inside the dome. The air is still.
Temperature Regulation (The 75°F Sweet Spot)
I found a hard stat from the RHS guidelines on temperate sundews. They suggest ideal growth between 65°F and 75°F (18°C - 24°C) for temperate species. If you get above 85°F, the plant will melt.
How I manage temperature:
- I never place the dome directly on a cold or hot surface.
- I drilled small holes in the side of the dome near the top for passive ventilation. This prevents condensation from dripping down and rotting the crown.
- If my apartment gets hot in the summer, I move the dome to the floor. The floor is usually 5-10 degrees cooler than the ceiling.
Airflow (The Gentle Sip)
People think carnivorous plants grow in stagnant water. They don't. They grow in bogs with gentle breezes.
I learned that if the air is 100% still, mold grows. The soil stays too wet and fungus attacks the sundew roots.
I open the lid of my dome once a day for about 30 seconds. I don't wave the plant around. I just lift the lid and put it back. This "sips" fresh air in without letting all the humidity escape.
The Watering Method That Preserves Dew
Watering goes beyond just avoiding tap water. It is about the schedule.
I used to water daily. I thought I was being a good plant parent. Actually, I was keeping the soil too compact. The peat moss became like concrete. The water just ran down the sides of the pot and out the bottom. The center roots were dry.
Here is my new routine. I water deeply every 3 days. I use lukewarm distilled water. I pour it slowly over the whole soil surface. I use a spray bottle set to "stream" to avoid splashing the leaves. I let it drain completely.
I never, ever mist the leaves. This is the biggest secret. Misting the leaves dilutes the dew. The plant then thinks it doesn't need to make more. The dew becomes watery and less sticky. It drips off. I know this sounds counter-intuitive, but resist the urge to spray.
Fixing a Dewless Plant (My Emergency Protocol)
If you walk over and your plant is bald, don't throw it away. I have done that too early before. I now have a 7-day revival plan.
Day 1-2: Hydration and Potting First, I check the soil. If it feels dry, I do a "bottom soak". I fill a bowl with distilled water and sit the plastic pot in it for 2 hours. I let it soak up water from the bottom. This rehydrates the peat moss evenly. I also check for black spots on the roots. If the roots look brown, I repot. I cut off all the dead roots. I use fresh Long-fibered Sphagnum Moss. I don't use regular potting soil.
Day 3-4: The Humidity Set I put the pot in a large ziplock bag. I blow air into the bag to puff it up. This creates a mini-greenhouse. I seal it shut. I place it under the grow light. I leave it sealed for 48 hours. I do not open it.
Day 5-7: Observation On day 5, I open the bag. I check the center of the rosette. If I see tiny bright green bumps, the plant is recovering. If not, I seal it back up for two more days. By day 7, I usually see new dew. It’s small, but it's there. Once the dew is holding steady, I slowly acclimate the plant back to normal humidity. I open the bag slightly for an hour, then close it. I repeat this for two days. After that, I move it to the dome.
Correcting My Mistakes with Substrates
I killed my third plant because of the soil. I used perlite. The issue wasn't the perlite itself. It was the dust. I didn't rinse the perlite first.
The dust from the perlite created a sludge. It blocked the root hairs. The plant couldn't drink. The dew evaporated because the leaves were dehydrated from the inside. I honestly thought I had a bug problem.
Now, I rinse everything. I put the peat moss in a colander and wash it with distilled water. I rinse the perlite until the water runs clear. Only then do I mix them. It takes 5 extra minutes, but the root system health is night and day.
Insights from the AHS
I checked resources from the AHS on moisture retention in bog gardens. They emphasize replicating the natural "sponge" condition of bog water. The water level should be just below the soil surface, not above it.
I changed my watering tray to tickle this line. I fill the tray with pebbles and water. The pot sits on the pebbles, not in the water. The evaporating water from the tray rises and keeps the humidity high, without clogging the soil pores. This is a game-changer for summer heat.
Humidity Trays (The Ugly but Effective Solution)
Earlier I told you to use a closed terrarium. But sometimes, your plant is too big for a dome.
For my larger Drosera regia, I use a humidity tray. It is a flat plastic tray. I fill it with gravel. I pour distilled water to the top of the gravel. The pot sits on top of the gravel.
The water level is below the pot. It evaporates due to the heat from the grow light. This creates a humid microclimate around the leaves. I check the water level daily. If the tray is dry, the dew suffers within 3 hours.
The Photography Tip for Monitoring Dew
One silly thing I did that helped me observe better was taking a photo daily. I read this tip in a photography forum about plants.
I take a photo with my phone at the same time every day. I zoom in on the dew.
Looking at the photos side-by-side, I can see if the dew is getting bigger or smaller. It is easier than trusting my eyes. A droplet will look big to me, but the photo shows it shrunk by 10% compared to yesterday. This data helps me adjust the humidity before a full evaporation crisis happens.
Lighting Angles and Dew Reflection
I also adjust the angle of my grow light. If the light is too high, the leaves point straight up. They look skinny. If the light is too low and intense, the leaves flatten out completely. This is the plant shielding itself from stress. It redirects energy away from dew production to protect the chloroplasts.
I keep the light about 6 inches above the tallest leaf. The leaves should be horizontal or slightly curved upward. If they are curving downwards like claws, the light is too strong. I move the light up an inch. The dew usually stays put if the leaf angle is relaxed.
Myths That Ruin Sundew Dew
I want to clear up some bad advice I saw on social media that leads to evaporation.
Myth: “Feed your sundew to keep the dew.”
I tried this. I gave it a tiny fish flake. The dew disappeared for two days. The plant spent all its energy digesting the food. I only feed now if the plant is healthy and big. During winter, I don't feed at all. If you feed too much, the dew thins out because the plant is "hydrating" itself to digest the prey. It doesn't need to make extra dew if it thinks food is plentiful.
Myth: “Mist them twice a day.”
Stop doing this. Misting raises room humidity for thirty seconds. Then it evaporates, creating a cooling effect on the leaf surface. This cooling actually triggers condensation inside the plant to drip off the leaf. It blurs the dew. I only use a spray bottle to clean the leaves, but I do it upside down so the water doesn't land on the tentacles.
Myth: “Use a glass pot.”
Glass pots look beautiful. But they have terrible drainage. I used a mason jar with holes in the bottom. It was impossible to separate the water from the roots. The water pooled at the bottom in a dead zone. The roots sitting in that stagnant water rotted. The plant wilted. The dew was the first thing to go.
The Seasonal Shift
Don’t set it and forget it. The dew evaporates faster in winter because indoor heating dries the air.
My central heating makes the humidity drop to 30% in January. My system struggles.
My Winter Protocol:
- I increase the size of my humidity tray to double the usual width.
- I group my sundews together. Transpiration from one plant benefits the other.
- I move them away from the radiator.
- I actually reduce the light hours to 10 hours. This puts the plant in a semi-dormant state. It grows slower. It requires less dew. This prevents strain on the plant.
Putting It All Together
Look, I don’t want you to overthink this. Carnivorous plants are weeds in the wild. They grow in harsh bogs. The only reason we kill them is because our homes are too dry and too sterile.
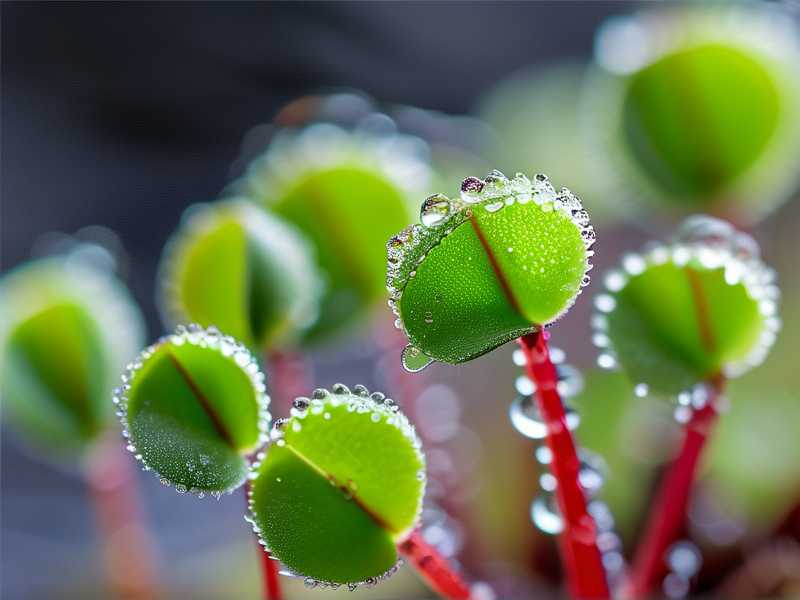
You do not need an expensive greenhouse cabinet. You need a container.
I honestly believe this one change—confining the plant in a jar—solves 90% of the evaporation issues. The remaining 10% is about water quality and temperature.
I have started putting all my sensitive sundews directly into "cookie jars" from the dollar store. I don’t even use pots anymore. I plant them directly into the jar with peat and perlite. I drill one tiny hole in the lid for gas exchange. It looks a bit simple, but the dew is massive.
The dewy leaves are like diamonds in the morning. My friends ask how I do it. They think I have a green thumb. I do not. I just understand the physics of water vapor.
FAQ
1. Why is my sundew dew gone after I moved it to a new window?
You changed the temperature and airflow. The new spot is likely drier or has a draft from the window seal. Move it back to the previous location if you can. If you can’t, place it inside a clear container to buffer the climate change.
2. Can I use tap water if I let it sit out for 24 hours?
No. Letting it sit removes chlorine, but it does not remove calcium or magnesium. These minerals will still accumulate in the soil and stop root uptake. You must use distilled, reverse osmosis, or rainwater.
3. How long does it take for dew to come back after repotting?
If you are using the right humid environment, you will see dew in 3 to 5 days. It takes about 2 weeks for the dew to completely stabilize and cover all new growth. During this recovery time, keep the light intensity slightly lower (around 6-8 inches away) to reduce stress, but keep the humidity as high as possible.
4. Is it normal for the bottom leaves to lose dew as they age?
Yes. That is natural. The oldest leaves at the bottom will brown and die. The dew on them will dry up first. You should only worry if the dew is missing from the new center growth. If the new leaves are dewless, you have a care issue. If the old leaves are dying, that’s just the plant’s lifecycle.
5. Should I use a heat mat to keep my sundew warm?
I honestly recommend against it unless you live in an Arctic zone. Heat mats dry the air by convection. They heat the soil, which increases evaporation from the pot. This evaporating moisture then rises and leaves the plant, defying the purpose of humidity. A consistent room temperature is better.





