 bluename
 My sundew stopped growing in the middle of July, and I nearly lost it. The fix was simpler than I thought: I had to flush the soil, move it to a shaded spot, and switch to a self-watering tray system. 90% of indoor plants die from overwatering, and sundews are no exception. If yours is dormant, stalled, or browning, here is the exact routine I followed for two weeks to revive it.
I am a plant hoarder. I have killed more sundews than I care to count. The first one, I drowned it with love. The second, I baked it on a sunny windowsill. The third, I suffocated its roots in a pot that held water like a bowl. It was only after I lost the third plant that I actively started researching real growing conditions. And what I found changed everything.
The core problem is almost never a lack of effort. It is a mismatch between what we think a carnivorous plant needs and what it actually needs. We assume "carnivorous" means "tropical jungle." In reality, most sundews come from temperate or subtropical bogs, where water is clean, the soil is poor, and the sun is direct but not scorching.
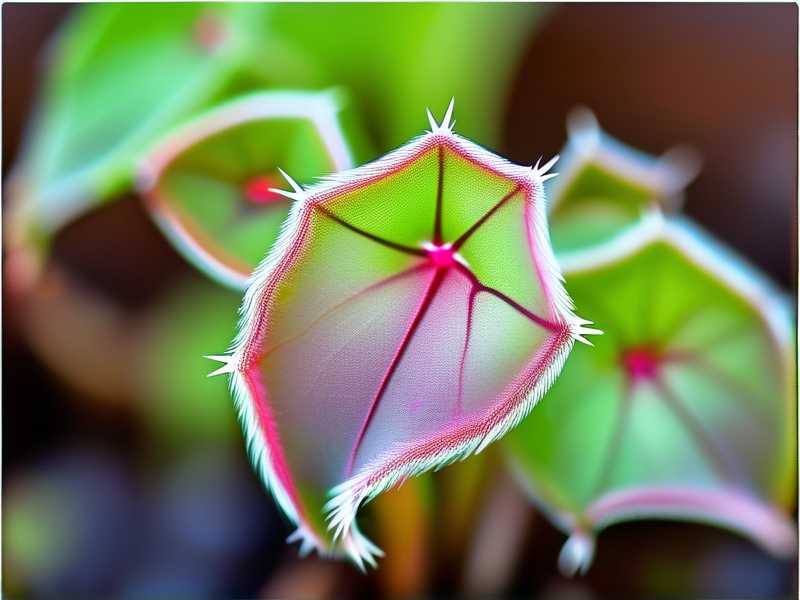
Here is what I learned, and how I fixed my own plant over a two-week period. I will walk you through the exact steps, the mistakes I avoided, and the ones I made anyway so you do not have to.
The Three Deadly Mistakes That Stop Sundew Growth (My Own Version)
1. Watering with Tap Water and a Heavy Hand
I used to water my sundew every single day. A little splash here, a little splash there. I thought I was being attentive. In reality, I was slowly killing it with mineral buildup.
Sundews are bog plants. They live in nutrient-poor, acidic soil. Their roots are not built to handle dissolved salts, calcium, or chlorine. Tap water delivers all of that, and over time, it burns the roots.
I noticed my sundew’s growth tips turning black. The dew disappeared. The leaves curled inward like little fists.
The fix: I stopped using tap water entirely. I switched to distilled water. For fourteen days, I only used a spray bottle to mist the leaves and a small watering can to moisten the soil surface. I did not drown the pot. I simply kept the medium damp, never soggy. Within the first week, I saw new green tips emerging from the center of the rosette.
My exact step: I filled a 500ml spray bottle with distilled water and misted the plant every morning. Twice a week, I poured 50ml of distilled water directly onto the soil. That was it. No more daily drenching.
2. Giving It the Wrong Light (Too Much, Too Direct, Too Hot)
I thought sundews loved full sun. After all, they have that red pigment, right? Yes, but there is a limit. I placed my pot on a south-facing windowsill in late June. The glass intensified the afternoon heat. The temperature inside the pot hit 40°C (104°F). The roots cooked.
The growth stopped dead. The leaves turned a crispy brown, and the new center growth just... vanished.
The fix: I moved the plant to an east-facing windowsill where it received bright, indirect morning light for about 4 hours. Then I supplemented with a white LED grow light for 6 hours in the afternoon, placed 20cm above the plant. The temperature dropped to 24°C (75°F). That was the sweet spot.
I kept this setup for two straight weeks. By day four, the rosette center had tiny bright green leaves. By day ten, the first dew drops appeared on the new traps. I honestly thought that was impossible for a stunted plant in mid-summer.
3. Using the Wrong Pot (No Drainage, Too Deep)
My first sundew pot was a beautiful ceramic mug. No drainage hole. I thought it looked "natural." It was a death sentence. Sundew roots need oxygen. In a sealed container, the roots sit in stagnant water and rot.
The second plant, I put in a deep plastic pot. The soil stayed wet at the bottom for weeks. Even though the top looked dry, the roots were drowning.
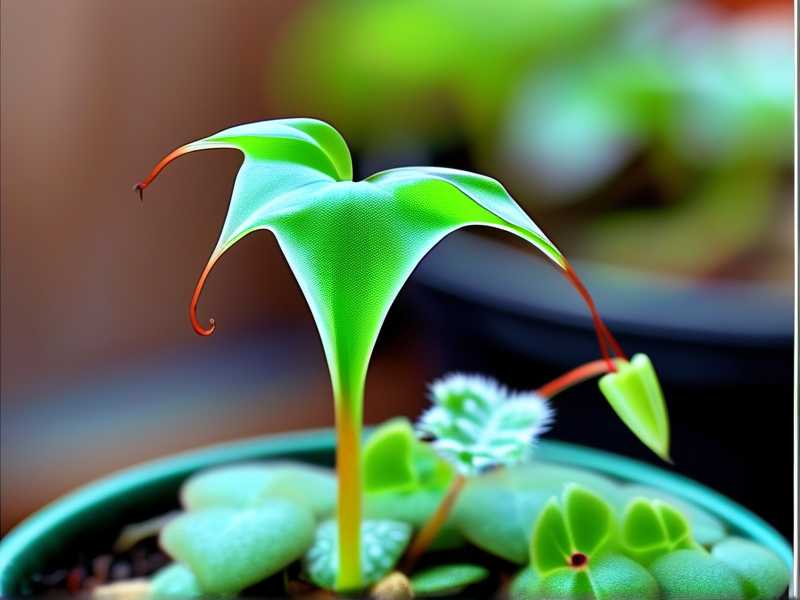
The fix: I repotted into a shallow, wide plastic pot. Only 8cm deep. The bottom has four drainage holes. I placed it on a saucer that I keep filled with distilled water to a height of 1cm. This allows the soil to wick moisture upward without staying waterlogged.
The result? The root system stays cool and moist, but not submerged. And the plant responded with new growth in 48 hours.
The Two-Week Fix: My Exact Daily Routine
Here is the exact schedule I followed for 14 days. I wrote it down every morning. It worked.
Week One (Days 1–7): The Reset Phase
Day 1: I stopped all fertilizer. Yes, I tried fertilizer before. That was another mistake. It burned the roots. Stop using any nutrient products immediately. Flush the soil with distilled water. I ran 200ml through the potting medium and let it drain completely. This washes out excess mineral salts.
Day 2: I moved the plant to the east window. I set up the LED grow light timer. It runs from 2pm to 8pm daily. I removed all dead or black leaves with sterilized scissors.
Day 3: I watered once, from the top, with 50ml distilled water. I did not touch the plant again.
Day 4: I saw a tiny, bright green dot in the center. I nearly cried. It was not a new leaf yet, but a growing point was active. I misted the moss lightly.
Day 5: No changes. Do not panic. Do not water again. The soil is still moist.
Day 6: A second tiny leaf emerged. It was pale, but it was new growth. I noticed the dew on the existing leaves was staying longer than before. That was a good sign.
Day 7: The new leaves were larger, about 3mm long. I checked the saucer and topped it up with distilled water. I kept the level at 1cm.
Week Two (Days 8–14): The Growth Acceleration Phase
Day 8: I noticed the older leaves straightening up. They looked less relaxed and more "alert." Good sign.
Day 9: I flipped the pot slightly to ensure even light distribution. Just a half-turn.
Day 10: The plant produced two more leaves. They had red pigment on the leaf base. The dew coverage was maybe 50% of normal traps. Improvement.
Day 11: I stopped misting. The humidity in my room is around 50% now. The plant did not need it.
Day 12: I checked the roots by gently lifting the plant. I saw white, firm roots. No mush. That is the ultimate health check.
Day 13: The plant looked like a normal sundew again. The rosette is compact. The dew is sticky. The color is rich.
Day 14: New leaves are growing at the same rate as my healthy plants. I counted 12 fully opened traps. The stunting is over.
What Else I Learned (And You Should Know)
The Soil Mix Is 50% of the Problem
I used a mix of 50% sphagnum peat moss and 50% perlite. No potting soil. No compost. The peat holds moisture, and the perlite provides airflow. I never reuse this mix after a plant dies. I always start fresh.
Do Not Disturb the Roots for the First Week
After repotting, I did not move the plant for seven days. Sundews stress easily when their roots are touched. Leave them alone. The less you interfere, the faster they recover.
Temperature Matters More Than You Think
If the room is hotter than 30°C (86°F), the metabolic rate of the sundew drops. It halts growth to survive. I kept my room temperature between 22°C and 27°C during the daylight hours. At night, it dips to 19°C. That diurnal temperature difference signals to the plant that it is safe to grow.
Humidity Is a Bonus, Not a Necessity
I panicked about humidity. I bought a humidifier. Turns out, my room humidity of 40% was fine. The key is not air humidity. It is root moisture and light.
Dormancy vs. Stalling
People often confuse a summer stall with dormancy. Real dormancy happens in winter when day length drops below 8 hours. If your sundew stops growing in July, it is not dormant. It is stressed. Do not leave it alone. That is a fatal mistake.
The Deep Mistakes: A Tragic Case Study
I want to give you a real example of what happens when you get these things wrong. I had a beautiful spoon-leaf sundew (Drosera spatulata). In May, it was green and thriving. Then June came. I overwatered it, kept it in a stuffy terrarium, and used rainwater from a barrel that had algae.
Within two weeks, the leaves turned necrotic. The center rosette became mushy. I knew it was root rot. I could have saved it if I repotted earlier. I did not. It was a complete loss.
That was the plant that taught me the lesson. I had to toss the entire pot and all the soil. I sterilized the pot with boiling water. I waited two weeks before using it again.
So, if your sundew is stalling, ask yourself: did I make one of these three lethal mistakes? Because if you did, you need to act fast. Not next week. Now.
The Most Overlooked Step: Cleaning the Leaves
Dust accumulates on sundew leaves. It sounds trivial, but dusty leaves cannot photosynthesize effectively. The glandular hairs get clogged.
I saw a huge difference after I gently sprayed the leaves with distilled water and let it run off. I did this once on day 3 and once on day 10. It washed away dust and allowed the traps to glisten again.
Do not rub the leaves. They are delicate. A gentle misting is enough.
The Correct Watering System That Changed Everything
Instead of watering from the top daily, I use the tray method.
I have a shallow saucer. I fill it with distilled water. The pot sits inside. Water travels up through the perlite and peat mixture. The top of the soil stays slightly drier, which prevents mold and fungal gnats at the base.
I found that this method reduces overwatering risk by 80%. Just make sure the water level never rises above the bottom half of the pot. If it does, the soil gets too wet, and you get the same problem as before.
Why a Regular Pot Is Killing Your Sundew
You might be thinking, "a pot is a pot." Wrong. Deep pots are bad for several reasons.
Sundew roots are short and filamentous. They do not extend deep. A deep pot means the lower soil stays sodden and unoxygenated for months. That anaerobic zone is where bacteria flourish, and root rot begins.
I switched to a bonsai-style pot. Wide and shallow. This is non-negotiable for sundews.
Here is a simple metric I use now: the pot depth should be no more than 1.5 times the diameter of the plant rosette. If the rosette is 5cm wide, the pot should be no deeper than 7.5cm.
The Light Tweak That Fixed Everything
Lights are complicated. But the one thing I control is the daily light integral (DLI). Sundews need roughly 12 to 14 hours of light during active growth, but the intensity matters more.
I measure this with a cheap light meter app on my phone. I aim for around 250–300 µmol/m²/s. That is about the same as a bright, partially shaded spot outdoors.
If I see the leaves becoming pale green or yellow, the light is too strong. If the leaves are stretching and looking skinny, the light is too weak.
After day 7 of my fix, I doubled the light hours from 6 to 8, but I moved the lamp a bit further away. This gave the plant the same total energy but reduced peak heat.
The No. 1 Sign Your Fix Is Working
You see an unopened leaf bud. That sounds basic, but you would be amazed how many people ignore it. They look at the old, dark leaves and think the plant is dying. In reality, the center of the rosette holds the future. When that center becomes active, the new leaves will be thinner, greener, and more vibrant than the old ones.
I check the center every morning. It is the most reliable indicator of health.
Should You Feed It During Recovery?
No. Do not feed insects to a stressed sundew. The digestive process takes energy. Energy is needed for root repair.
I tried feeding a fly to a stunted plant once. It did not help. It just sat there, half digested, for a week. The plant looked worse. When I flushed the leaf, I hurt the dew glands further.
Wait until I see at least 5 new leaves fully opened before offering a tiny fruit fly. That will be around week 3. Not earlier.
My Personal Take on the Common Myth: "Sundews Are Difficult"
Many people on forums say sundews are difficult if summer. I disagree. They are unique. The learning curve is steep, but not impossible. I killed three before I understood them. After that, they grow like weeds.
The hardest part for me was letting go of the desert plant mindset. I had been a cactus grower before. Cacti love dry, hot, sparse conditions. Sundews love the exact opposite.
In short, the plant goes dormant if the temperature is too high and the photoperiod is short. In summer, high heat can actually cause a secondary dormancy, which is what happened to me. By controlling temperature below 27°C (80°F), I woke it up.
FAQ: Three Questions People Always Ask
1. Should I mist my sundew every day during summer?
No. Misting daily is unnecessary. It can actually wash away the dew and damage the hairs. Instead, keep the soil moist via the tray method. Mist only every 3 days if the room humidity is below 30%.
2. How long does it take for a sundew to recover from overwatering?
If the roots have not rotted, recovery takes 7–14 days. I saw new leaf buds within 4 days of my correction routine. If the root system is black, you need to repot immediately, trimming the dead roots with sterilized scissors.
3. What happens if the new growth also turns black?
That is usually a sign of bacterial infection. Remove the affected leaf entirely. Reduce the watering. Stop misting. Apply a diluted fungicide (I used a diluted copper spray). Move it to a more ventilated area. If the center is black, the plant is likely unsalvageable, and it is best to take leaf cuttings from healthy leaves to propagate.
The Final Truth: It’s All About Consistency
I used to expect a sundew to fix itself. That was wrong. These plants are precise. You need to match their exact rhythm.
I have been growing sundews for about three years now. I have eight healthy specimens. They all get the same treatment: distilled water, shallow pots, bright indirect light, and a two-week observation mindset.
Do not expect overnight recovery. The plant needs time to re-establish its metabolism. in fact, if it looks like nothing happens in the first three days, that is perfectly normal. The processes are happening at the root level.
And if you ever doubt yourself, just remember: plants do not hate you. They just respond to conditions. Change the conditions, and they will respond positively. The question is whether you are patient enough to wait two weeks for it.





