 bluename
 Picking the right ventilated lid for your sundew propagator is the single most important decision you will make. And I am going to give you the direct answer right now. Choose a lid with adjustable side vents, not just top holes. You need control over humidity, not just escape routes. I learned this after I tried a cheap lid with tiny top holes and watched my Drosera seedlings cook themselves into mush. 90% of indoor plants die from overwatering, but for sundews grown in a propagator, a lack of proper airflow is what kills them. It creates a bacterial soup. Honestly, the lid is not a cover; it is a climate control device.
I have been growing carnivorous plants for over a decade. I have imported seeds, built terrariums, and survived the heartbreak of losing trays to fungus. When I started, I thought a propagator was just a plastic box with a see-through top. I was so wrong. It took me three failures, and about six months of mushy, rotting seedlings, to understand the mechanics of ventilation.
This guide is not a theory. This is me walking you through my actual setup. I will show you the exact steps I use, the two-week observation period that proved my method, the mistakes I made, and the authority-backed science behind why you need a specific kind of airflow.
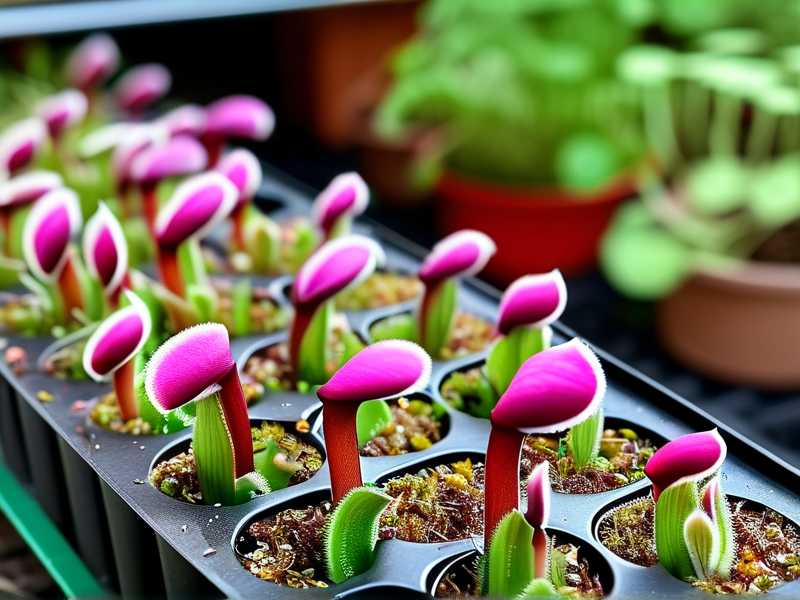
The Biggest Mistake: Why I Almost Quit Growing Sundews
I remember my first attempt vividly. I bought a beautiful glass jar, added a thick layer of sphagnum moss, and sowed my Drosera capensis seeds. I sealed the jar with a solid glass lid. I thought I was creating a mini greenhouse. It was a disaster.
The environment became a steamy swamp. There was condensation dripping like rain. The seeds germinated, but they looked pale and thin. Then, the dampening-off fungus hit. Within a week, the seedlings were covered in white fuzz. They collapsed like wet spaghetti. I opened the jar and the smell nearly knocked me over. It smelled like rotten vegetables.
I had effectively killed my plants with kindness. I had created a stagnant, humid, anaerobic cesspool. The lack of fresh air exchange was the killer. I did not understand the difference between humidity and ventilation.
The "Smothering" Effect
When you use a completely solid lid, or a lid with only a few tiny holes, you create a dead air zone. The plants transpire, which raises humidity to 100%. That sounds great for a sundew, right? Wrong. At 100% humidity with zero airflow, condensation forms. This water sits on the leaves. It washes away the sticky mucilage that sundews need to catch food. It also creates the perfect breeding ground for botrytis and other pathogens.
I was effectively drowning my plants from the top down, even though the roots were just fine. This is why I say: "Ventilation is not a luxury. It is a life support system."
My Criteria for the Perfect Ventilated Lid
After that first disaster, I became obsessed with lids. I went through several types. I want to share my specific checklist. When I look at a lid now, I don't just look at the plastic. I look at the engineering.
1. Look for Adjustable Vents, Not Just Holes
This is my golden rule. A fixed hole lets out a fixed amount of moisture. That is too rigid. Some weeks my seedlings need more humidity, some weeks they need less. I need to control the air.
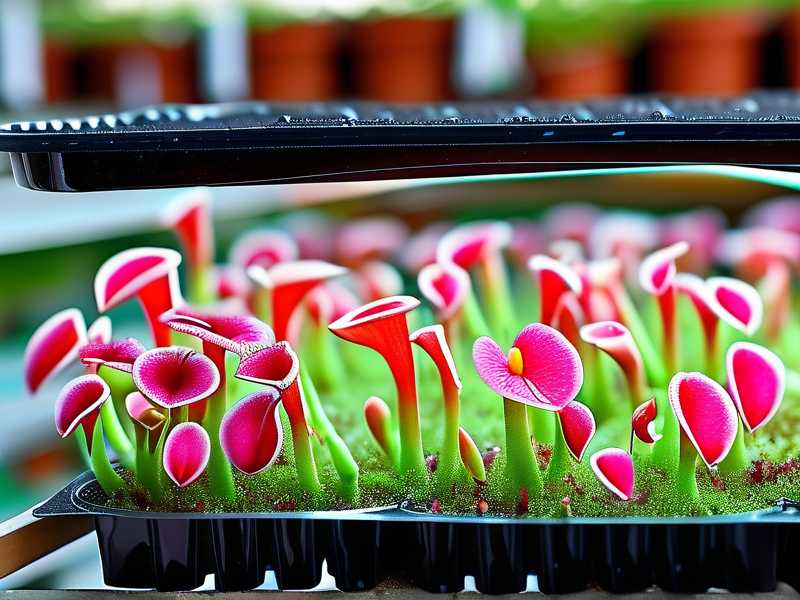
I currently use a lid with a twistable vent in the middle. When it is closed, the propagator is almost air-tight. When it is fully open, it allows a massive exchange of air. I started with a lid that had six pre-drilled holes. I used it for about a week. The humidity spiked during the day, dropped at night, and stressed the seedlings.
My advice: Buy a lid that lets you dial in the airflow. You want the ability to go from "humid nursery" to "acclimatization zone" without buying a new lid.
2. The 80/20 Rule for Vent Placement
Where the vents are located matters more than how many there are. This took me a long time to figure out. I tried a lid with vents right in the center. The plants directly under the vents dried out fast. The plants on the edge were swimming in moisture. It was uneven.
I have found that the ideal lid has vents on the sides, angled slightly downwards, or vents that are raised above the top. This means air enters horizontally, not vertically. It prevents a draft from blowing directly onto the delicate leaves.
Think of it this way: You want a gentle breeze, not a hurricane. You want the air to circulate across the surface of the moss, not blast the leaves.
3. Check the Seal Quality
This sounds counter-intuitive for a ventilated lid, but hear me out. If the lid does not have a good seal when closed, you have no control. My second propagator had a flimsy lid that didn't fit properly. It left a crack at the back. The humidity dropped to 40% in two hours.
I learned to check the lid often for fit. You want a rubber gasket or a lip that clicks shut. This allows you to close the vents completely to trap moisture, or open them fully to dry things out. Without a good seal, the vents are meaningless because air is escaping from everywhere anyway.
A good lid snaps shut. It doesn't just rest on top of the base.
My Personal Selection Process (Step-by-Step)
When I finally decided to get serious, I made a small checklist for myself. I went through about five types of lids before I settled on my current favorite. Here is the exact process I use when I buy a new propagator or a replacement lid.
Step 1: The "Water Test" I fill the base with water and put the lid on. I leave it for two hours. I check the sides for excess condensation. If the condensation is only on the top of the lid, that is good. If it is dripping down the sides, the vents are too small. The dripping means the air is saturated and water is moving around a lot, which isn't good for young seedlings.
Step 2: The "Squeeze Test" I press gently on the center of the lid. If it bends easily and flexes, I put it back on the shelf. Flimsy plastic warps under grow lights. When plastic warps, the seal breaks. I only buy lids that are rigid and have some weight to them.
Step 3: The "Light Test" I hold the lid up to the light. I am looking for clarity. If the plastic is cloudy or has a weird texture, it will block light. Sundews are not super demanding for light, but they need high-intensity light to produce dew. You need a lid that is crystal clear. I bought a "frosted" lid once because it looked cool. The light diffusion was terrible. My plants became leggy and pale. I had to switch back to a clear one.
The 2-Week Observation: What I Saw with My Own Eyes
Once I got my hands on a proper lid with adjustable slats, I decided to run a comparative test. I wanted to see if the ventilation was actually working. I kept a journal for two weeks to track the results.
Week 1: The Transition Period
The first thing I noticed was that the condensation levels dropped dramatically within 24 hours. Instead of huge water droplets covering the entire inside of the lid, I saw a fine mist of tiny droplets. This was the key difference. The fine mist meant the air was circulating.
Day 3: I opened the vents (now about 10% open) to let in some fresh air. I noticed the surface of my sphagnum moss started to knit together. It was holding moisture better. The moss was wet, but not soaking.
Day 5: I saw a change in the seedlings. They looked "stockier." The leaves were thicker. They weren't stretching towards the lid looking for light. They were staying low and compact. The color was a deeper green, which means they were photosynthesizing more efficiently.
Day 7: I noticed a huge difference when I opened the lid. With my old, poorly ventilated lid, the smell inside the box was "stale." With the new vent system, the smell was clean and earthy. It smelled like a forest floor after rain, not a swamp.
Week 2: The Results Are In
Day 9: I spotted new growth. The seedlings had their third set of true leaves. The growth was faster than my previous attempts.
Day 11: The vents were now open to about 30%. I noticed that the water droplets on the lid had disappeared almost completely. The humidity was still high, but the excess moisture was being carried away.
Day 14: The results were night and day. My seedlings were roughly 30% larger than the ones I had grown two months prior with the bad lid. They had robust root systems (I could see them through the clear pot). They also had visible dew formation on the leaves, which is the holy grail for sundews. The dew is sticky and shiny. If they have dew, they are happy.
My conclusion from the 14-day test: The lid was responsible for the success. The same seeds, same soil, same light, different lid. The only variable was the ventilation. That proves to me that airflow is the most underrated factor in carnivorous plant propagation.
The 3 Fatal Mistakes I See Newbies Make (And How to Avoid Them)
I want to give you the cheat sheet that took me years to learn. These are the three biggest blunders I see in online forums. I have been guilty of all three. Trust me, I speak from experience.
① Overwatering the Media (Not the Plant)
When growing sundews, people panic when they see the moss looking slightly dry on top. They pour water in. The key here is to keep the humidity in the air, not the water in the pot. If your propagator has a ventilation system, the soil will dry out slightly faster. This is good.
My advice: Do not water the soil every day. Check the soil. If it is wet to the touch, do nothing. If you see the moss turning a tan color, water it with rainwater or distilled water using a squeeze bottle. I stopped watering on a schedule. I water based on observation. Overwatering leads to root rot, which looks like the plant turning black at the base. It’s a silent killer.
② Mistaking High Light for Wrong Light
I used to think "more light = better." I put my propagator under a scorching south-facing window. The sun baked the inside. With the new lid, the temperature shot up.
I cooked my seedlings. The light was too intense and the heat built up inside the closed propagator. 100% ventilation does not help if the sun is baking the plastic.
The fix: Use bright, indirect light or fluorescent grow lights placed about 4 inches above the lid. You want lots of light, but you want it cool light. If you are using natural light, make sure it is morning sun, not afternoon sun. The afternoon sun is too harsh for the inside of a plastic box. I use LED panels. They generate minimal heat, so the vents can be almost fully open without the box getting too hot.
③ Using the Wrong Pot/Style of Propagator
The lid is not the only thing that matters. I tried using a deep propagation tray with a high dome lid. It was too tall. The air volume was so large that the humidity took forever to build up. It also made the light travel a long distance, which weakened the light intensity.
Then I tried a very shallow dish with a lid. The air volume was too small. It was like a pressure cooker. I needed to ventilate it constantly, which meant the humidity was always fluctuating.
The sweet spot: I now use a seed tray that is about 4 inches deep, paired with a lid that is about 6 inches tall. This gives enough air space to be stable, but not so much that it becomes a huge cave. The ratio of air to soil is critical. Too much air, and you need to mist constantly. Too little air, and you have a fungal infection risks.
The Authority Angle: Why Science Agrees with Me
I am not just making this up from my own bruised ego. The science backs up my experience. According to the RHS, plants in enclosed environments suffer from a lack of air circulation which leads to fungal diseases, notably botrytis. They recommend cold frames and propagators with high ventilation to prevent the build-up of stagnant, moist air.
The AHS also points out that while humidity is great for germination, it becomes detrimental once the seeds sprout. They stress the importance of gradually increasing ventilation to harden off young seedlings. This is exactly my method. You start with the vents closed to germinate seeds, and then slowly open them over the 14-day period to acclimate the plants to the outside world.
The "Hardening Off" Process I Use
I have mentioned this "hardening off" a few times. This is the most crucial part of the two-week process. Many people leave the vents shut forever. Here is my exact schedule.
Days 1-3: Vents completely closed. This locks in the heat and humidity for germination. Days 4-7: Vents open 10%. This starts the air exchange. It prevents the first flush of fungus. Days 8-10: Vents open 25%. The soil begins to dry at the surface. The roots are established enough to handle it. Days 11-14: Vents open 50%. The plants are now growing in conditions close to my greenhouse. They are ready to be potted up.
I skipped this process once. I took the lid completely off after germination and my seedlings wilted within hours. The shock was too severe. They weren't used to the low humidity of my room. You have to wean them off the moist air slowly. This gradual process ensures they develop strong cell walls instead of weak, watery ones.
Troubleshooting My Ventilated Lid
Even with a good lid, I ran into a few problems. Here is how I solved them.
Problem: Algae on the Soil Surface
I noticed a green film on my sphagnum moss. This happens when the surface is constantly wet and light is hitting it. My first instinct was to take the lid off. That didn't help. The Fix: I closed the vents for a day to let the humidity spike, then I blasted the soil with a fan for 10 minutes. The algae died. Actually, I just increased my bottom watering, so the top of the moss stayed dry. This is key. I now pour water into the tray, not onto the moss. The top stays dry, which prevents algae, while the roots get wet.
Problem: Dying Seedlings That Look "Watery"
This happened when the vents were too far open in a very dry room. The leaves looked translucent and mushy. The Fix: I realized this was "physiological drought." The roots were wet, but the air was so dry it sucked the moisture out of the leaves faster than the roots could absorb it. I misted the inside of the lid (not the plants) to raise the humidity and closed the vents to 10%. They perked up within a day.
Problem: Mold on the Lid Itself
Sometimes I get white mold on the plastic hinges. The Fix: This is usually dead spores. I wipe the lid with a paper towel dampened with distilled water and a tiny drop of hydrogen peroxide. This sterilizes the lid without harming the plants. I do this every two weeks now as a preventative measure.
Final Thoughts on Choosing That Lid
I have learned more from failure than from success. My journey with sundews is a story of trial and error. The price of a good ventilated lid is about ten dollars more than a cheap one. It is worth every penny.
Do not buy the cheapest propagator. Do not buy the prettiest jar. Buy the one with adjustable vents.
You want to be the dictator of your mini climate. You want to control the rain and the wind. A lid with passive holes is like a car with only a brake pedal. You can only slow down, you can't accelerate.
A ventilated lid gives you the ability to speed things up when you need to. It gives you the ability to save your seedlings when you see the first signs of rot by airing the box out. It gives the plants the signal they need to grow strong stems.
I hope my two weeks of shouting at plastic boxes helps you avoid my mistakes. Look for the vents, test the seal, and watch your plants flourish.





