 bluename
 How to Prepare Sundew Soil for Seed Sowing Correctly
If you want to grow sundews from seed, the single most important thing I can tell you is this: get the soil right before anything else. I've killed more sundew seedlings than I'd like to admit, and 90% of the time it came down to soil problems. Not bad seeds. Not bad luck. The soil.
Sundews are bog plants. They evolved in nutrient-poor, acidic, permanently wet ground. If you give them regular potting mix, they'll sulk, rot, or just never germinate. So when I say "prepare sundew soil for seed sowing correctly," I mean you need to build something that mimics a nutrient-starved acid bog. That's the whole game.
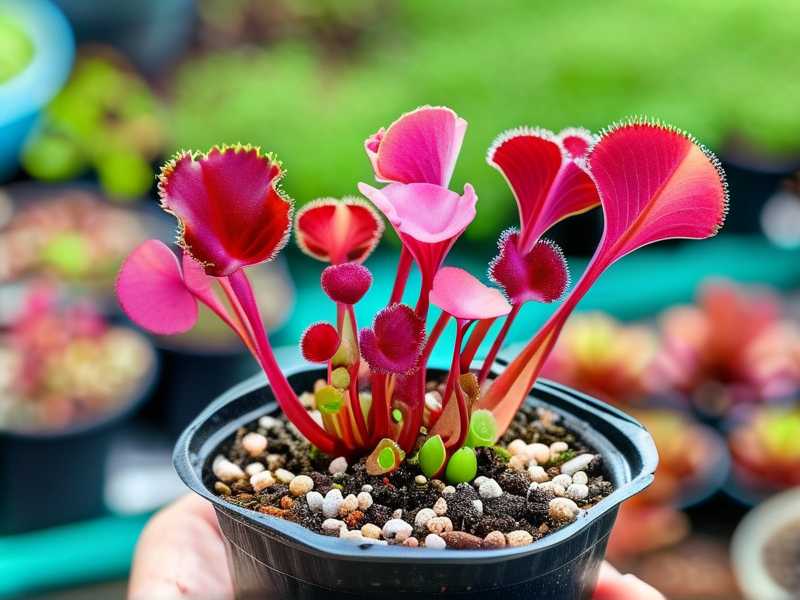
In this article I'll walk you through exactly what I use, what I've burned money on, and how I finally got a reliable germination setup after killing way too many plants. I'll also share what I saw over a two-week observation period after sowing, because that's the part most guides skip.
Why Sundew Soil Is Different From Normal Potting Mix
Most houseplant soil is designed to feed plants. It has compost, worm castings, slow-release fertilizer, the works.
Sundews are the opposite. They catch their own food with sticky tentacles. Their roots are basically just anchors and water straws. If the soil has nutrients, especially nitrogen and phosphorus, it burns their roots and encourages algae and mold.
AHS (https://ahsgardening.org) recommends that carnivorous plants be grown in a mix that mimics their natural bog habitat, meaning low fertility and consistent moisture. RHS (https://www.rhs.org.uk) also notes that most carnivorous plants fail in standard compost because of mineral and nutrient content.
So the first rule I tell every new grower: no fertilizer. None. Zero. Your sundew soil should be as close to "dead" as possible in terms of nutrition.
The Two Ingredients I Actually Use
After trying a bunch of fancy mixes, I keep coming back to two things:
- Sphagnum peat moss (Canadian or New Zealand, no additives)
- Perlite or silica sand (rinsed, coarse grade)
That's it for the base.
Some people use long-fibered sphagnum moss on top of peat. I do that sometimes too, but for seed sowing I prefer milled peat because seeds sit more evenly on it.
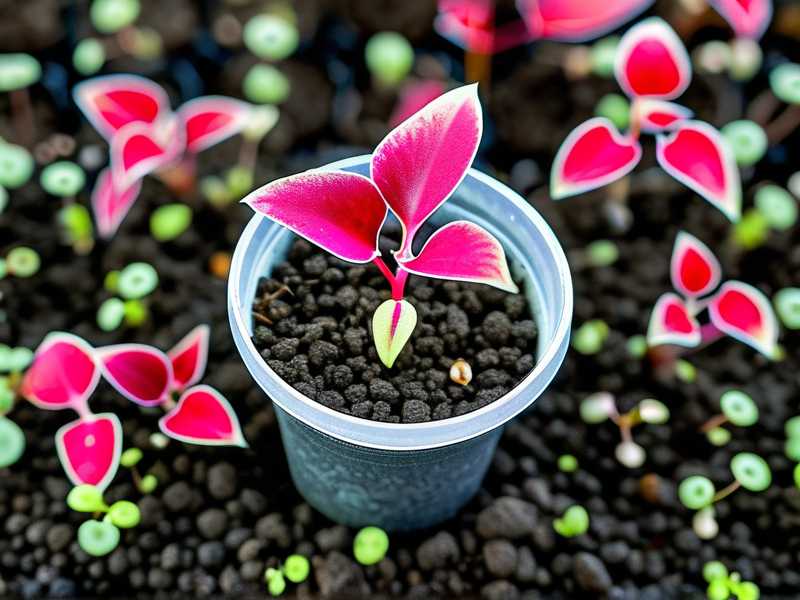
Here's my ratio for seed sowing:
- 2 parts peat moss
- 1 part perlite or coarse silica sand
I've tried 50/50 and found it too airy for tiny seeds. I've tried pure peat and it compacted like mud after a month. The 2:1 mix holds moisture but still lets roots breathe.
One thing I cannot stress enough: rinse everything. Even "clean" perlite can have dust that raises pH. I put perlite in a bucket, run water through it until it runs clear, then squeeze it out. Peat gets the same treatment.
Actually, the first time I skipped rinsing, I watched a batch of seeds sit for three weeks and do absolutely nothing. Lesson learned.
Use the Right Water From the Start
This isn't technically "soil," but it IS part of soil preparation. The water you use becomes the soil water.
Tap water has minerals, chlorine, sometimes fluoride. Over time these build up in the peat and kill the acidity. I use distilled water or rainwater only. Nothing else.
I know that sounds dramatic. But I once used tap water on a young sundew for a month and watched its leaves go from dewy to crispy. It wasn't the light. It wasn't the temperature. It was the dissolved solids in the water accumulating in the soil.
So when I prepare sundew soil for seed sowing, I also prepare a water plan. I fill a spray bottle with rainwater and let it sit to room temperature. Cold water shocks germinating seeds.
Step-by-Step: My Actual Method
Here's exactly what I do. I've refined this over about a dozen sowing attempts.
Step 1: Rehydrate the peat.
Dry peat is hydrophobic. It repels water. If you sow seeds on dry peat, you'll water it and the water just runs off the sides.
I put my peat in a big bowl, add rainwater slowly, and mix with my hands until it feels like a wrung-out sponge. Not dripping. Not dry. Just damp all the way through.
Step 2: Mix in the perlite.
Once the peat is evenly damp, I fold in the rinsed perlite. I don't want pockets of perlite. I want a uniform crumbly texture.
Step 3: Pack it gently into the container.
I use shallow trays about 2 to 3 inches deep. I fill them almost to the top, then press down lightly with a flat object. Not hard. Just enough so the surface is level.
A mistake I made early on was pressing too hard. The soil became dense and compacted, and the seedlings couldn't push roots down. I lost a whole tray that way.
Step 4: Saturate the soil from below.
I set the tray in a shallow dish of rainwater and let it wick up from the bottom. This avoids disturbing the surface. When the top of the soil glistens, I take it out.
Step 5: Sow the seeds on the surface.
Sundew seeds are tiny. Like dust. You do not bury them. You sprinkle them on top.
I use a folded piece of paper to tap them out gently. If you bury them, they likely won't germinate because they need light.
Step 6: Cover and wait.
I put a clear plastic dome or cling film over the tray. This keeps humidity high. I open it once a day for a few seconds to let fresh air in.
What I Observed Over Two Weeks
I sowed a batch of Drosera capensis seeds using this exact method. Here's what happened.
Days 1 to 4: Nothing visible. The soil stayed evenly moist. No mold. The surface had a slight sheen from humidity.
Days 5 to 7: I noticed tiny green dots. Not leaves yet. Just the beginnings of germination. The soil surface still looked clean.
Days 8 to 10: The green dots started showing tiny tentacles. You could barely see them with the naked eye. I used a magnifying glass to confirm.
Days 11 to 14: Real seedlings. Small but recognizable. Sticky tentacles catching tiny specks of dust. About 60 to 70 percent of the seeds had germinated.
The big takeaway from those two weeks? Consistency beats intensity. The soil stayed damp, the light stayed bright but indirect, and I didn't mess with anything. Every time I've fussed too much, I've ruined it.
The 3 Biggest Mistakes New Growers Make
I've made all three. More than once.
Mistake 1: Overwatering
90% of indoor plants die from overwatering, and sundews from seed are even more sensitive. I know it sounds counterintuitive because sundews love water. But seedlings are not adult plants.
If the soil is soggy and waterlogged, seeds rot before they germinate. I killed an entire tray of Drosera intermedia seeds because I kept the soil flooded. It looked like a swamp.
The fix: keep the soil moist like a wrung-out sponge, not dripping wet. Water from below. Let the tray drink what it needs.
Mistake 2: Wrong Light
Sundews need bright light. But seedlings need bright, indirect light. Direct sun through a window can cook a sealed tray in an hour.
I once put a covered tray on a south-facing windowsill in July. By afternoon the inside of the dome was foggy and hot. The seeds were cooked. Nothing germinated.
The fix: bright, indirect light. A grow light on a timer works great. Or a windowsill that gets morning sun but not harsh afternoon heat.
Mistake 3: Wrong Container
I tried sowing seeds in a deep pot once. The soil stayed too wet at the bottom and too dry at the top. The seedlings that did germinate had trouble staying anchored.
Shallow trays are better. They let you control moisture more evenly. They also make it easier to see what's happening.
The fix: use shallow, wide containers. Depth matters less than surface area for seed sowing.
Long-Tail Tips That Took Me Years to Learn
There are a few things nobody tells you when you're learning how to prepare sundew soil for seed sowing.
First, the soil needs to be prepared fresh. I've tried storing mixed soil in a bag for a month. It grew mold. Now I mix only what I need.
Second, the temperature of the soil matters. If you mix it with cold water in a cold room, germination slows down. I let everything come to room temperature before sowing.
Third, air flow matters even in a humid dome. I open the lid daily. Without that, mold takes over. I learned this the hard way when a beautiful tray of seedlings got fuzzy overnight.
Sundew soil for seed germination is a simple thing. Peat. Perlite. Rainwater. But the details make or break it. And I think that's true for most carnivorous plant growing.
FAQ
Can I use regular potting soil for sundew seeds?
No. Regular potting soil has fertilizer, which burns sundew roots. It also holds too much moisture unevenly. You need peat and perlite or sand. Nothing else.
How often should I water sundew seedlings?
Keep the soil consistently moist. Water from below when the surface starts to look dry. For covered trays, you might only need to water once a week. For open trays, check daily. But never let the soil dry out completely, and never leave it flooded.
Why aren't my sundew seeds germinating?
Check three things: soil mix, light, and temperature. If the soil has nutrients, they won't germinate. If the light is too weak, they won't germinate. If it's too cold, they'll take much longer. Fix those and give them three to four weeks. Some species are just slow.
Final Thoughts
Preparing sundew soil for seed sowing isn't complicated, but it's unforgiving. Get the mix right, use clean water, keep the moisture steady, and give them bright indirect light. Then wait. That's it. I've found that the best sundew growers are the ones who do the least after sowing. Set it up correctly and then leave it alone. That's the whole secret.





