How to Propagate Sundew from Flower Stalk Cuttings: A Complete Step-by-Step Guide
")
You’ve nurtured your sundew, watched it grow, and finally, it sends up a delicate flower stalk. It’s a moment of pride for any carnivorous plant enthusiast. But here’s the dilemma: letting your sundew flower can sometimes drain its energy, potentially stunting the growth of those iconic, glistening leaves. Do you simply snip the stalk off and discard it? What if you could turn that very stalk into multiple new plants? The good news is, you absolutely can. Propagating sundews from flower stalk cuttings is a highly effective, often overlooked method that bypasses the slow and finicky process of seed germination. This guide will walk you through every detail, transforming what seems like a simple pruning task into a rewarding propagation project.
Understanding Sundew Flower Stalk Propagation

Before we make the first cut, it’s crucial to understand why this method works and which sundews are best suited for it. Not all propagation techniques are created equal for every species.
Why Flower Stalk Cuttings Work
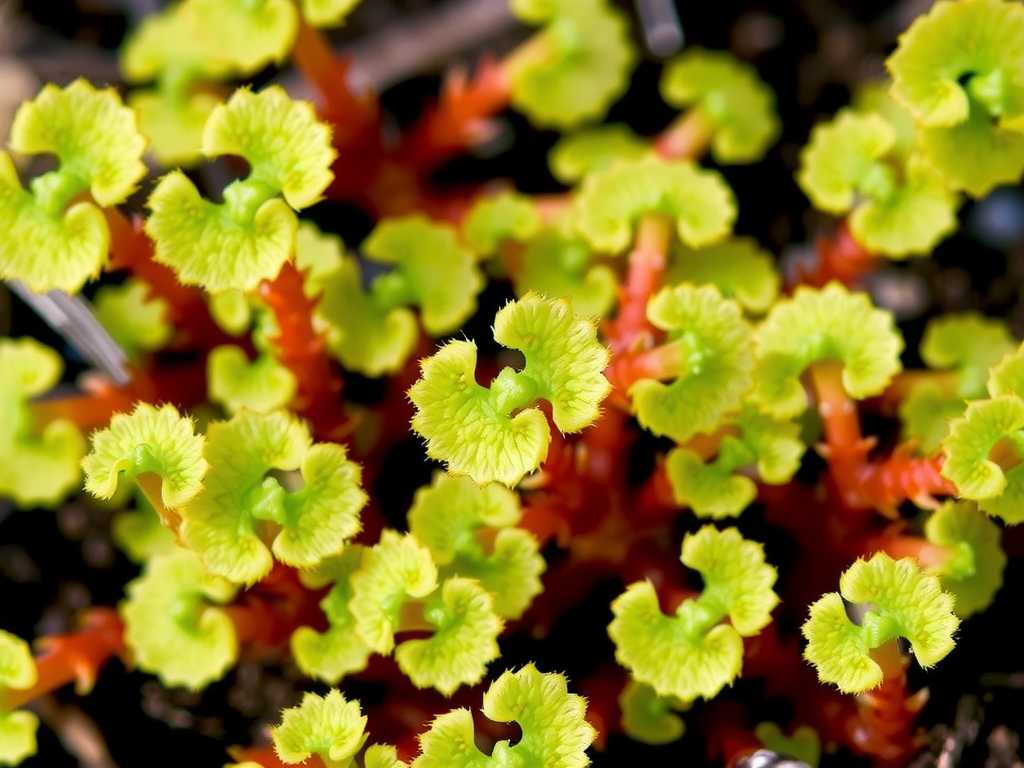
In nature, sundews likeDrosera capensis(the Cape sundew) are prolific seed producers. The flower stalk is essentially a dedicated reproductive structure. When you cut it early and place it in the right conditions, you are hijacking that biological imperative. The plant’s energy, originally destined for flower and seed production, is redirected towards forming new plantlets directly on the stalk. This method of vegetative propagation guarantees that the new plants are genetic clones of the parent, preserving all its unique characteristics.
Best Sundew Species for Stalk Cuttings
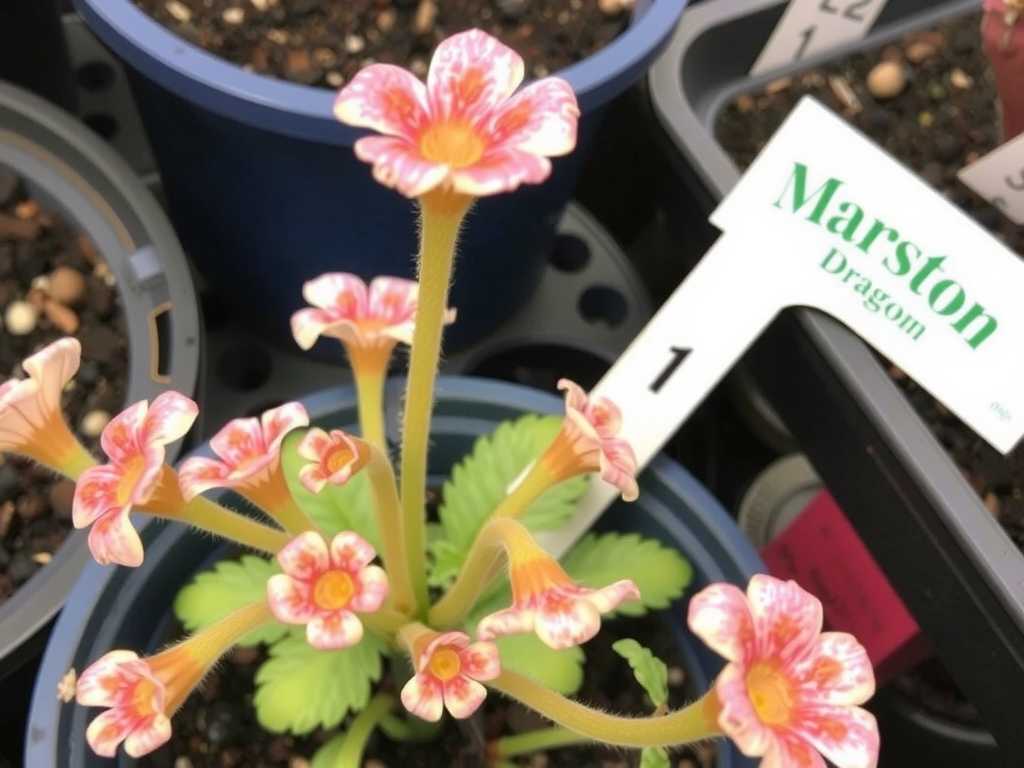
While many sundews can be experimented with, some species are famously successful.Drosera capensisand its many forms (Albino, Wide-leaved, Red) are the undisputed champions, producing plantlets with remarkable ease. Other excellent candidates includeDrosera spatulata,Drosera tokaiensis, andDrosera adelae. For temperate species likeDrosera rotundifolia, seed or root cuttings are often more reliable. As the International Carnivorous Plant Society (ICPS) notes, propagation success is highly species-dependent, and leveraging a plant’s natural vegetative tendencies yields the highest success rates.
Gathering Your Essential Tools and Materials
Preparation is key. Having everything ready before you start creates a smooth, stress-free process for both you and the plant.
- Sharp, Sterilized Scissors or Razor Blade:A clean, precise cut is vital. Use isopropyl alcohol to sterilize your tool, minimizing the risk of introducing pathogens.
- Suitable Growing Medium:A standard carnivorous plant mix is perfect. A 1:1 ratio of sphagnum peat moss to perlite is ideal. Avoid any potting soil, fertilizers, or minerals.
- Clean Pots or Propagation Trays:Small 2-3 inch pots or a shallow tray work well.
- Distilled Water, Reverse Osmosis (RO) Water, or Rainwater:This is non-negotiable. Tap water contains minerals that will accumulate and kill your sundews.
- Clear Plastic Dome or Bag (for humidity):A propagator lid or a simple plastic bag creates the humid microenvironment cuttings need.
- Bright, Indirect Light Source:A south or east-facing windowsill or under grow lights.
The Step-by-Step Propagation Process
Now, let’s walk through the entire procedure, from selecting the stalk to caring for the new plantlets.
Step 1: Selecting and Cutting the Flower Stalk
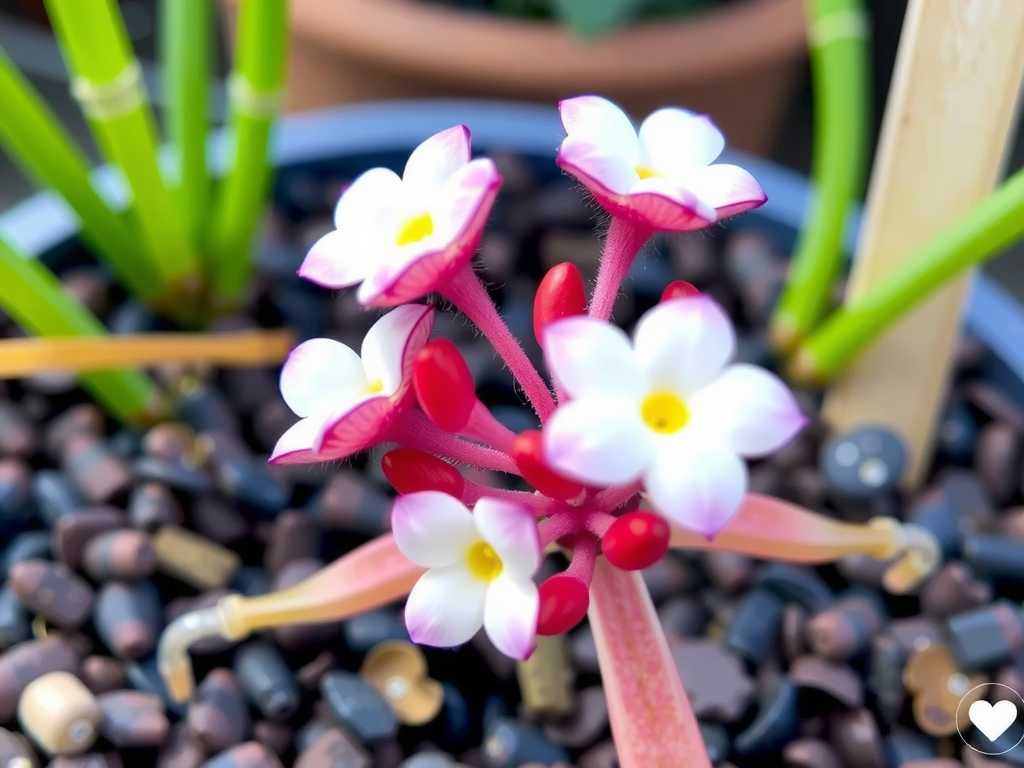
Timing is everything. The ideal moment is when the stalk is about 2 to 4 inches tall,beforeany flower buds have begun to open. At this stage, it’s packed with growth energy. Using your sterilized tool, make a clean cut at the base of the stalk, as close to the center of the rosette as possible without damaging the main plant. You can cut the stalk into smaller sections, each 2-3 inches long, ensuring you note which end was up.
Step 2: Preparing the Growing Medium and Container
Moisten your peat-perlite mix thoroughly with your purified water. It should be damp like a wrung-out sponge, not soggy. Fill your pots or tray and gently firm the surface. No packing is needed. According to best practices shared by experts in forums like the Carnivorous Plant Society of North America, pre-moistening the medium ensures immediate hydration for the cutting and prevents dry pockets.
Step 3: Planting the Cuttings and Creating Humidity
You have two main options here. The first is to simply lay the stalk cuttings horizontally on the surface of the damp medium, pressing them down slightly so they make good contact. The second is to insert the base of the stalk (if you know which end is down) vertically into the medium. For horizontal placement, many growers find success in simply laying the stalk down. Next, cover the container with your clear plastic dome or place it inside a loosely sealed plastic bag. This mini-greenhouse conserves moisture and creates near 100% humidity, which is critical for preventing the delicate cuttings from desiccating.
Step 4: Ideal Placement and Environmental Conditions
Place your setup in a location with very bright, indirect light. A spot under a grow light or on a windowsill with filtered sun is perfect. Avoid direct, hot sunlight, which will cook the cuttings inside the humid enclosure. Maintain a consistent temperature, ideally between 70-80°F (21-27°C). No additional water should be needed at this stage if the humidity dome is sealed.
Step 5: The Waiting Game and Early Signs of Success
Patience is essential. Within 2 to 6 weeks, you should start to see signs of life. Look for tiny, green bumps forming along the stalk. These will gradually develop into miniature sundew rosettes. The original stalk may brown and wither—this is normal, as the new plantlets draw energy from it.
Caring for Your New Sundew Plantlets
Once you have several small plantlets with a few leaves of their own, the gradual acclimatization process begins.
When and How to Transplant
Wait until the plantlets are about the size of a dime. Before transplanting, you must “harden them off.” Over 7-10 days, gradually increase the ventilation by propping open the dome or unsealing the bag a little more each day. This slowly reduces the humidity, acclimating them to normal room conditions. Then, using a small tool like tweezers, gently separate the plantlets, ensuring each has some tiny roots if possible. Pot them individually into small pots with the same carnivorous plant soil.
Ongoing Care for Juvenile Plants
Treat them like mature sundews, but with extra vigilance. They need:
- Consistent Moisture:Keep the soil permanently damp using only distilled, RO, or rainwater. The tray method (keeping the pot in a shallow saucer of water) is excellent.
- High Light:Provide plenty of light to encourage strong, colorful growth.
- No Fertilizer:Their roots cannot tolerate nutrients in the soil. They will get all the nutrition they need from catching tiny gnats and fruit flies.
Troubleshooting Common Issues
Even with perfect care, sometimes things don’t go as planned. Here’s how to diagnose common problems.
The Cutting Turns Black and Mushy
This is a sign of rot, usually caused by excessive moisture combined with poor air circulation or a contaminated cutting tool. Ensure your tools are sterilized and the medium is damp, not waterlogged. Slightly increasing air flow can help.
No Growth After Several Weeks
The stalk may have been too mature (buds already forming). It might also be a species less inclined to propagate this way. Double-check your light levels and temperature. Sometimes, all it takes is more time.
Plantlets Form But Then Die After Transplanting
This is most often due to transplant shock or insufficient hardening off. The sudden change in humidity can be fatal. Always acclimate slowly and handle the tiny roots with extreme care.
How long does it take for a flower stalk cutting to produce a mature sundew?From cutting to a well-established, mature plant can take anywhere from 6 months to a year, depending on the species and growing conditions. The initial plantlets may appear within weeks, but robust growth requires patience and consistent care.
Can I propagate a sundew from a leaf cutting instead?Yes, for many species, leaf pullings are another fantastic vegetative method. However, flower stalk propagation is often more productive from a single effort, as one stalk can yield a dozen plantlets, whereas a leaf typically produces one or two.
Is it better to propagate from the stalk or let my sundew go to seed?It depends on your goals. Stalk cuttings produce identical clones faster. Seeds introduce genetic variation and are necessary for breeding new hybrids or propagating species that don’t respond well to cuttings. For the average grower wanting more of a reliable plant, stalk cuttings are the efficient and surefire choice.
Watching tiny sundews emerge from a seemingly spent flower stalk is one of the most satisfying experiences in carnivorous plant cultivation. It turns a routine maintenance task into a powerful multiplication tool. By selecting the right stalk, providing a sterile and humid environment, and carefully acclimating the new plantlets, you can fill your collection with these fascinating sticky-leaved predators. Remember, the core principles are pure water, mineral-free soil, bright light, and patience. With this knowledge, you’re not just cutting off a flower stalk—you’re starting a whole new generation of plants.

发表评论