How to Propagate Sundew from Root Cuttings: A Step-by-Step Guide
You’ve nurtured your sundew, watched it thrive, and now you’re captivated. You want more of these fascinating, glistening carnivores in your collection. But the thought of growing them from finicky seeds feels daunting, and you worry about damaging your prized plant. What if there was a simpler, more reliable method? There is. Learninghow to propagate sundew from root cuttingsis the secret many expert growers use. It’s a faster, more predictable way to clone your favorite Drosera, and it’s less stressful for the mother plant than leaf pullings. This guide will walk you through the entire process, turning uncertainty into confidence and one plant into many.
Understanding the Science Behind Root Propagation

Before we dive into the practical steps, it’s helpful to know why this works. Sundews possess remarkable regenerative abilities. Their roots contain meristematic cells—undifferentiated cells that can develop into new tissues. When a section of root is placed in the right conditions, these cells are triggered to form not just new roots, but entirely new plantlets. This method of asexual propagation guarantees that your new sundews will be genetic clones of the parent, preserving those unique traits you love.
")
Gathering Your Essential Tools and Materials
Success starts with preparation. Having everything ready before you begin minimizes stress for both you and the plant. You won’t need specialized equipment, just a few key items.
You will need a sharp, sterile blade, such as a scalpel, razor blade, or precision knife. Sterilize it with isopropyl alcohol to prevent introducing pathogens. Prepare your growing medium in advance. A classic mix is 50% sphagnum peat moss and 50% perlite, thoroughly rinsed. Pre-moisten the medium so it’s damp but not waterlogged. Have small pots or propagation trays ready, along with clear plastic domes or bags to maintain humidity. Distilled water or rainwater is non-negotiable, as sundews are extremely sensitive to dissolved minerals in tap water.
Selecting the Perfect Parent Plant and Timing
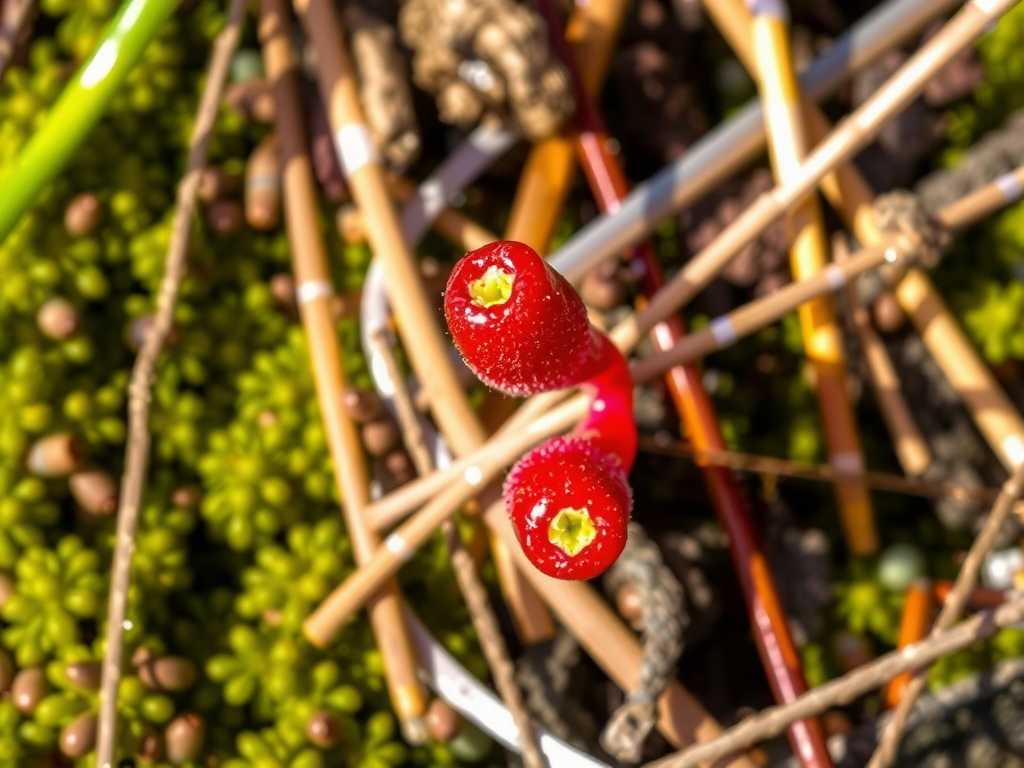
Not every sundew is an ideal candidate at any given time. The best results come from a healthy, mature plant that is actively growing. A sundew in its prime growth phase, typically during spring or summer for many species, has the highest energy reserves to support propagation. Avoid taking cuttings from plants that are dormant, stressed, or recently flowered. A robust root system is key, so ensure your parent Drosera is well-established in its pot.
The Step-by-Step Process of Taking Root Cuttings
This is the core of the guide. Follow these steps meticulously for the highest chance of success.
Step 1: Gently Unpot the Mother Plant Carefully remove the entire sundew, soil and all, from its pot. Lay it on a clean surface. Gently tease away the growing medium from the root ball under a soft stream of distilled water to expose the white, healthy roots.
Step 2: Identify and Cut Suitable Root Sections Look for thick, fleshy, white roots. These are the most viable. Using your sterilized blade, cut sections that are 1 to 2 inches (2.5 to 5 cm) in length. You can take several cuttings from one plant, but always leave the majority of the root system intact for the mother plant to recover.
Step 3: Plant and Position the Cuttings Fill your small pots or trays with the pre-moistened medium. Place the root cuttings horizontally on the surface, or bury them very shallowly—no more than 1/4 inch deep. Some growers prefer to lay them flat; others position them at a slight angle. Both methods can work.
Step 4: Create the Ideal Propagation Environment This is crucial. Place the pots in a tray with about half an inch of distilled water (the tray method). Then, cover them with a clear plastic dome or place them inside a sealed plastic bag. This creates a mini-greenhouse, maintaining near 100% humidity, which is essential for triggering growth. Place the setup in a location with bright, indirect light. Direct sun at this stage could cook the cuttings inside the humid enclosure.
Caring for Your Sundew Root Cuttings
Patience is your greatest ally now. You may see nothing for several weeks.
Maintain constant moisture via the water tray and keep the humidity cover sealed. Condensation on the inside is a good sign. Provide consistent, warm temperatures, ideally between 70-80°F (21-27°C). Resist the urge to dig and check for growth. Disturbing the medium can disrupt the delicate development process.
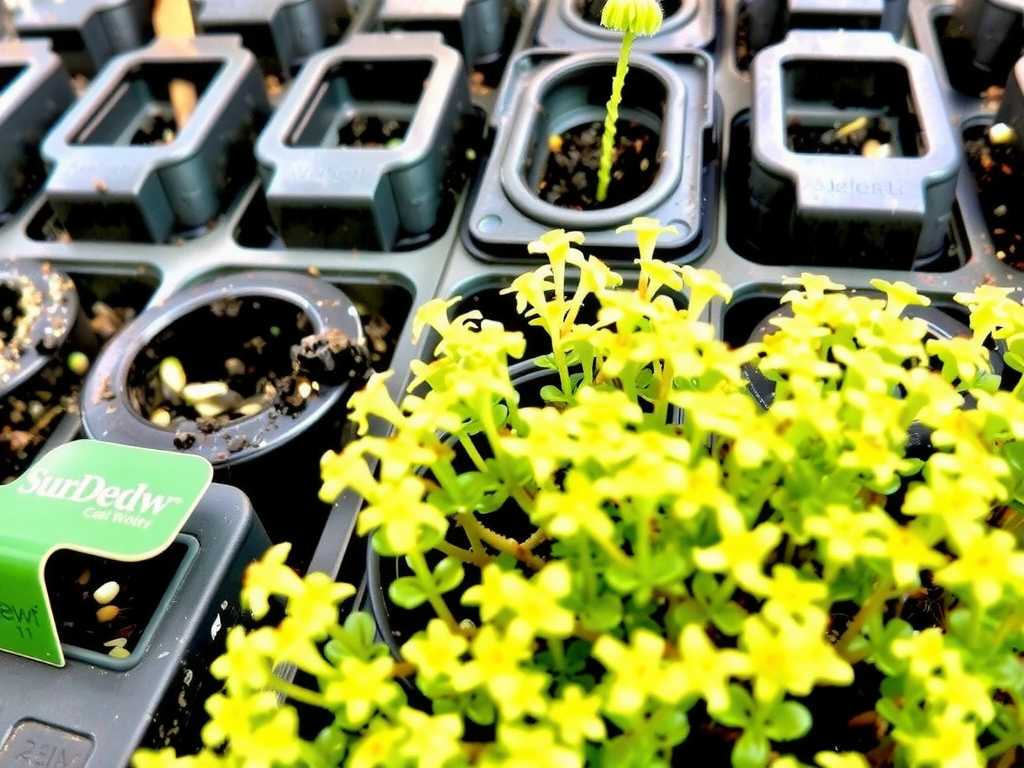
The Exciting Transition: From Cutting to Plantlet
After 4 to 8 weeks, you should see tiny green sprouts emerging from the cuttings or the soil above them. These are your new sundews! Once they have developed a few true leaves (not just the initial sprout), you can begin to acclimate them to lower humidity. Over the course of a week, gradually increase ventilation by propping open the dome or unsealing the bag a little more each day.
Troubleshooting Common Issues
What if nothing happens? If after 10 weeks there’s no growth, the cutting may have failed. Common causes include using old or thin roots, allowing the medium to dry out, or fungal attack due to non-sterile conditions. A white, fuzzy mold indicates too much stagnation; increase air flow slightly while keeping humidity high.
Transplanting and Long-Term Care of New Sundews
Once your plantlets are acclimated to ambient humidity and have grown to about an inch in diameter, they can be carefully transplanted into their own permanent pots. Use the same carnivorous plant soil mix. Continue to grow them in bright light, keeping the soil permanently moist with distilled water. They will soon begin catching their own prey and enter a phase of rapid growth.
How long does it take for sundew root cuttings to sprout?It typically takes between 4 to 8 weeks for visible growth to appear, though some species may be faster or slower. Patience is essential, as the initial development happens unseen beneath the soil surface.
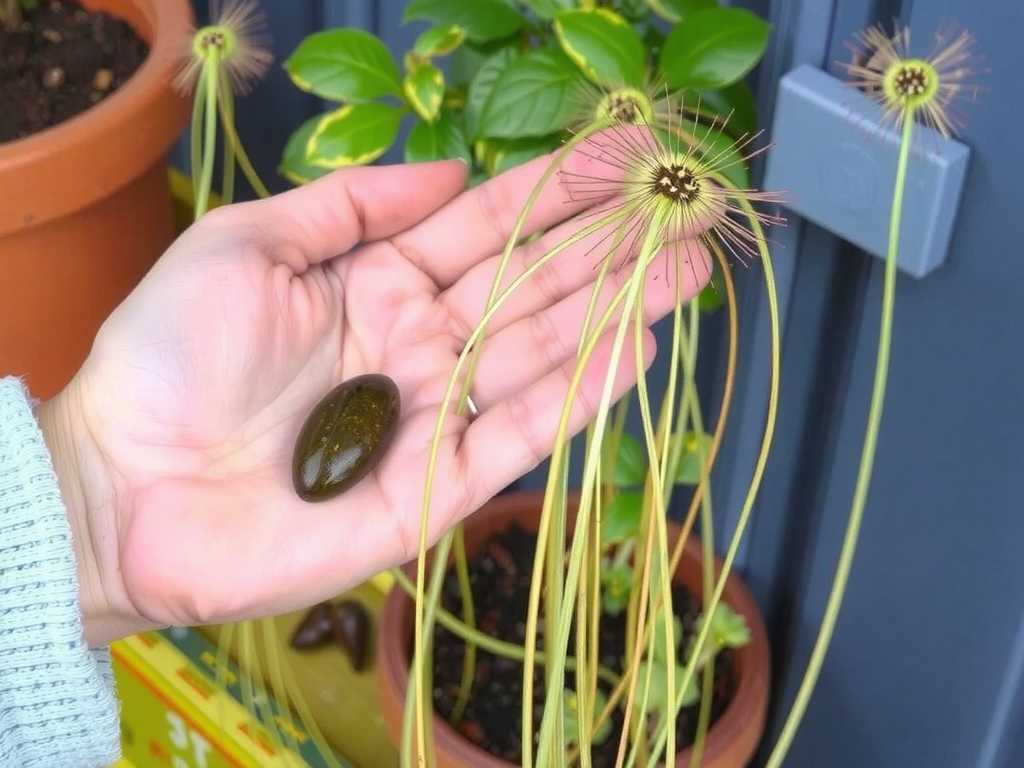
Can all types of sundews be propagated from root cuttings?While many common species likeDrosera capensis,D. spatulata, andD. adelaerespond excellently to this method, some tuberous or annual sundews may not be suitable. It’s always best to research the specific propagation preferences of your sundew species.
Why are my root cuttings turning black and rotting?Blackening usually signals rot caused by fungal or bacterial infection. This is often due to using non-sterile tools, overly soggy medium, or poor air circulation. Ensuring your tools are clean, your medium is damp but well-aerated, and providing a clean environment are the best preventative measures.
Mastering the technique of propagating sundews from root cuttings opens up a rewarding new dimension in carnivorous plant cultivation. It’s a testament to the resilience of these plants and a highly efficient way to expand your collection. By selecting a healthy parent, making clean cuts, and providing a stable, humid environment, you transform a small piece of root into a thriving, dewy predator. Start with a robust species like Cape Sundew, and soon you’ll be sharing the wonder of these plants with fellow enthusiasts.


发表评论