How to Propagate Sundew from Leaflets: A Complete Step-by-Step Guide
Have you ever admired the glistening, dew-covered leaves of a sundew plant and wished you could have more of these fascinating carnivores? Perhaps you’ve tried growing sundews from seed, only to find the process painfully slow and uncertain. Or maybe you have a prized specimen you’d love to multiply but are nervous about damaging it through risky division. Propagating sundews from leaflets offers a brilliant solution—a method that is surprisingly straightforward, highly effective, and allows you to create multiple new plants from just a single leaf. This guide will walk you through every detail, turning the mystery of leaf propagation into a simple, rewarding process.
Understanding Sundew Leaf Propagation

Before we dive into the "how," it's crucial to understand the "why" behind this method. Unlike many plants, several sundew species (genusDrosera) possess a remarkable ability called vegetative reproduction. Specialized cells in their leaves can regenerate into a completely new plant. This isn't just a gardening hack; it's a natural survival strategy for these plants in the wild. Horticulture expert Dr. Alastair Robinson notes, "Leaf cuttings are one of the most reliable vegetative propagation techniques for tuberous and temperate sundews, often yielding success rates above 80% under proper conditions." This method is particularly valuable for slow-growing species or for rapidly increasing your collection without waiting for seeds to mature.
Essential Tools and Materials You’ll Need
Gathering the right supplies beforehand sets the stage for success. You won't need complex equipment, but using the correct materials is non-negotiable for healthy sundew propagation.
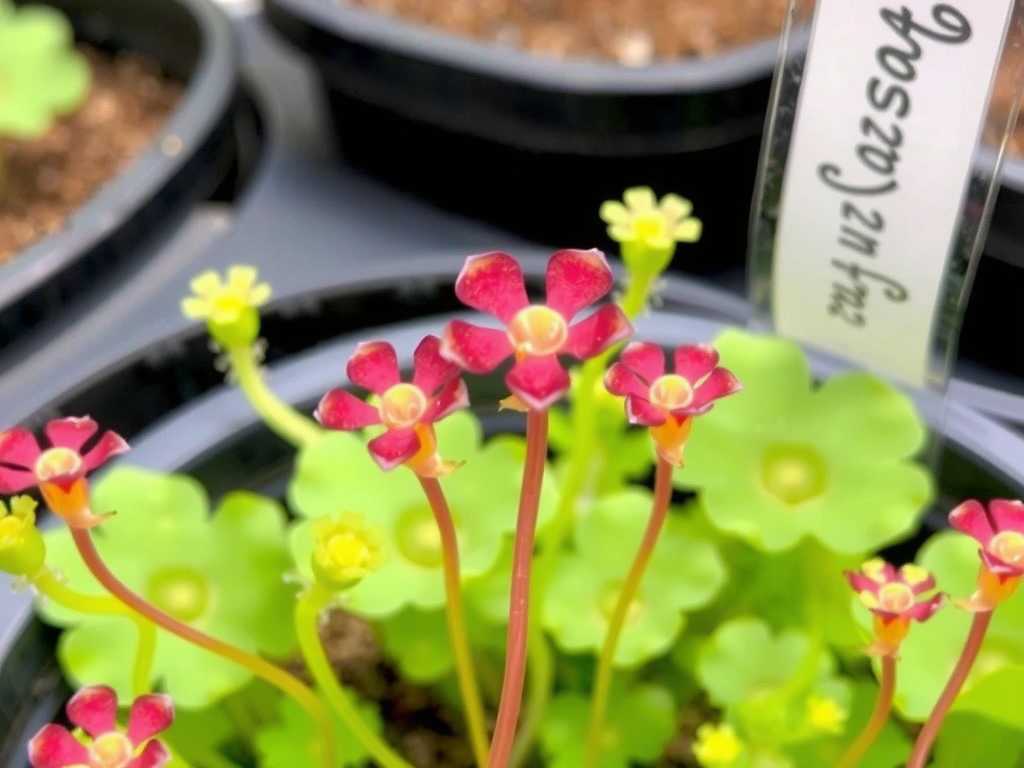
- Sundew Plant:A healthy, mature parent plant is essential. Species likeDrosera capensis,D. spatulata,D. adelae, and many others respond excellently.
- Sharp Precision Tools:Sterilized tweezers, fine-point scissors, or a scalpel. Sterilize with isopropyl alcohol to prevent transmitting pathogens.
- Growing Medium:Long-fiber sphagnum moss is the gold standard. It’s acidic, retains moisture well, and is sterile. A peat moss and perlite mix (50:50) is a good alternative.
- Containers:Small pots or clear plastic containers with drainage holes. Clear deli cups with lids can create a perfect mini-greenhouse.
- Water:Always use distilled water, reverse osmosis water, or rainwater. Tap water contains minerals that will harm sundews.
- Humidity Dome:A clear plastic bag or a propagation dome to maintain high humidity, which is critical for root development.
A Step-by-Step Guide to Propagating Sundew from Leaf Cuttings
Follow these steps meticulously for the best chance of success.
Selecting and Preparing the Parent Leaf
Choose a robust, healthy leaf from your parent sundew. Avoid old, dying leaves or the very newest, smallest ones. A medium-aged, dew-producing leaf is ideal. Using your sterilized tool, gently cut the leaf from the stem. You can use the entire leaf, or for larger leaves, you can even cut them into 1-2 inch sections, ensuring each piece has some of the central vein. Handle the leaf by its very edge or with tweezers to minimize damage to the sensitive tentacles.
Preparing the Propagation Environment
Moisten your sphagnum moss with distilled water until it is thoroughly damp but not waterlogged. Fill your chosen container and gently press the medium to eliminate large air pockets. The goal is a firm, moist surface. If using a humidity dome, have it ready.
Positioning and Securing the Leaf Cuttings
This is the most critical step. Do not bury the leaf. Simply lay the leaf cuttings flat on the surface of the damp moss, with the dew-covered (adaxial) side facing up. Gently press the cut end or the base of the leaf into contact with the moss. For whole leaves, you can use a bent staple of thin wire or a small pebble to hold the base in place if needed. The leaf must stay in intimate contact with the moist medium.
Creating the Ideal Humid Microclimate
Place the container inside your humidity dome or cover it loosely with a clear plastic bag. This sealed environment prevents the delicate leaf from desiccating before it can form roots. Place the setup in a location with bright, indirect light. Direct, hot sun will cook the cuttings inside the dome. A spot under grow lights or on a windowsill with filtered light is perfect. Maintain a consistent temperature between 65-75°F (18-24°C).
The Waiting Game: Care During Root Development
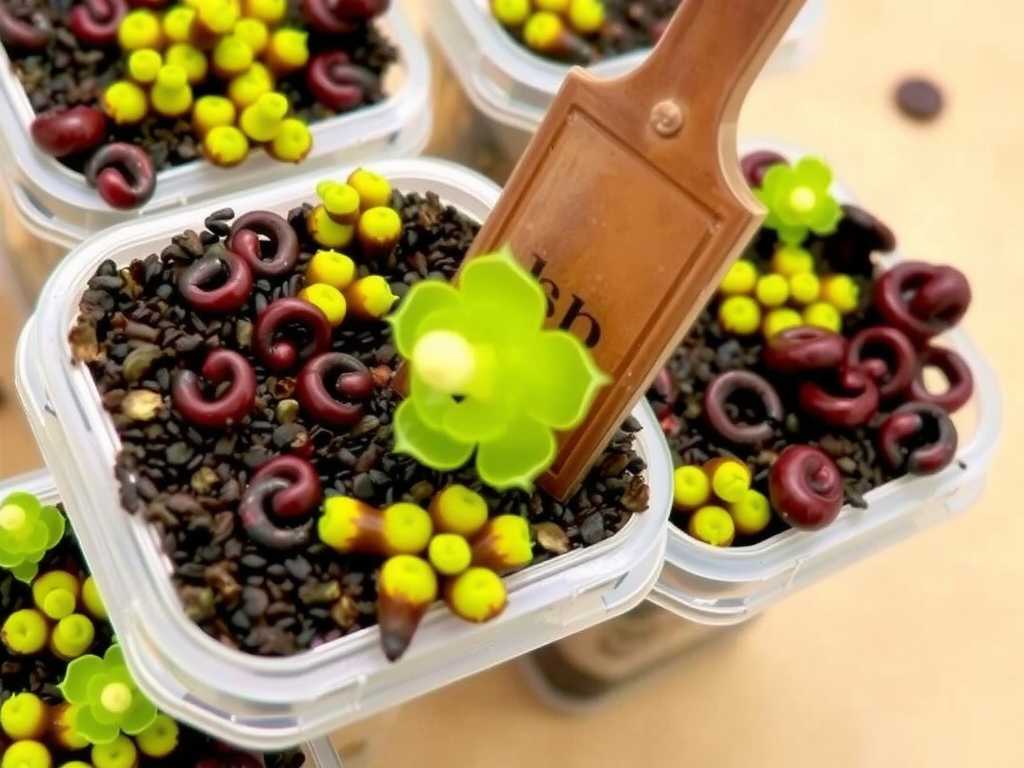
Patience is key. Over the next 2 to 6 weeks, your focus is on maintaining the environment. Check periodically to ensure the moss remains moist, adding distilled water from the bottom if it starts to dry. Condensation on the dome is a good sign. Avoid opening the dome frequently, as this disrupts the humidity. During this time, the leaf may look dead or wither—this is often normal. The magic is happening at the point of contact, where new plantlets, often tiny and green, will begin to form.
Transplanting Your New Sundew Plantlets
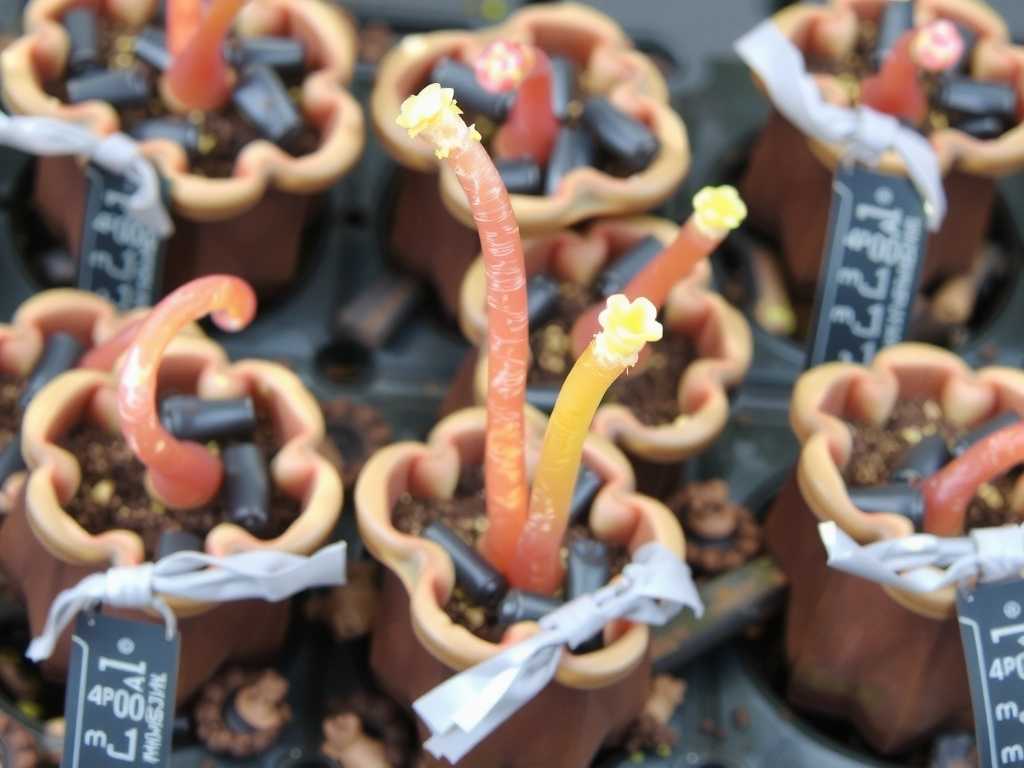
Once the plantlets have developed several of their own small leaves and appear sturdy (usually when they are about the size of a dime), they are ready for acclimatization. Over the course of a week, gradually increase the ventilation by propping open and then removing the humidity dome. This "hardens off" the young plants. When they are acclimated, you can carefully separate them from the original leaf cutting, if it remains, and transplant each one into its own small pot filled with the standard sundew growing medium. Treat them as mature plants from this point on.
Troubleshooting Common Issues
- Mold or Fungus:This indicates excessive moisture and poor air circulation. Increase fresh air exchange, ensure there’s no standing water, and consider a light spray of a diluted fungicide suitable for carnivorous plants.
- Leaf Rotting Instead of Sprouting:The leaf may have been damaged, buried, or the medium may be contaminated. Always use sterile tools and media, and ensure the leaf is on the surface, not under it.
- No Growth After Several Weeks:Some species are slower than others. Double-check light and temperature conditions. Ensure you are using a species known for easy leaf propagation.
Advanced Tips for Success
For the enthusiast looking to maximize results, consider these insights. Some growers use a "water float" method, placing leaves on the surface of distilled water in a shallow cup until plantlets form, then transferring them to moss. Bottom heat from a seedling heat mat can significantly speed up root initiation. Keeping detailed records of species, dates, and techniques used will help you refine your personal propagation protocol over time.
How long does it take for a sundew leaf cutting to produce a new plant?The timeline varies by species and conditions, but you can typically expect to see tiny plantlets forming within 2 to 4 weeks. It may take 2-3 months before the plantlet is large enough to be transplanted and treated as an independent plant.
Can all types of sundews be propagated from leaf cuttings?While many common species propagate readily from leaves, not all do. Most temperate, tropical, and tuberous sundews respond well. However, some specific types, like the fork-leaved sundews (D. binatacomplex), or pygmy sundews (which produce gemmae), may have more reliable propagation methods. It's always best to research the specific needs of your sundew variety.
Why are my leaf cuttings turning black and dying?Some darkening at the cut end is normal. However, if the entire cutting quickly turns black and mushy, it is likely rotting. This is often caused by using non-sterile tools, burying the leaf, or an environment that is too cold and wet. Ensure proper surface contact, sterile practices, and adequate warmth.
")
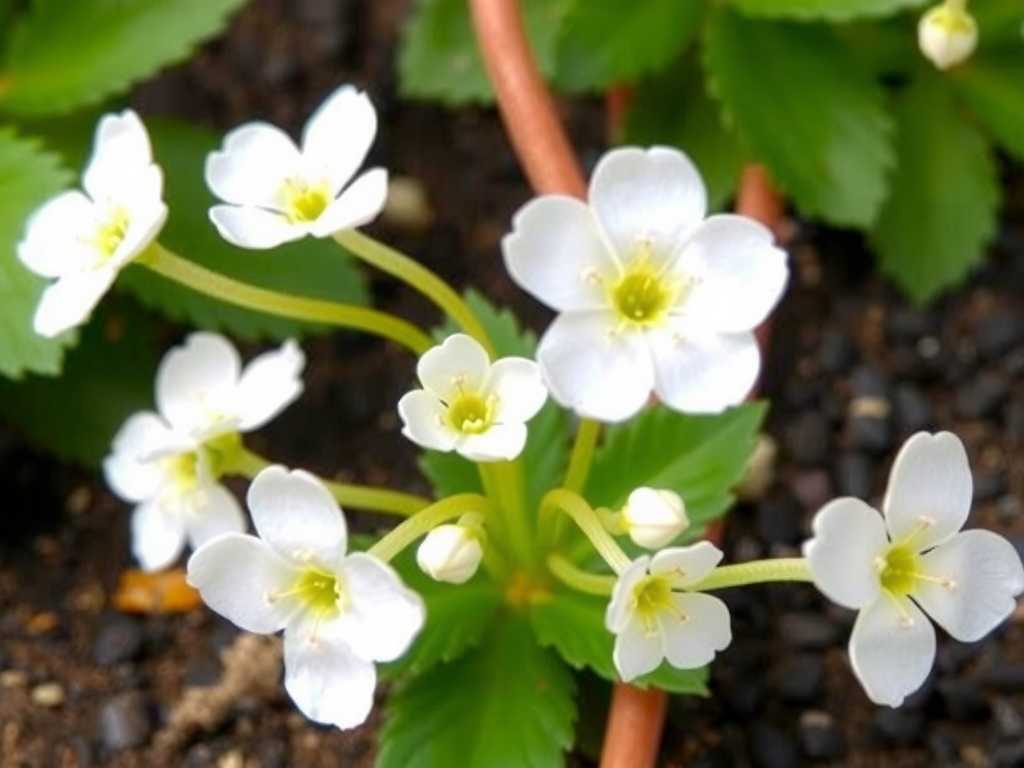
Propagating sundews from leaflets is a deeply satisfying skill that unlocks the potential of your carnivorous plant collection. By selecting a healthy leaf, providing a sterile and humid environment, and exercising patience, you can transform a single leaf into multiple thriving new sundews. This method not only expands your collection cost-effectively but also deepens your connection to the incredible adaptive biology of these carnivorous wonders. Start with a resilient species likeDrosera capensis, follow the steps outlined, and you’ll soon witness the rewarding sight of new plantlets emerging, ready to catch their first prey.
发表评论