How to Propagate Sundew in a Water Tray: A Complete Guide for Beginners
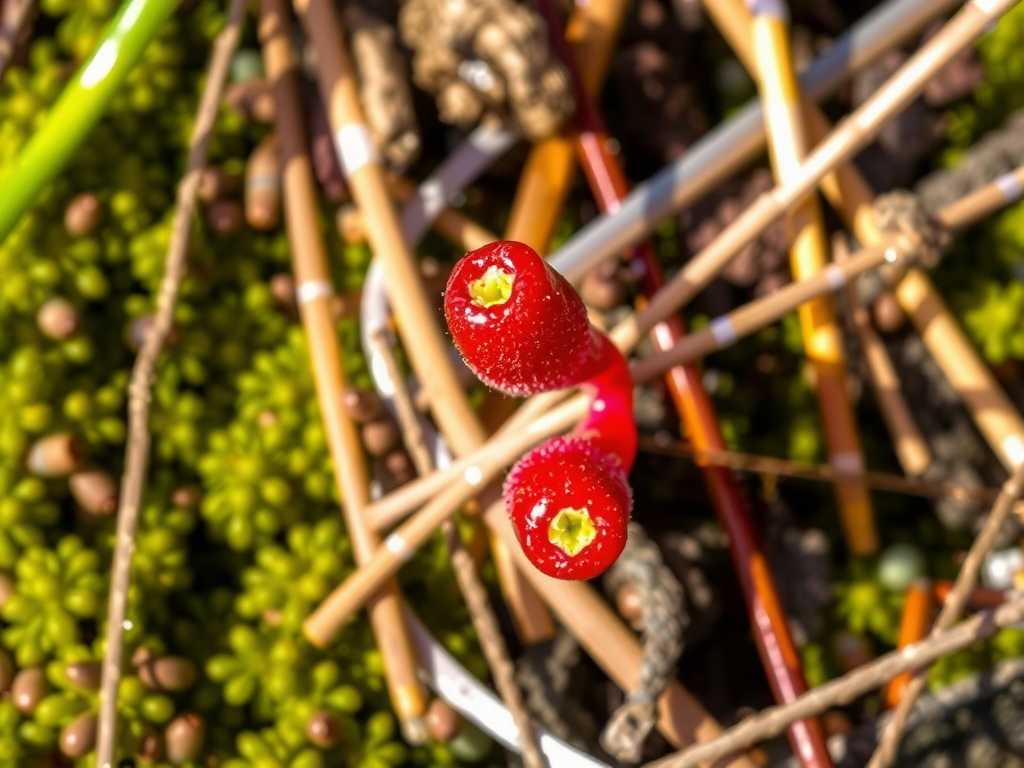
You’ve fallen in love with the glistening, dewy tentacles of your sundew plant, a captivating carnivore that adds a touch of the extraordinary to your collection. Now, you’re eager to create more of these fascinating plants. But the thought of propagation might seem daunting. Soil mixes, humidity domes, and the fear of losing precious seeds or cuttings can be overwhelming. What if there was a simpler, more reliable method that mimics their natural boggy habitat? There is. Learninghow to propagate sundew in a water trayis arguably the most effective and low-stress technique for both novice and experienced growers. This guide will walk you through every step, turning uncertainty into a thriving colony of these insect-eating wonders.
Why the Water Tray Method is Ideal for Sundew Propagation
Sundews (Drosera species) are native to wetlands and bogs, environments where their roots are constantly moist but not submerged in deep water. The water tray method, also known as the "tray method," perfectly replicates these conditions. It provides consistent bottom-watering, ensuring the growing medium never dries out—a critical factor for germination and delicate new growth. This technique is excellent for propagating sundews from seeds, leaf cuttings, and root cuttings. Its primary advantage is automation; it minimizes human error and creates a stable, humid microclimate that encourages successful propagation.

Essential Materials You Will Need
Before you begin, gathering the right supplies sets the stage for success. You won’t need specialized equipment, just a few key items:
- A Shallow Tray:Any waterproof container that is 1-2 inches deep works perfectly. Standard plant nursery trays or even a large plastic saucer are ideal.
- Your Propagation Medium:Long-fiber sphagnum moss is the champion here. It’s sterile, moisture-retentive, and acidic—perfect for sundews. A fine peat moss and perlite mix (50/50) is also a good alternative. Avoid standard potting soil.
- Clean Pots or Cells:Small 2-3 inch pots or seedling cells. Ensure they have drainage holes.
- Distilled Water, Reverse Osmosis (RO) Water, or Rainwater:This is non-negotiable. Sundews are extremely sensitive to minerals found in tap water, which can harm germination and kill young plants.
- Light Source:A bright windowsill with several hours of direct sun or, even better, a grow light for 12-14 hours daily. Strong light is crucial for healthy sundew development.
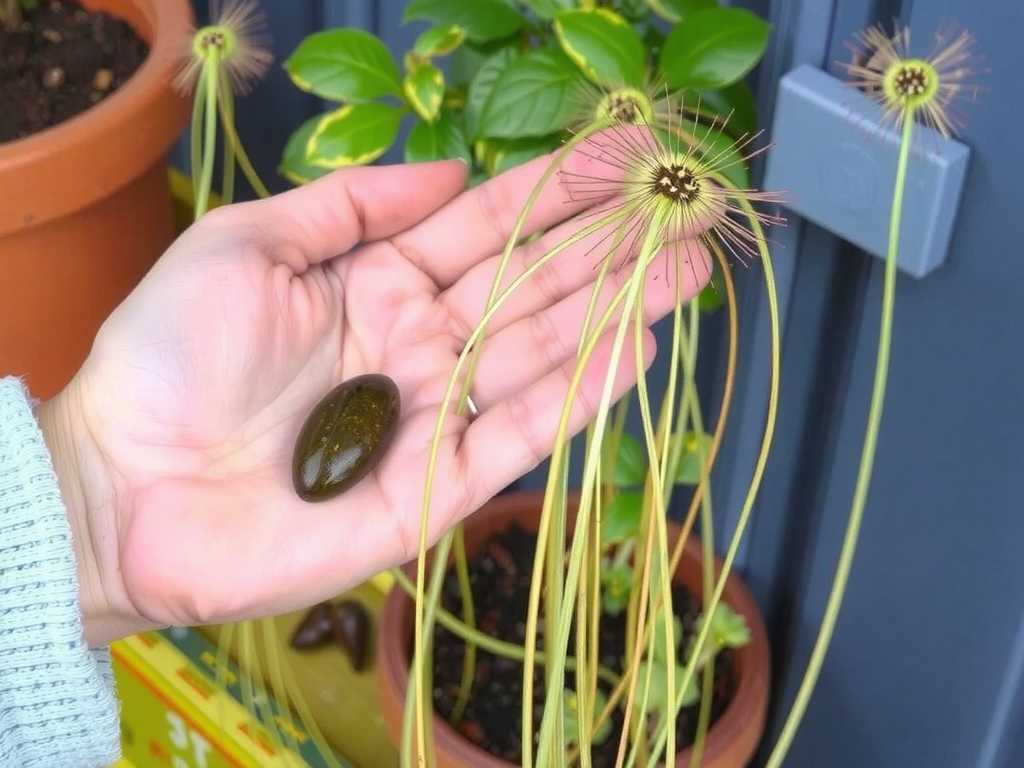
- Propagation Material:Fresh sundew seeds, healthy leaves, or root cuttings from a parent plant.
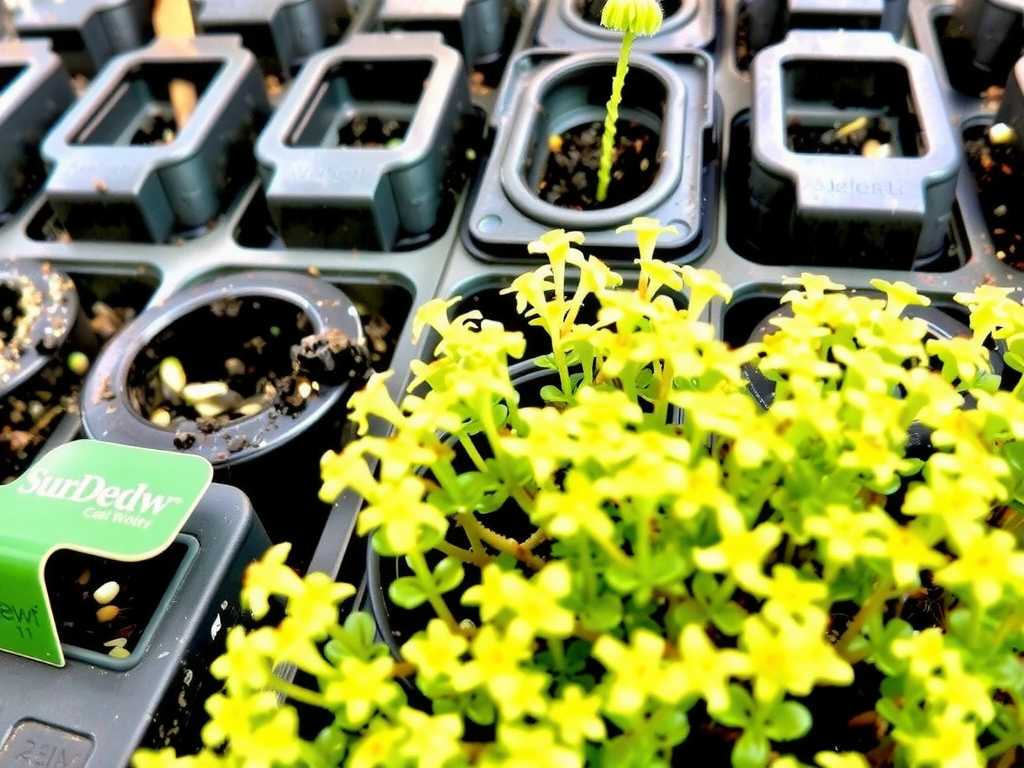
Step-by-Step: Propagating Sundew Seeds in a Water Tray
This is the most common method for starting new plants, especially for species like Drosera capensis (Cape Sundew).
1. Preparing the Growing MediumStart by moistening your long-fiber sphagnum moss with distilled water. Fluff it up and gently press it into your small pots, leaving a little space at the top. Do not compact it tightly. The goal is an airy, moist medium. Place the filled pots into your shallow tray.
")
2. Sowing the SeedsSundew seeds are tiny. Carefully sprinkle them on the surface of the moist moss. Do not bury them; they require light to germinate. A gentle press to ensure seed-to-medium contact is sufficient. Label each pot if you are sowing different species.
3. Setting Up the Water Tray SystemPour distilled water into the outer tray until it reaches about 1/4 to 1/2 the height of the pots. The medium will wick the moisture upward. The key is to keep water in the tray at all times. Place the entire setup under your grow light or in a very bright location.
4. Germination and Early CarePatience is vital. Germination can take from 1 to 8 weeks, depending on the species. Keep the water level consistent. You will first see tiny green specks, which will slowly develop their first carnivorous leaves. At this stage, the constant moisture from thewater tray propagationis their lifeline.
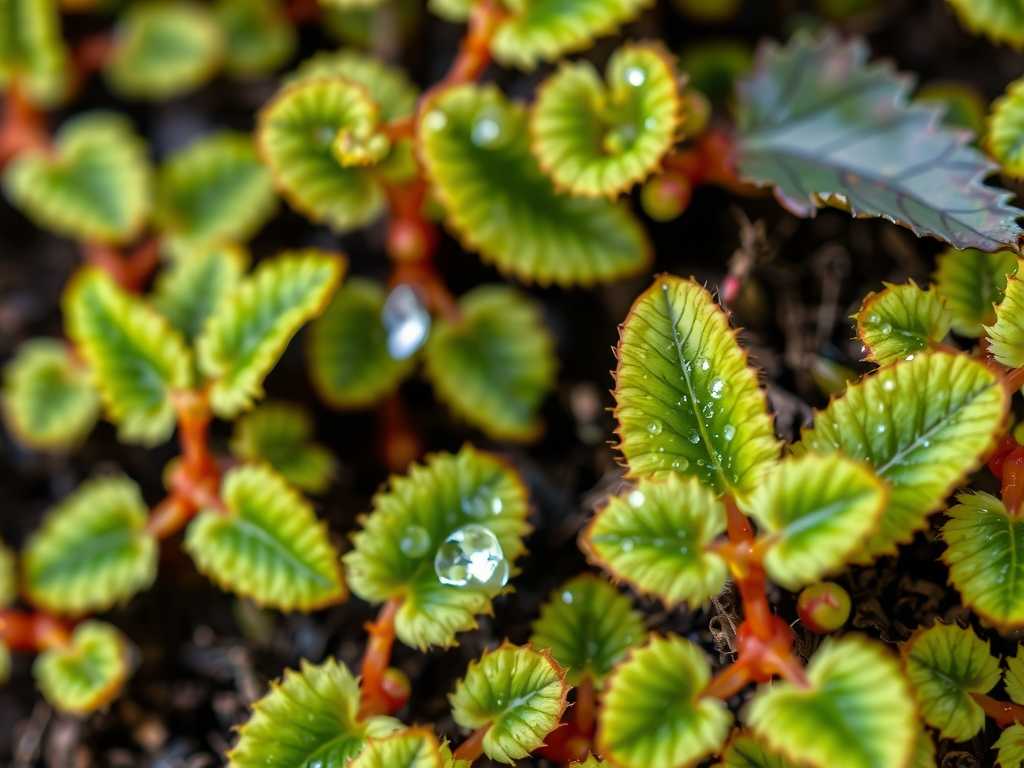
Step-by-Step: Propagating Sundew from Leaf Cuttings in Water
This vegetative method is faster than seeds and produces a genetic clone of the parent plant. It works brilliantly for many temperate and tropical species.
1. Taking the Leaf CuttingSelect a healthy, dew-covered leaf from your parent sundew. Using clean tweezers or your fingers, gently pull the entire leaf from the stem, aiming to get a little of the white base (the petiole) if possible. You can also cut a leaf with a sterile blade.
2. Preparing the Cutting and MediumLay the leaf, dew-side up, on the surface of the prepared, moist sphagnum moss. For some species, you can lightly cover the white base with a strand of moss. Alternatively, some growers float the leaves on the surface of pure distilled water in a separate container until plantlets form, then transfer them to moss.
3. The Water Tray EnvironmentPlace the pot with the leaf cutting into your shallow tray with water. High humidity is beneficial. You can loosely cover the pot with a clear plastic bag or use a propagation dome, but with the water tray maintaining moisture, it’s often unnecessary. Provide bright, indirect light initially.
4. Development of PlantletsIn a few weeks, tiny plantlets will begin to form from the leaf tissue. Once they have developed a few leaves of their own, you can carefully separate them and pot them individually into their own water tray setups. Thissundew water propagation techniqueleverages the plant's natural ability for vegetative reproduction.
Troubleshooting Common Issues in Water Tray Propagation
Even with a simple method, challenges can arise. Here’s how to address them:
- Algae or Mold Growth:This is usually caused by insufficient air circulation or organic matter in the water. Use only distilled water, ensure your tray gets some airflow, and scrape off any algae. A thin layer of sand on the medium's surface can deter it.
- Poor Germination or Rot:Old seeds or fungal issues are common culprits. Ensure your sphagnum moss is fresh and sterile. Some growers use a light fungicide treatment for seeds.
- Leggy, Weak Seedlings:This is a sure sign of insufficient light. Move your setup to a much brighter location or bring the grow light closer. Sundews demand intense light to develop their characteristic red color and sticky dew.
- Water Tray Running Dry:This is the most critical failure point. Check the water level every 1-2 days, especially in warm weather. Automating this process is the core benefit of the tray method for sundews.
FAQ: Your Sundew Propagation Questions Answered
How long does it take to see results?Leaf cuttings can produce plantlets in as little as 3-4 weeks. Seeds vary widely by species, from 2 weeks for some Cape Sundews to several months for temperate varieties that require stratification (a cold period).
Can I use this method for all sundew species?The water tray method is universally excellent for most tropical and subtropical sundews (e.g., Drosera capensis, D. aliciae). For temperate species that require a winter dormancy (e.g., Drosera rotundifolia), seeds often need cold stratification before being placed in the warm water tray setup.
When should I transplant my propagated sundews?Wait until plantlets from cuttings have a well-established root system or seedlings have at least 3-4 true leaves. You can then move them to a permanent pot, continuing to use the water tray method for their ongoing care. Their transition to a mature plant is seamless when thepropagation of sundewsand their long-term care use the same fundamental technique.
Embracing the water tray method demystifies sundew propagation. It aligns with their innate needs for constant moisture and high humidity, creating a forgiving environment for seeds to sprout and cuttings to take hold. By starting with the right medium and pure water, maintaining a consistent water level, and providing intense light, you transform a simple tray into a nursery for endless carnivorous plants. The joy of watching a forest of tiny, dewy sundews emerge is a reward that makes every step worthwhile.

发表评论