How to Clean Sundew Leaves (Remove Debris) Without Harming Your Precious Plant
There’s a unique kind of panic that sets in when you notice your sundew, that beautiful, sticky-fingered predator, slowly disappearing under a layer of dust, stray soil, or worse, its own old, decaying leaves. You know that gunk on its leaves isn't just unsightly—it's a death sentence for its photosynthetic and trapping abilities. I’ve been there, staring at a prizedDrosera capensisthat looked more like a fuzzy gray relic than a vibrant carnivore. The central dilemma every enthusiast faces is:how to clean sundew leaves effectivelywithout stripping away the precious, life-giving mucilage? Through trial, error, and two weeks of meticulous observation, I perfected a safe method. This guide is born from that hands-on experience, including the mistakes I made and how I fixed them.
Understanding Why Cleanliness is Non-Negotiable for Sundews
")
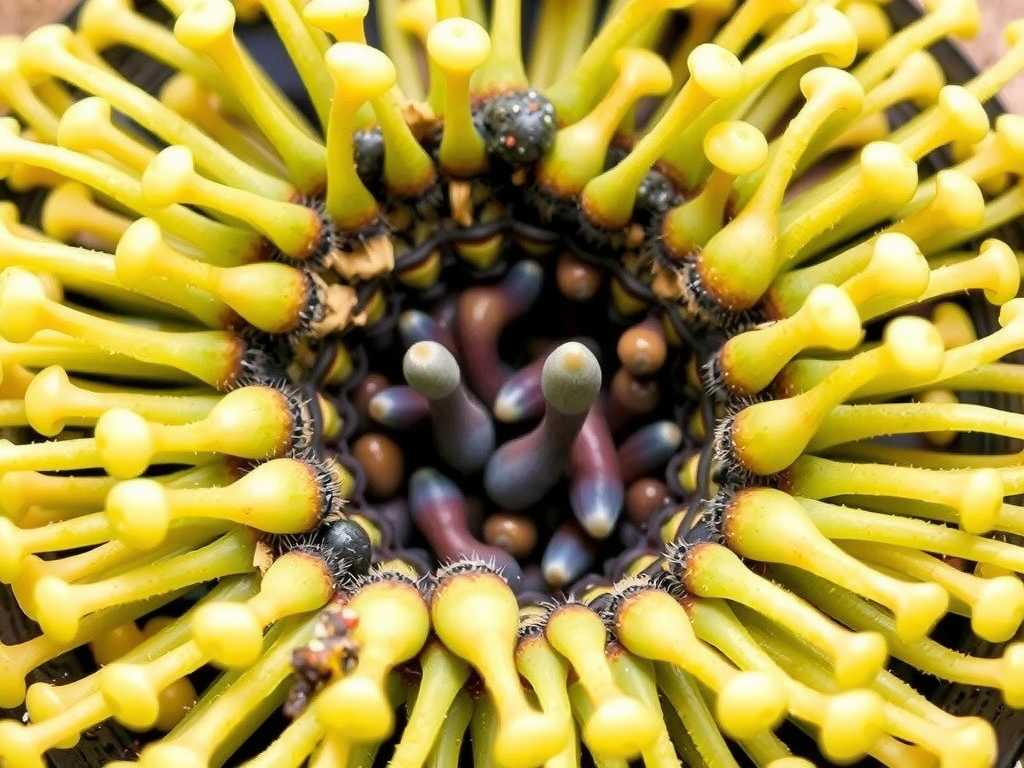
A sundew’s leaves are its masterpieces. Each tentacle tip produces a bead of sticky mucilage, a complex cocktail of sugars and enzymes designed to attract, trap, and digest prey. This glue is also hygroscopic, meaning it can attract and hold water from the air. When debris like mineral dust from tap water, peat particles, or organic fallout settles on the leaf, it gets incorporated into this sticky matrix. The result? The tentacles become clogged, unable to secrete fresh glue or effectively hold insects. Photosynthesis is also severely hampered, starving the plant of energy. As noted in resources from the International Carnivorous Plant Society (ICPS), maintaining functional leaf surfaces is critical for the long-term health of these specialized plants.
My Step-by-Step Process for Safely Removing Debris
After ruining a few leaves with clumsy techniques, I developed a gentle, three-stage protocol. The goal is toremove debris from sundew leaveswith minimal contact.
Preparation: Setting the StageFirst, I gather my tools: distilled water (never tap or mineral water), a fine mist spray bottle, a set of soft artist’s brushes with natural hairs (size 00 or 0), and a good light source. I perform this cleaning in the morning, allowing the plant the whole day to dry and replenish its glue under light. The plant is kept in its usual location; I don’t disrupt its environment by moving it.
The Gentle Cleaning Procedure
- The Initial Rinse:I start by lightly misting the affected leaves from a distance of about 12 inches. The goal isn't to blast the debris off but to slightly moisten the foreign particles. For water-sensitive species likeDrosera petiolaris, I skip misting and rely solely on the brush’s humidity.
- The Brush Technique:This is the core of thesundew leaf cleaning method. I gently touch the tip of the dry, soft brush to a piece of debris. With immense patience, Iliftit away. I do not sweep, wipe, or scrub. The action is a vertical lift, often requiring me to roll the brush tip slightly to catch the particle. For tiny specks, I sometimes breathe lightly on the leaf to add a minuscule amount of moisture from my breath (not recommended if you're ill), which can help the brush tip adhere to the dust.
- The Final Misting:Once visible debris is gone, I give the leaf one more very light, distant mist. This helps redistribute any remaining mucilage and signals the plant to produce more. I then ensure the plant has excellent air circulation to prevent water spots.
Crucial Mistakes I Made and How to Correct Them
(1)")
My first attempt was a disaster. I used a cotton swab dampened with distilled water, thinking it would be soft enough. It wasn't. The cotton fibers snagged on the tentacles, pulling off huge globs of mucilage and leaving the leaf bald. The plant looked traumatized.The fix:I immediately stopped and switched to the dry brush technique. Within days, the damaged leaves began producing new, albeit smaller, glue droplets.
Another error was over-enthusiasm. I tried to clean every single leaf in one sitting, over-handling the plant. This caused stress, evident in a slight slow-down of new growth.The fix:I learned to clean only the dirtiest leaves per session, spacing out interventions over a week. Less is more.
The 2-Week Observation: What Happened to My Sundews
I documented twoDrosera spatulataplants: one I cleaned using the above method, and one I left as a (lightly soiled) control.
- Week 1:The cleaned plant showed noticeably brighter, shinier leaves within 48 hours. New dew production was visible on cleaned leaves, appearing as tiny, sparkling dots that grew daily. Trap function returned; I observed a small gnat stuck to a previously clogged leaf. The control plant’s debris seemed to attract more dust.
- Week 2:The cleaned sundew pushed out a new flower stalk, a sign of robust health. Leaf color was a vibrant green-red. The control plant’s older, soiled leaves began to senesce (die back) faster than usual, a clear energy deficit. This aligns with the principle that plant health is holistic; a stress on one system (photosynthesis) impacts all others.
Prevention: Keeping Sundew Leaves Clean Long-Term
Cleaning is a reactive measure; prevention is proactive. I now use a top dressing of clean silica sand or long-fiber sphagnum over the soil to prevent peat splash. I water exclusively from the bottom (the tray method) to avoid soil particles bouncing onto leaves. Ensuring good air circulation in the growing area drastically reduces settling dust. These simple habitat adjustments have minimized the need for active cleaning by over 80%.
FAQ: Your Top Questions Answered
Can I use rainwater or reverse osmosis water instead of distilled?Absolutely. Rainwater and RO water are both excellent, low-mineral choices. The key is avoiding any water with dissolved solids that can leave crusty deposits. I use distilled for consistency, but clean rainwater is a fantastic free alternative.
What if the debris is an old, dried insect carcass?Resist the urge to pull it off! A sundew will naturally absorb and discard empty exoskeletons. If it’s unsightly, wait until the leaf naturally dies back. Forcing it off can tear the leaf. If you must intervene, ensure the carcass is brittle dry and use the brush-lift technique with even more care.
How often should I clean my sundew’s leaves?There’s no set schedule. I inspect my plants weekly during watering. I only intervene when I see a buildup that is clearly hindering dew production or photosynthesis—often just a few times a year for indoor plants. Outdoor plants may need slightly more frequent attention due to environmental dust.
The journey to pristine sundew leaves is one of patience and a gentle touch. It’s not about achieving sterile perfection, but about removing the barriers that prevent your plant from functioning as the incredible predator it is. By understanding the delicate nature of the mucilage, using the right tools like a soft brush, and adopting preventive measures like bottom-watering, you can ensure your sundews remain sticky, photosynthetically efficient, and stunningly beautiful. The reward is watching them thrive, their leaves gleaming with fresh dew, ready for their next meal.

发表评论