How to Propagate Sundew from Leaf Cuttings Easily: A Step-by-Step Guide from a Fellow Plant Lover
I remember staring at my single, beautiful Cape Sundew (Drosera capensis), wishing I could have more of these glistening, insect-catching wonders without breaking the bank. Buying new plants felt expensive, and seed propagation seemed slow and uncertain. That’s when I discovered leaf cuttings—a method touted as easy. But my first few attempts ended in mushy, blackened failures. It was frustrating. If you’ve ever felt that pang of disappointment seeing a propagation attempt fail, you’re not alone. The good news? After much trial, error, and two weeks of meticulous observation, I’ve cracked the code. Propagating sundews from leaf cuttings is not only possible; it can be incredibly easy and rewarding. This guide will walk you through the exact process I used successfully, including the pitfalls I faced and how you can avoid them.
Why Leaf Cuttings Are Your Best Bet for Sundew Propagation
Before we dive into the “how,” let’s talk about the “why.” As a hobbyist, I value methods that are efficient, space-saving, and have a high success rate. According to resources from the International Carnivorous Plant Society (ICPS), vegetative propagation methods like leaf cuttings preserve the exact genetic makeup of the parent plant. This is crucial for stable varieties. Compared to growing from seed, which can take years to produce a mature specimen, leaf cuttings can yield recognizable sundew plantlets in a matter of weeks. It’s a faster track to expanding your collection.

Gathering Your Propagation Toolkit: Keeping It Simple
You don’t need a fancy lab. Here’s what I gathered on my kitchen table:
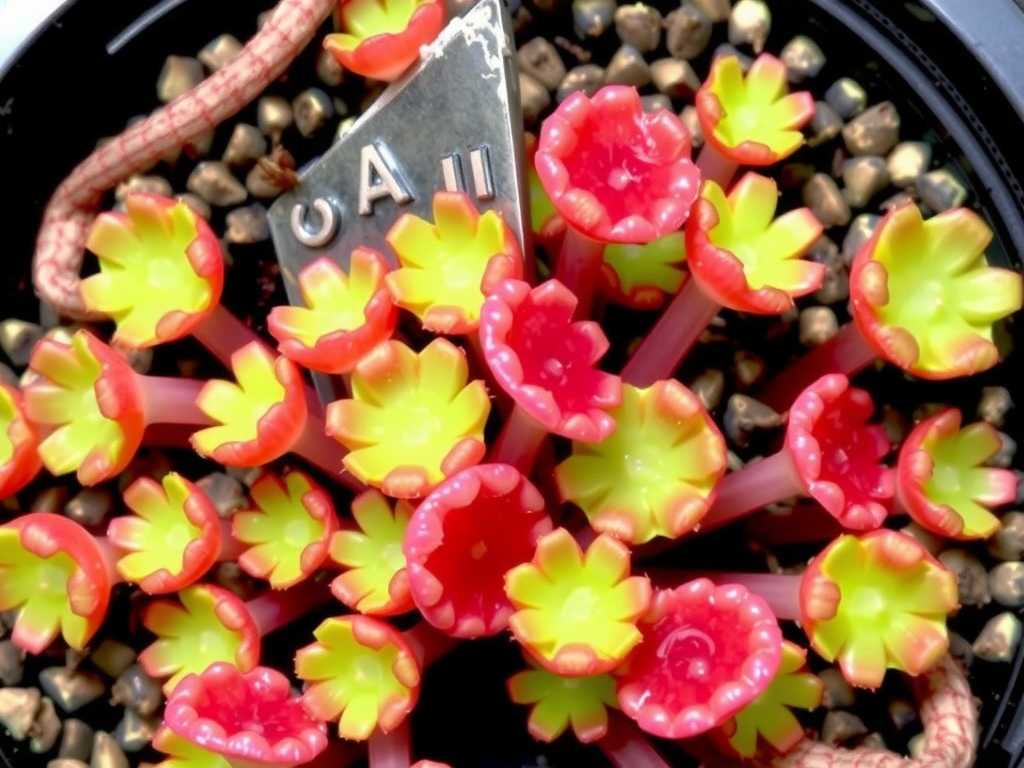
- Parent Plant:A healthy, mature sundew. I usedDrosera capensis(Cape Sundew), renowned as one of the easiest for beginners.
- Sharp Tools:Precision tweezers and a sterilized razor blade or scalpel. Sterilization with isopropyl alcohol is non-negotiable to prevent fungal infection.
- Growing Medium:Pure, long-fibered sphagnum moss, pre-soaked. I avoid peat-perlite mixes for cuttings as they can be too dense.
- Containers:Small, clear plastic pots or deli cups with drainage holes. Transparency helps monitor moisture and root development.
- Humidity Dome:A clear plastic lid or a zip-top bag. This is the secret weapon for maintaining high humidity.
- Water:Distilled, reverse osmosis, or rainwater. Tap water, with its minerals, is a silent killer for carnivorous plant cuttings.
My Step-by-Step Process for Propagating Sundew from Leaf Cuttings
This isn’t just theoretical. I followed these exact steps and documented the results over 14 days.
Selecting and Preparing the Perfect Leaf
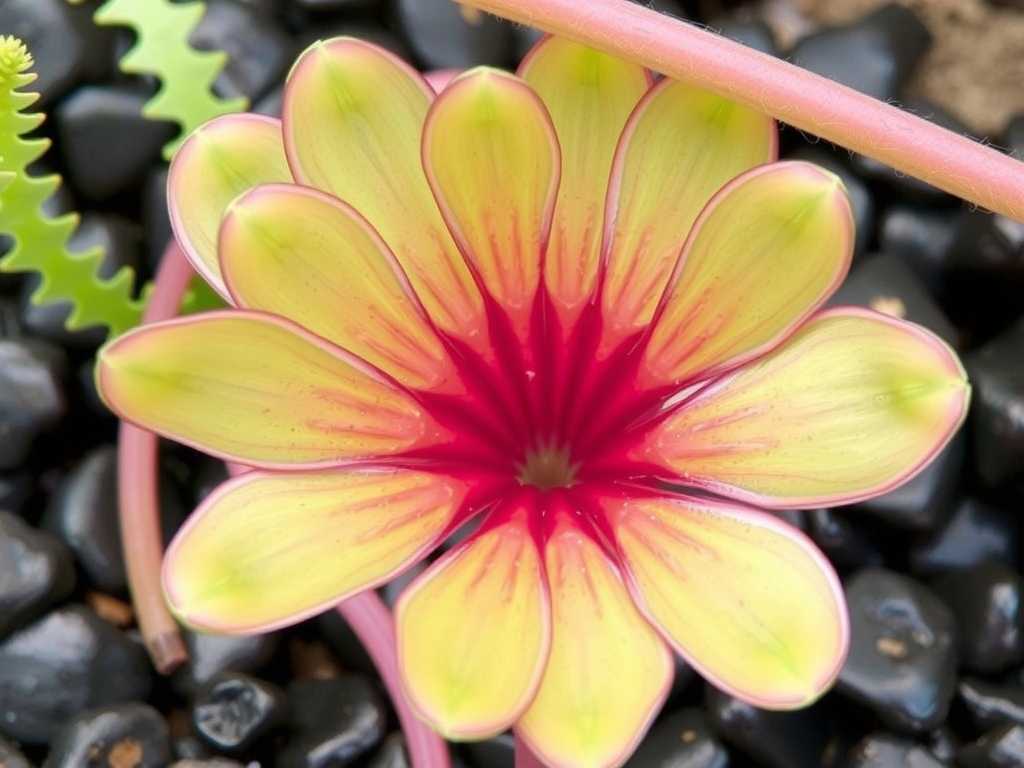
The first pitfall I ever encountered was choosing the wrong leaf. An old, tired leaf from the bottom of the plant has less energy. Now, I always select a young, healthy leaf from the middle of the rosette—one that is actively producing dew. Using my sterilized blade, I made a clean cut as close to the base of the leaf as possible without damaging the crown. The goal is to get some of the white, meristematic tissue at the leaf base, where new growth emerges.
The Cutting Technique: Lay Them Down, Don’t Bury Them
Here was my biggest “aha!” moment. Initially, I buried the leaf stalk in the moss, thinking it needed to be planted. This led to rot. The correct method, which I learned from experienced growers and confirmed through my own success, is thelay-on-top technique. I gently laid the entire leaf, dew-side up, on the surface of the pre-moistened sphagnum moss. For longer leaves, you can even cut them into 1-2 inch sections, each with some dew tentacles. Each section is a potential new plant! I used my tweezers for delicate handling.
Creating the Ideal Mini-Greenhouse Environment
Once my leaf cuttings were arranged on the damp moss, I lightly misted them with distilled water. Then, I placed the container inside a zip-top bag, leaving a small corner open for minimal air exchange. I placed this setup under my standard LED grow lights, providing bright, indirect light. No direct sun at this stage, as it could cook the cuttings inside the bag. The environment was now consistently warm (around 70-75°F) and humid—a perfect nursery.
The Two-Week Observation Diary: From Leaf to Life
This is where the magic happens. I checked on my cuttings every other day, not to fuss with them, but to observe and ensure conditions were stable.
- Days 1-3:No visible change. The leaf cuttings looked the same, perhaps a little less dewy. Patience is key.
- Days 4-7:I noticed the first signs of success! The cut ends of the leaf segments, especially at the base where the white tissue was, started to swell slightly and turn a faint green. No rot in sight—a victory compared to my past attempts.
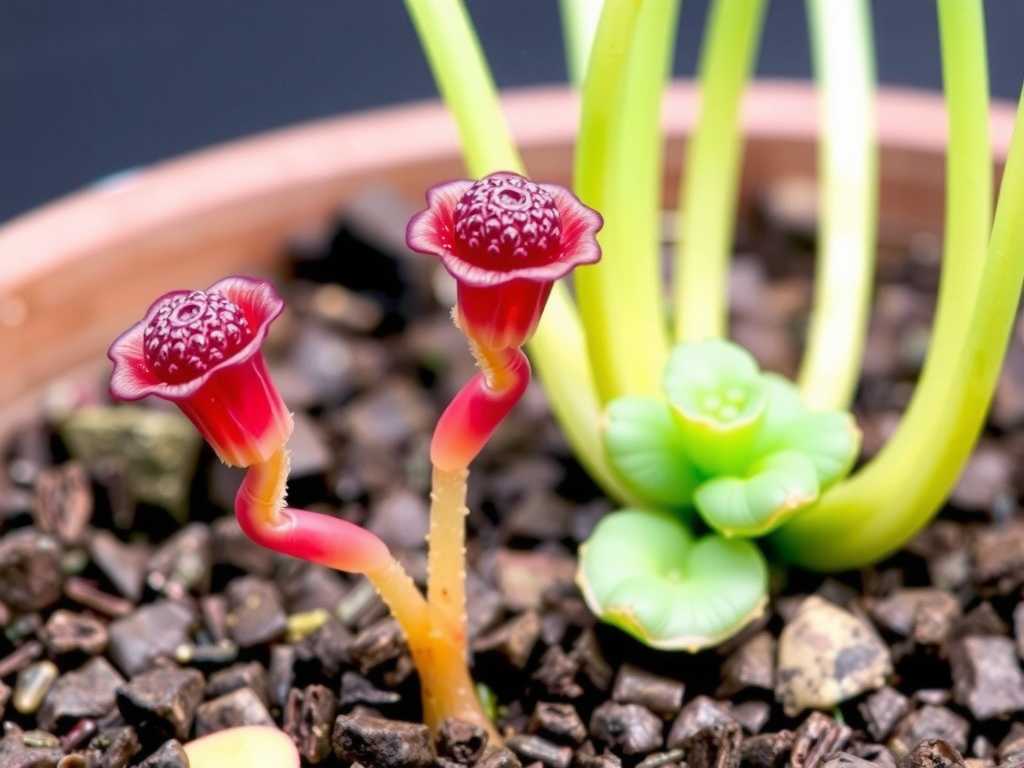
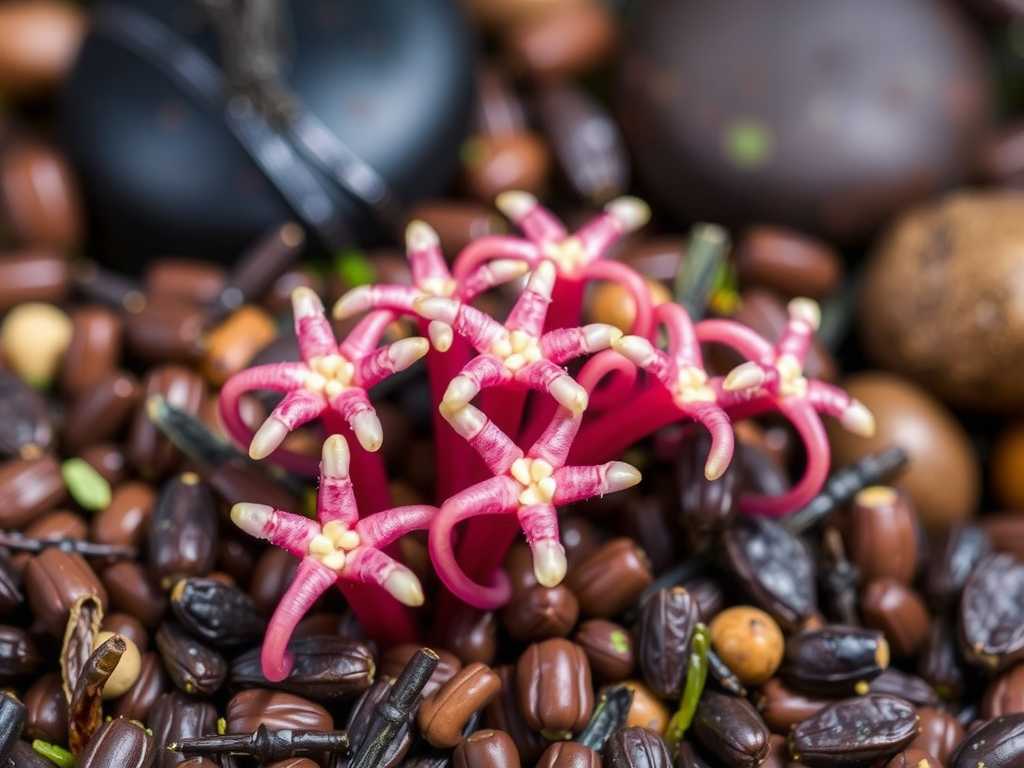
- Days 8-10:Tiny, green nubs emerged from the swollen areas. These are thesundew plantlets! They were unmistakable. Some sections produced one; others, especially the base cut, produced several.
- Days 11-14:The plantlets developed their first miniature, functional tentacles with pinpricks of dew. They were actively photosynthesizing and looked like perfect, tiny sundews. The original leaf cuttings began to brown and wither, a normal process as the new plants drew energy from them.
Troubleshooting: The Problems I Faced and How I Solved Them
My journey wasn’t flawless. Here are the hurdles I jumped:
- The Dreaded Fungus Gnats:In one setup, I saw tiny flies. Their larvae can eat tender roots. I immediately removed the affected container, let the surface moss dry slightly, and used a yellow sticky trap inside the baggie. Prevention is best—using a fresh, high-quality moss medium is crucial.
- Condensation Overload:Initially, I sealed the bag completely. This created large water droplets that fell and could crush the tiny plantlets or encourage algae. The fix was simple: I opened the bag for 15 minutes every two days to allow fresh air exchange, which regulated condensation without dropping humidity drastically.
- Slow or No Growth:My first failed cuttings suffered from this. The causes were using tap water and burying the leaf. Switching to distilled water and the lay-on-top method solved it completely.
Caring for Your New Sundew Babies
Once the plantlets have several leaves of their own (usually after 3-4 weeks), you can start acclimating them to lower humidity. I began by propping the zip-top bag open for longer periods each day over a week. Finally, I removed the bag entirely. They continued growing in their communal pot until large enough to be gently teased apart and potted individually into their own carnivorous plant soil mix.
How long does it take for sundew leaf cuttings to root?Interestingly, with the lay-on-top method, the plantlets form directly from the leaf tissuebeforesubstantial roots develop. You’ll see the baby plant first. Proper roots will establish themselves as the plantlet grows, usually becoming noticeable when you transplant them.
")
Can all types of sundews be propagated from leaf cuttings?While highly effective for many common species likeDrosera capensis,spatulata, andbinata, it may not work for all. Some tuberous or annual species have different requirements. Always research your specific sundew type, but for most beginner-friendly varieties, this method is excellent.
Why are my leaf cuttings turning black and mushy?This is almost always a sign of rot caused by excess moisture, poor air circulation, or contaminated tools. Ensure your medium is damp, not soggy, provide slight air exchange, and always sterilize your cutting instrument. Using a fresh, well-draining medium like sphagnum moss is critical.
Seeing those glistening, tiny sundews emerge from a simple leaf fragment is one of the most satisfying experiences in plant care. It demystifies propagation and fills your space with more of these fascinating carnivores. By selecting a healthy leaf, using the lay-on-top technique, and maintaining a clean, humid environment, you can reliably multiply your sundew collection. Remember, the key ingredients are patience, the right materials, and learning from the small missteps along the way. Now, go find that healthy parent plant and start your own propagation adventure
发表评论