How to Propagate Sundew in Sphagnum Moss Cuttings: A Complete Step-by-Step Guide
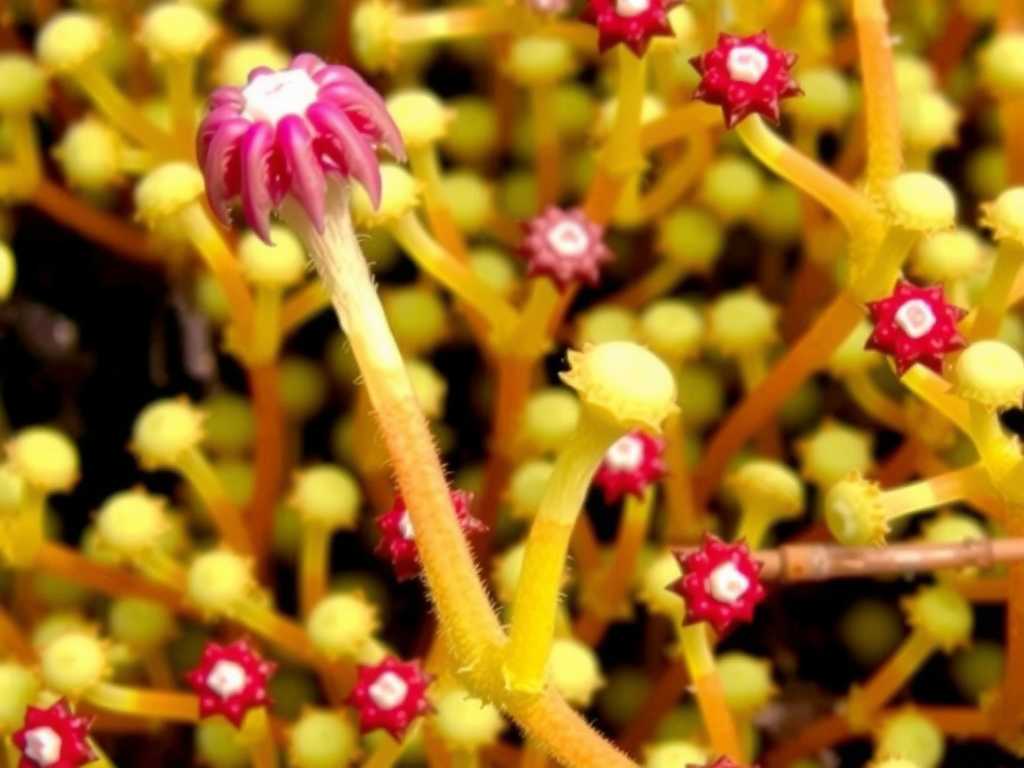
You’ve nurtured your sundew, captivated by its glistening, deadly dewdrops. Now, you want more of these fascinating carnivorous plants. But the idea of propagation seems daunting. Will seeds take months to germinate? Is dividing the plant too risky? What if your precious cuttings simply rot instead of root? These frustrations are common. Fortunately, there’s a highly effective and satisfying method perfect for beginners and experts alike: propagating sundew in sphagnum moss cuttings. This technique leverages the plant’s natural resilience and provides an ideal environment for new roots to thrive, turning one beloved sundew into many.
Why Sphagnum Moss is the Ideal Medium for Sundew Propagation

Before we dive into the how, it’s crucial to understand the why. Sphagnum moss, especially the long-fibered variety, is not just another potting material. For carnivorous plants like sundews (Drosera), it replicates their preferred acidic, low-nutrient bog conditions.
- Superior Moisture Retention and Aeration:Unlike dense soil, sphagnum moss holds incredible amounts of water while maintaining a loose, airy structure. This prevents waterlogging—a primary cause of cutting failure—while ensuring the developing stem and roots remain consistently humid.
- Natural Antifungal Properties:Sphagnum moss has mild antiseptic qualities that help suppress fungal pathogens, giving your delicate cuttings a cleaner start compared to traditional soils.
- Perfect Acidity:It creates the acidic environment sundews crave, promoting healthy root development.
As noted by horticulturist and author Barry Rice inGrowing Carnivorous Plants, “A sterile, moisture-retentive yet well-aerated medium like live or rehydrated sphagnum moss can dramatically increase the success rate for vegetative propagation of most Drosera species.”
Essential Tools and Materials You’ll Need
Gathering the right supplies beforehand sets you up for success. You won’t need specialized equipment.
- Healthy Mother Plant:Choose a vigorous sundew with strong, green growth.
- Sharp, Sterilized Tools:Precision scissors or a razor blade. Wipe with isopropyl alcohol to prevent disease transfer.
- Sphagnum Moss:Long-fibered sphagnum moss is best. You can use premium dried moss (soaked) or live sphagnum moss.
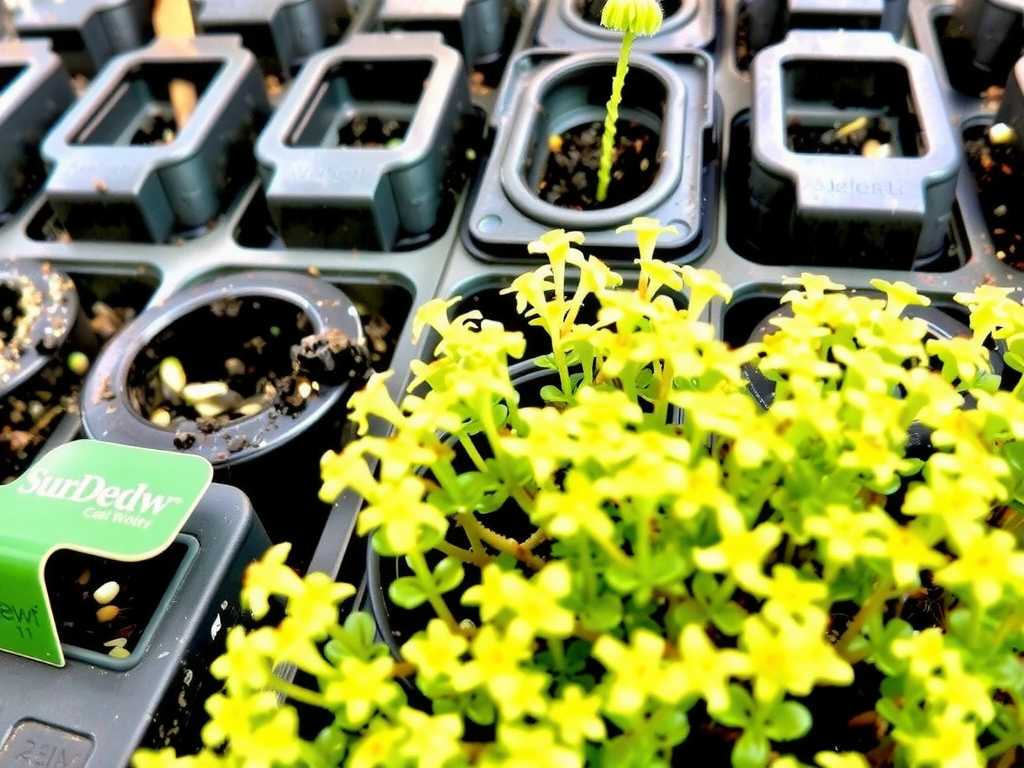
- Propagation Containers:Small pots, deli cups, or clear plastic containers with lids (to create a mini-greenhouse).
- Water:Distilled, rainwater, or reverse osmosis water only. Tap water contains minerals that can harm sundews.
- Optional but Helpful:A spray bottle for misting and a rooting hormone (powder or gel form suitable for delicate plants).
Step-by-Step Guide to Propagating Sundew from Leaf Cuttings
This section details the core process of creating sundew cuttings. We’ll focus on leaf pullings and stem cuttings, the most reliable methods forpropagating sundew plantsin a moss medium.
Step 1: Preparing Your Propagation Medium
Start by preparing your sphagnum moss. If using dried moss, soak a generous handful in distilled water for 20-30 minutes until fully rehydrated. Squeeze it gently to remove excess water—it should be damp like a wrung-out sponge, not dripping. Loosely fill your small pots or containers with the moss, creating a soft bed. For live sphagnum, simply ensure it is moist and plant directly.
Step 2: Taking the Cuttings Correctly
The goal is to obtain cuttings with a viable growth point.
- For Leaf Pullings (Excellent for rosette-forming sundews like D. capensis):Gently grasp a healthy, outer leaf near its base. Pull it downward and sideways, aiming to get as much of the white leaf base (the petiole) as possible. This basal tissue contains meristematic cells capable of forming new plantlets.
- For Stem Cuttings (Ideal for trailing species like D. madagascariensis):Using sterilized scissors, snip a 2-3 inch section of a healthy stem. Remove any leaves from the lower half of the cutting.
Step 3: Planting and Creating the Ideal Environment
Now for the key act ofgrowing sundews from cuttingsin their new medium.
")
- Planting:For leaf pullings, lay the leaf flat on the surface of the damp sphagnum moss, pressing the white base lightly into contact. For stem cuttings, make a small hole in the moss and insert the bare stem section.
- Hormone (Optional):If using rooting hormone, dip the cut end or base in the powder before placing it on the moss.
- The Humidity Dome:This is critical. Cover the container with a clear plastic lid or place it inside a sealed plastic bag. This creates a mini-terrarium, maintaining near 100% humidity, which drastically reduces water stress on the cutting.
Step 4: Post-Propagation Care and Monitoring
Place your setup in a location with bright, indirect light. Avoid direct, hot sun which can cook the cuttings inside the dome. The temperature should be warm, ideally between 70-80°F (21-27°C).
- What to Expect:Keep the sphagnum moss consistently damp. Condensation on the dome is good. Within 2-6 weeks, you should see tiny green plantlets emerging from the base of your leaf cutting or nodes of your stem cutting. Fungus or mold is rare but if it appears, increase air circulation slightly.
- The Transition:Once several small sundews have formed and grown for a few weeks, you can begin to acclimate them to lower humidity. Crack the lid open gradually over a period of 1-2 weeks before removing it completely.
Troubleshooting Common Sundew Propagation Issues
Even with care, sometimes challenges arise. Here’s how to address them.
- Cuttings Turning Black/Rotting:This is usually due to excessive moisture or contaminated tools. Ensure your moss is damp, not soggy, and always sterilize your cutting instrument.
- No Growth After Several Weeks:Be patient. Some species are slower. Ensure warmth and adequate light. The cutting may still be developing roots unseen in the moss.
- Algae Growth on Moss:While unsightly, algae is usually not harmful. It indicates ample light and moisture. You can carefully remove the top layer of moss or scoop it out with a spoon.
When and How to Transplant Your New Sundew Plants
Your successfulsundew sphagnum moss propagationeffort will eventually lead to the need for transplanting. Wait until the plantlets are about the size of a dime and have established their own root systems. Gently tease apart the moss to free the young sundew, trying to keep its delicate roots intact. Plant it into its permanent pot filled with a standard carnivorous plant mix (e.g., a 50:50 peat moss and perlite blend) or continue growing it in pure sphagnum. Care for it as you would a mature sundew: tray watering with distilled water, plenty of light, and a steady diet of small insects.
Frequently Asked Questions
Can I propagate any type of sundew using this moss cutting method?While the vast majority of sundew species respond well to leaf or stem cuttings in sphagnum moss, there are exceptions. Some tuberous or annual species have specific reproductive cycles and may not propagate this way. For common varieties like Cape Sundew (Drosera capensis), Spoon-leaved Sundew (D. spatulata), or most tropical species, this method is exceptionally reliable.
Is live sphagnum moss better than dried for propagation?Both work very well. Live sphagnum moss is fantastic as it actively grows and can create a beautiful, self-sustaining ecosystem. However, high-quality dried long-fiber sphagnum moss is more readily available, sterile, and easier for beginners to manage. The choice is one of personal preference and availability.
How long does it take to get a mature plant from a cutting?Timeline varies by species and conditions. You may see plantlets in as little as 2-3 weeks. From there, with optimal care, you can have a flowering-sized mature sundew in approximately 6-12 months. The process from cutting to established plant is significantly faster than growing from seed.
Propagating sundews in sphagnum moss is a rewarding gateway to expanding your collection. By understanding the needs of the cutting and providing the consistent moisture and humidity that sphagnum uniquely offers, you turn a single leaf into a testament to the plant’s remarkable will to live. Start with a hardy species, follow these clear steps, and soon you’ll be sharing the wonder of these sticky, carnivorous gems with fellow enthusiasts.


发表评论