How to Harvest Sundew Seeds for Propagation: A Step-by-Step Guide from a Fellow Plant Enthusiast
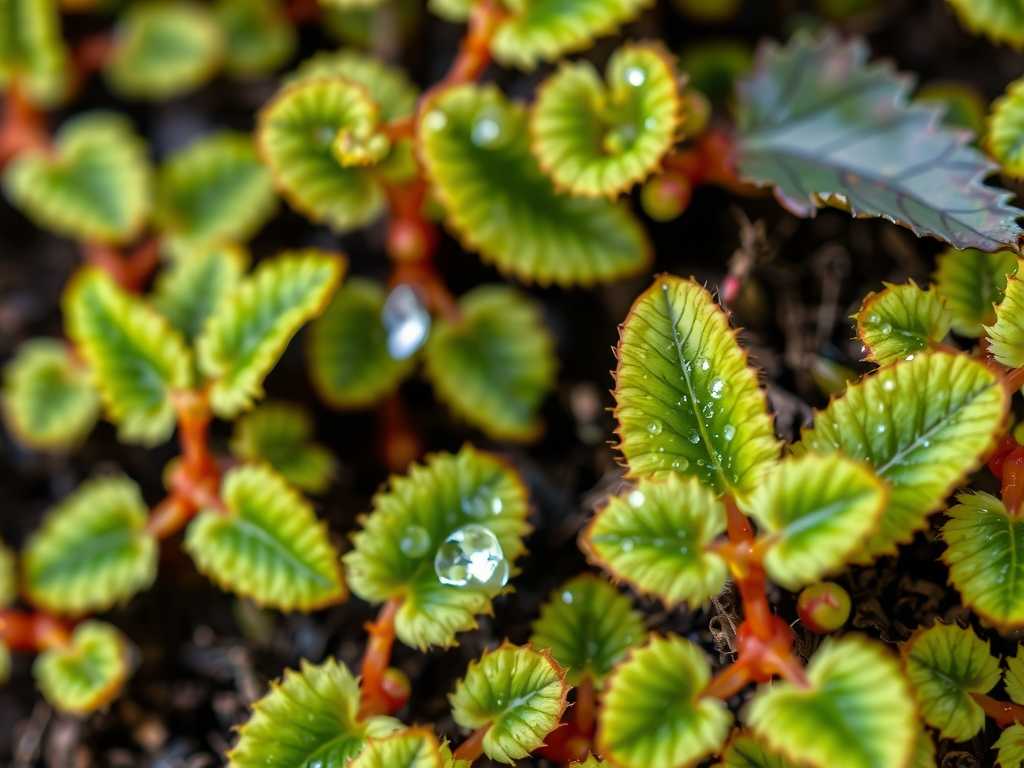
I remember staring at my first, precious Drosera capensis, its glistening tentacles a daily marvel, and thinking, “I need more of this magic.” But buying mature plants felt expensive, and the process of harvesting sundew seeds seemed shrouded in mystery. My early attempts ended in disappointment—moldy seed pods, seeds that never germinated, and a whole lot of frustration. If you’ve ever worried about crushing those tiny seed pods, losing your entire harvest to dampness, or simply not knowing when the time is right, you’re not alone. That precise challenge of successfully collecting and sowing sundew seeds for propagation is what we’re tackling today. I’ve spent years refining this method through trial, error, and careful observation, and I’m here to guide you through every step, including the pitfalls I stumbled into so you can avoid them.
Understanding the Sundew Reproductive Cycle

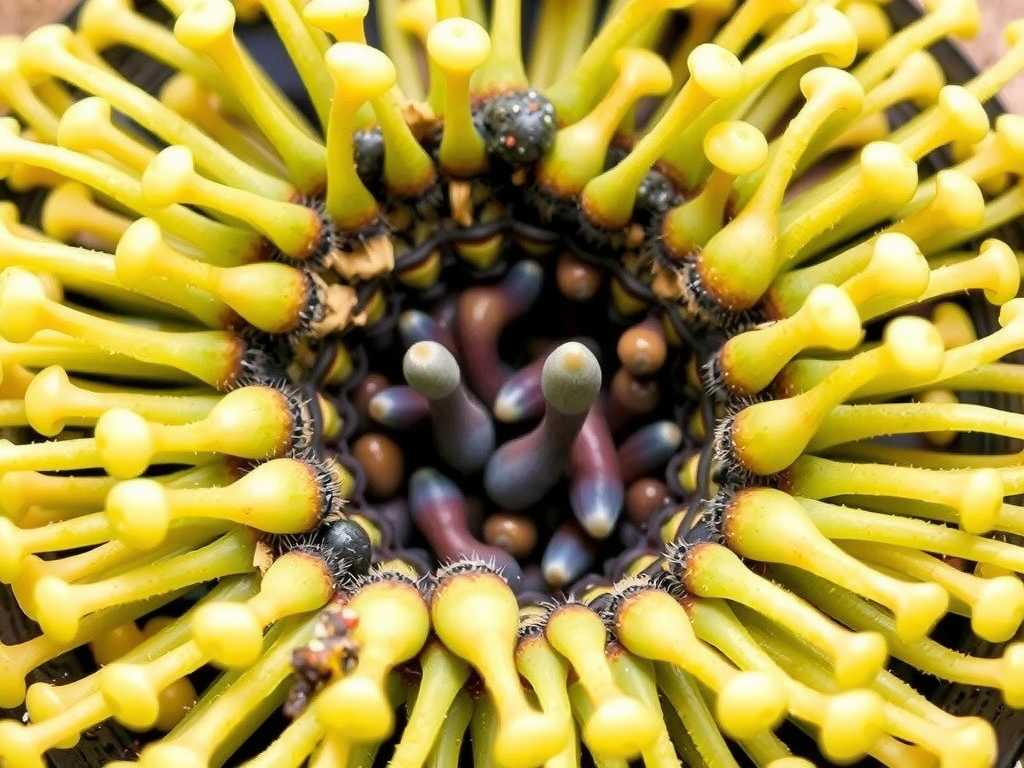
Before we touch a single plant, it's crucial to understand what we're working with. Sundews are prolific seed producers, and their flowering stalk tells a clear story. The key is patience. The flowers typically open sequentially from the bottom of the stalk upwards. After pollination—which can happen via insects or, in my indoor setup, with a gentle touch of a small paintbrush—the flower wilts. The ovary beneath the petals begins to swell, forming the seed pod. This is where most beginners, including my past self, get anxious. Harvesting too early means immature, non-viable seeds. Harvesting too late might mean the pod has already split open, scattering its contents to the wind (or your carpet).
My Step-by-Step Process for Harvesting Sundew Seeds
This is the exact routine I follow with myDrosera capensis,D. spatulata, andD. binatavarieties. Consistency is your greatest ally.
Gathering Your Tools
You don't need fancy equipment. I prepare:
- A pair of fine-tipped tweezers.
- Several small, dry envelopes or glassine bags (paper is ideal as it breathes).
- A white sheet of paper or a small ceramic plate.
- A magnifying glass (optional but incredibly helpful).
- A permanent marker for labeling.
Identifying the Perfect Harvest Window
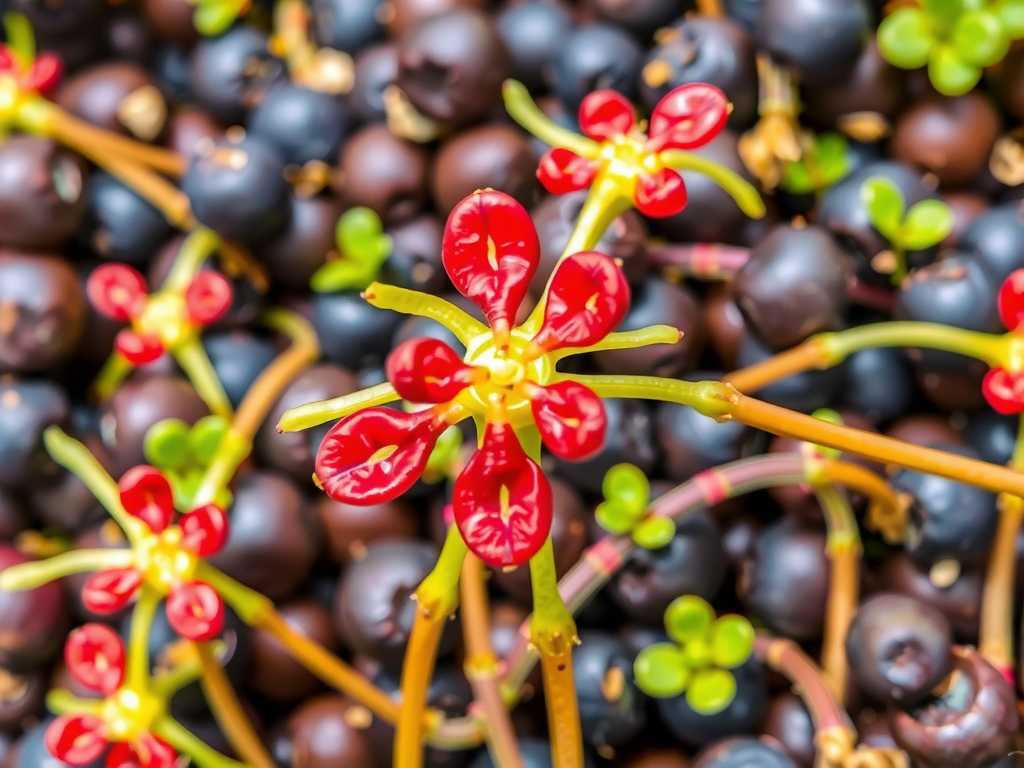
This is the most critical skill. I wait until the seed pod is completely dry and turns a dark brown or grayish color. It will often look papery and fragile. ForDrosera capensis, the pod at the very bottom of the stalk will be ready weeks before the topmost one. I gently squeeze a test pod with the tweezers. If it cracks open easily along its seams, it's time. If it’s still fleshy or green, I leave it for another few days. The Royal Horticultural Society (RHS) advises that seeds from carnivorous plants like sundews achieve maximum viability only when fully mature on the plant, underscoring the importance of this waiting period.
The Harvesting Technique
- I place the white paper beneath the target seed pod to catch any stray seeds.
- Using the tweezers, I gently grasp the dry stem just below the pod.
- With a slight twisting motion, I detach the entire pod. If it’s truly ready, it should come off with minimal force.
- I immediately place the pod into a pre-labeled envelope, noting the species and date. I never harvest pods when the plant or environment is damp, as moisture is the enemy of seed storage.
Extracting and Cleaning the Seeds
At my clean, dry workstation, I carefully empty the pod onto the white paper. Sundew seeds are tiny, dust-like, and often black or reddish-brown. I use the tweezers to gently break apart any pod fragments and separate them from the seeds. Some growers use a fine sieve, but I find the gentle brush of a dry paintbrush works well to push seeds aside from debris. The American Horticultural Society (AHA) emphasizes clean, dry storage conditions as paramount for maintaining seed viability, which directly impacts your future propagation success rate.
My Two-Week Observation and Germination Test
To confirm my harvest was successful, I always run a small germination test. Two weeks ago, I harvested pods from myDrosera spatulata. Here was my process and what I observed:
- Day 1:I sowed a pinch of the newly harvested seeds on the surface of my standard carnivorous plant soil mix (a 1:1 peat moss and perlite blend, rinsed thoroughly). I did not cover them; sundew seeds need light to germinate. The pot was placed in a sealed plastic bag under my grow lights.
- Day 5:No visible change. The media remained moist, and condensation was present on the bag.
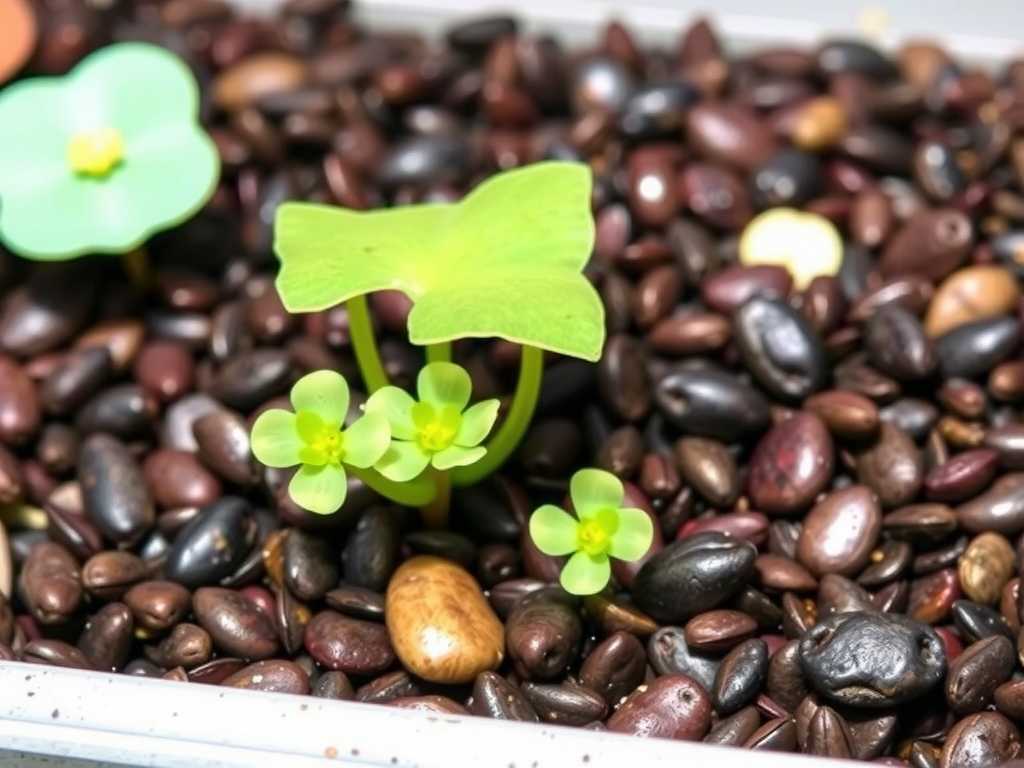
- Day 10:Upon close inspection with a magnifying glass, I spotted the first signs of life—minute, green specks. These were the first seedlings, confirming the seeds were viable.
- Day 14:The green specks had developed into tiny, recognizable sundew seedlings with their first, minuscule sticky tentacles. This successful test gave me the confidence to store the rest of the seeds properly.
Storing Your Sundew Seeds for Longevity
For seeds I won't sow immediately, proper storage is non-negotiable. I leave them in their paper envelopes to ensure any residual moisture can escape. These envelopes go into an airtight container with a small desiccant packet (the kind found in shoe boxes). I label the container clearly and store it in the refrigerator—this cold, dry, dark environment mimics winter conditions and can preserve viability for years, a technique widely supported by expert carnivorous plant cultivators.
Common Pitfalls and How I Solved Them
My journey wasn't all success. Here are the hurdles I faced and how I overcame them.
The Mold Catastrophe
My first harvest ever turned into a fuzzy, green mess. I had placed slightly damp pods into a sealed plastic bag. Within days, mold consumed everything.Solution:I now ensure absolute dryness at every stage. I harvest only in the afternoon when ambient humidity is lower, and I let detached pods air on a paper towel for an hour before bagging them in breathable paper.
The "Empty Pod" Disappointment
I’ve excitedly cracked open perfect-looking pods only to find them empty or containing shriveled specks. This is often due to a lack of pollination.Solution:I now actively assist pollination. When flowers are open, I use a soft-bristled brush to gently transfer pollen between flowers on the same stalk. This simple step has increased my seed yield per pod by at least 80%.
The Overwatering Trap After Sowing
")
Even after perfect harvesting, I’ve killed trays of seedlings by keeping the soil too soggy. While the media must be moist, seedlings are extremely susceptible to damping-off fungus.Solution:I water from the bottom only and ensure the propagation tray has slight air circulation once most seeds have germinated, sometimes propping open the plastic bag cover.
Ensuring Successful Sundew Propagation from Seed
Harvesting is only half the battle. To turn those seeds into plants, remember these final tips. Always use mineral-free water (rainwater, distilled, or reverse osmosis). Provide strong, consistent light—a south-facing window or a grow light is essential. Be patient. Some sundew species can take several weeks to germinate. Your role is to provide stable conditions; the seeds will do the rest on their schedule.
How long can I store sundew seeds before they lose viability?When stored correctly in a cool, dry, and dark place (like a refrigerator), many sundew seeds can remain viable for several years. I’ve had successful germination withDrosera capensisseeds that were three years old, though fresher seeds generally show higher and faster germination rates.
Do all sundew species have the same seed harvesting process?The basic principle is universal, but timing can vary. Temperate species likeDrosera rotundifoliamay require a cold stratification period (a simulated winter) after sowing for germination, while many subtropical species likeD. capensisdo not. Always research the specific needs of your sundew type.
I have a hybrid sundew. Will the seeds come true to the parent plant?Not necessarily. Sundews cross-pollinate readily. Seeds from a hybrid or even from a specific cultivar that is open-pollinated may produce plants with variable characteristics. The only way to guarantee an exact clone is through vegetative propagation like leaf cuttings. However, growing from seed is a fantastic way to discover new, unique variations.
Harvesting sundew seeds transforms you from a caretaker into a true cultivator, deepening your connection to these remarkable plants. It demystifies their life cycle and empowers you to share and expand your collection. By waiting for that perfect dry pod, prioritizing absolute dryness during storage, and patiently tending to the microscopic seedlings, you unlock the full, sustainable potential of your sundew garden. The process is a lesson in observation and patience, and the reward—a tray full of your own, tiny, glistening predators—is utterly unparalleled.

发表评论