How to Fix Sundew Soil Being Too Compact: A Complete Restoration Guide
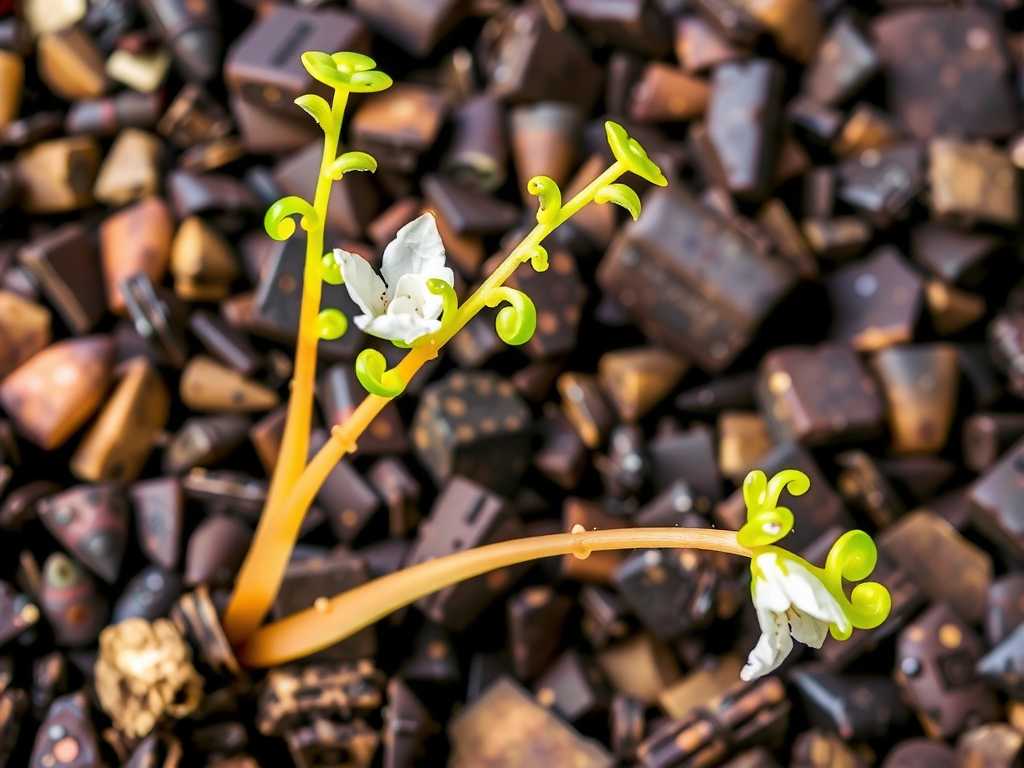
That feeling of dread when you water your sundew and instead of a quick soak, the water just pools on top, slowly seeping in… or worse, not at all. You notice your once-vibrantDroseralooking stunted, its sticky tentacles less dewy, and growth has seemingly halted. The culprit is often silent but deadly for these carnivorous plants:sundew soil being too compact. Dense, compressed soil suffocates the delicate, moisture-loving roots, creating a hostile environment that leads to root rot and decline. This guide is your hands-on solution. We’ll walk you through not justhow to fix compacted sundew soil, but how to prevent it from ever happening again, ensuring your insect-trapping marvel thrives.
Understanding Why Your Sundew’s Soil Has Hardened

Before you start fixing the problem, it’s crucial to understand what caused it. Sundews (Drosera) are not your average houseplants. They have evolved to grow in nutrient-poor, perpetually damp, andaeratedsoils like peat bogs. Their root systems are fine and primarily serve for anchorage and water uptake, not for battling through dense clay.
The primary cause ofcompacted carnivorous plant soilis the breakdown of the growing medium and poor watering practices. A standard sundew mix of peat moss and perlite/sand is loose and fluffy when new. Over time, several factors conspire against it:
- Peat Moss Breakdown:Quality peat moss is fibrous. Lower-grade or old peat can decompose into finer particles that settle and pack down tightly.
- Watering Technique:Top-watering with a hard stream, rather than bottom-watering, physically pounds the soil surface, driving particles together.
- Mineral Buildup:Using tap water (which contains minerals and salts) is a death sentence for sundews. As the water evaporates, these minerals cement the soil particles together into a hard, toxic crust.
- Lack of Aeration:Pure peat without sufficient drainage agents like perlite or horticultural sand will naturally compact over time.
Step-by-Step: How to Fix and Replace Compacted Sundew Soil
When the soil is a solid brick, a simple poke won’t suffice. A full soil revival or replacement is needed. Here’s the authoritative, experience-backed method.
Assess the Severity of CompactionFirst, perform a simple test. Gently try to insert a wooden skewer or your finger into the soil away from the plant. If you meet immediate, firm resistance within the first inch, the compaction is severe. If the plant is still somewhat healthy but struggling, intervention is urgent. If it’s already in severe decline, this repotting process is its best chance for survival.
Gather Your Supplies (The Right Way)Using the correct materials is 90% of prevention. You will need:
")
- New Pot:Only 1-2 inches wider than the root ball. A deep pot encourages downward compaction. Unglazed terracotta or plastic with ample drainage holes are fine.
- Soil Components:Sphagnum peat moss(low-salt, horticultural grade) andhorticultural perliteorsilica sand(washed and sterilized).Neveruse potting soil, compost, or fertilized mixes.
- Pure Water:Distilled, reverse osmosis (RO), or rainwateronly.
- Tools:Trowel, bowl for mixing, and a pair of fine tweezers or chopsticks.
The Gentle Extraction and Root InspectionWater the plant lightly to slightly loosen the root ball’s edge. Tip the pot sideways and gently coax the plant out. Do not pull by the leaves. Once out, you’ll likely see a dense, hard mass. This is where expertise comes in. Carnivorous plant expert and author, Dr. Barry Rice, notes inGrowing Carnivorous Plants, “The roots are often the least important part… focus on preserving the crown and leaves.” Your goal is togentlyremove the old, compacted soil.
- Soak the root ball in a bowl of pure water for 15-30 minutes to soften it.
- Using a gentle stream of water from a spray bottle or a slow tap, carefully wash away the old soil from the roots. Use tweezers to pick away stubborn clumps.
- Inspect the roots. Healthy sundew roots are typically dark but firm. Rotted roots are mushy, black, and slimy. Trim any rotten parts with sterilized scissors.
Mixing and Preparing the Perfect Loose Soil BlendThis is your long-term fix. The ideal mix for preventinghard sundew soilis a 1:1 ratio of peat moss to perlite/sand. In a large bowl, pre-moisten the peat moss with your pure water until it’s damp but not soggy. Then, thoroughly mix in the perlite. The perlite creates permanent air pockets, ensuring structure and preventing compaction. The mix should be loose, fluffy, and crumbly.
Repotting for Success and Future AerationPlace a layer of your new mix in the bottom of the clean pot. Position the sundew so its crown (where leaves emerge) is right at the soil surface—not buried. Gently fill in around the roots with the new mix. Do not pack it down. Tap the pot lightly on the table to settle the soil naturally. Water thoroughly from the top initially to eliminate air pockets, then henceforth rely on thebottom-watering method: place the pot in a saucer or tray and keep 0.5 to 1 inch of pure water in it at all times. This allows the soil to wick moisture upward evenly without compacting the surface.
Proactive Care: How to Prevent Soil Compaction in Sundews
Fixing the problem once is great; ensuring it never returns is the mark of an experienced grower.
Master the Bottom-Watering TechniqueThis is the single most effective practice. By always maintaining water in the tray, you create a consistent moisture gradient. The soil surface remains slightly drier and looser, while the lower roots have constant access to water. It completely eliminates the compacting force of top-watering.
Conduct Seasonal Soil RefreshesEven with perfect care, soil breaks down. Every 12-18 months, consider a proactive “refresh.” You don’t always need a full repot. Gently loosen the top inch of soil with a chopstick and carefully top-dress with a small amount of fresh peat-perlite mix. This improves surface aeration.
Choose and Maintain the Right Soil AmendmentsNot all perlite is equal. Super-fine perlite dust can wash away and compact. Use a medium-grade horticultural perlite. For a more natural look, opt for coarse silica sand (aquarium sand works if well-rinsed). These inorganic components do not decompose and are your best defense againstdense sundew growing medium.
Monitor Your Water Source ReligiouslyInvest in a TDS (Total Dissolved Solids) meter. It’s an inexpensive tool that provides experience-based data. Your water should read below 50 ppm (parts per million). Tap water often reads 200-500 ppm. Those extra minerals are what cement your soil. Seeing a high TDS reading explains the white crust or hard soil and confirms you must switch to pure water.
FAQ: Addressing Your Sundew Soil Concerns
Can I just loosen the compacted soil without repotting?For very mild surface compaction, you cancarefullyaerate the top half-inch with a sterile skewer. However, if water runs off the surface or the plant is stressed, the compaction is likely deep and systemic. A full soil replacement, as outlined above, is the only reliable cure to fully restore a healthy root environment.
What is the absolute best soil mix to prevent compaction?A long-standing, expert-recommended formula is a1:1 ratio of sphagnum peat moss to horticultural perlite. For certain species that prefer excellent drainage (like many Australian varieties), a 1:1:1 mix of peat, perlite, and silica sand is excellent. The key is the high percentage of non-degradable, chunky aeration agents.
My sundew soil has white crust on top. Is that the same as compaction?This is a related symptom and a major warning sign. The white crust is mineral/salt buildup from using improper water. This crust actively contributes to compaction by binding soil particles. You must leach the pot by repeatedly flushing it with a large volume of pure water (until it runs freely from the drainage holes), or better yet, repot into fresh medium and immediately switch to pure water only.
Seeing your sundew struggle in concrete-like soil is worrying, but it’s a common and fixable issue. The journey back to health begins with understanding the unique needs ofDrosera—their requirement for mineral-free water, constant moisture from below, and most critically, an oxygen-rich root zone. By replacing the compacted medium with a loose, airy blend of peat and perlite and committing to the bottom-watering method, you’re not just solving an immediate problem. You’re creating the stable, bog-like foundation that allows these fascinating carnivorous plants to put their energy into what they do best: growing lush, sticky traps and thriving for years to come.

发表评论