 bluename
 How to Care for Sundew Seedlings (Young Plants): A Grower’s Diary from Sowing to Success
I remember the excitement of receiving my first packet of sundew seeds, followed immediately by a wave of anxiety. These weren't your average marigolds. I had dreamed of cultivating these glistening, carnivorous wonders, but the tiny, dust-like seeds and horror stories of mold and failure from online forums were daunting. The core challenge was clear: how do you nurture something so seemingly fragile from infancy to a robust, dewy adult? If you're holding your own seeds or tiny seedlings, feeling that same mix of hope and worry, you're in the right place. I successfully navigated this journey, and over the next sections, I'll share my exact process, the critical observations from a two-week monitoring period that made all the difference, the mistakes I made, and how I fixed them.
Understanding Your Sundew Seedlings' World
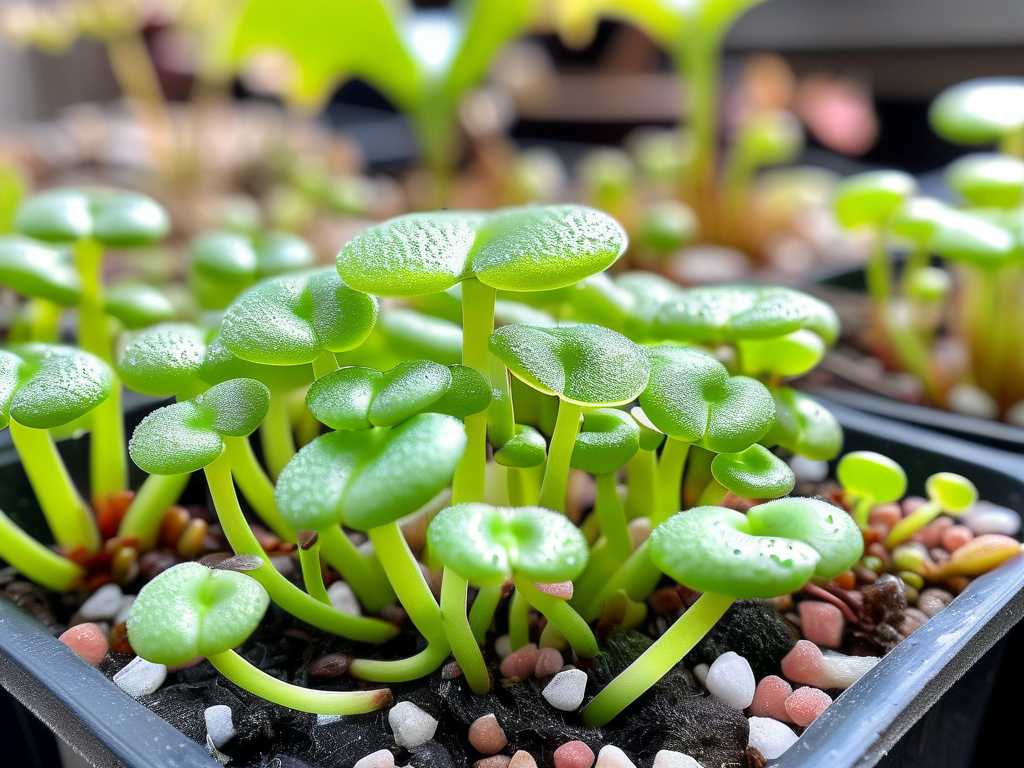
Before we touch a single seed, it's crucial to think like a sundew. These plants, primarily from the genus Drosera, evolve in nutrient-poor, soggy environments. Their sticky tentacles are an ingenious adaptation to catch insects for sustenance. For seedlings, this means their needs are hyperspecific from day one. Getting the foundation wrong is the primary reason for early failure.
My Step-by-Step Guide to Germination and Early Care
Here is the exact protocol I followed, built from research and refined through trial and error.
Creating the Perfect Germination Bed
I completely abandoned the idea of standard potting soil. It's fatal for these specialists. My mix was a long-fiber sphagnum moss, soaked and then thoroughly squeezed until it was damp, not dripping wet. I placed this in a clean, transparent plastic container with a clear lid – a mini greenhouse. According to the Carnivorous Plant Society (CPS), a highly regarded authority, sphagnum moss provides the ideal acidic pH, moisture retention, and airiness needed for delicate carnivorous plant roots. I gently pressed the seeds onto the surface; they need light to germinate, so no burying allowed. The lid went on, and the container was placed under a bright LED grow light for about 14 hours a day, avoiding direct, scorching sun at this stage.
The First Two Weeks: A Daily Diary of Growth and Peril
This period is non-negotiable for close observation. Here’s what my two-week monitoring log looked like:
- Days 1-4: Nothing visible. My job was to ensure the moss surface glistened with condensation on the lid. No watering needed.
- Days 5-7: The first sign! Tiny, green pinpricks appeared. These were the cotyledons (seed leaves). Excitement was high.
- Days 8-10: More seedlings emerged. Here, I encountered Problem #1: Algae Growth. A faint green film started on the moss near the container edge. Algae competes with seedlings. My Solution: I carefully used tweezers to place a small piece of dry sphagnum over the algae patches to smother it, increased air circulation by propping the lid open slightly for an hour each day, and ensured my water was distilled (tap water minerals fuel algae).
- Days 11-14: True leaves began forming, and the first hint of red tentacles developed. Problem #2: Damping Off. One cluster of seedlings looked weak and collapsed at the base. This fungal issue is a common killer. My Solution: I immediately removed the affected seedlings with sterilized tweezers. I applied a gentle fungicide recommended for seedlings (like a diluted sulfur-based one) by misting it lightly from a distance. Most importantly, I stopped keeping the medium sopping wet, allowing the very top surface to just begin to dry before re-misting.
Transplanting the Tiny Survivors
After about 6 weeks, when they had several true leaves, it was time to move them. I prepared a permanent home: a plastic pot with drainage holes, filled with a 1:1 mix of peat moss and perlite, pre-moistened with distilled water. Using a damp toothpick, I lifted each seedling, roots and all, and made a small hole in the new medium. Gently firming them in, I placed the pot in a tray of distilled water (the "tray method") and back under strong light. The American Horticultural Society's (AHS) guide to bog plants confirms that this consistent bottom-watering is key to mimicking their natural hydrology.
Essential Care Pillars for Thriving Young Sundews
Water is Everything: The Right Source and Method
Never, ever use tap water. The salts and minerals will burn the roots and kill your plant. I use only distilled, reverse osmosis, or rainwater. The tray method is foolproof: keep 0.5 to 1 inch of water in the tray at all times for most temperate sundews. This was the single biggest factor in my success after the algae scare.
Light: The Source of Their Glisten
Sundews don't just tolerate bright light; they demand it to produce their sticky, mucilaginous dew. My seedlings under a strong LED light grew compact, colorful, and dewy. Those on a windowsill became leggy and pale, reaching for more sun. Aim for at least 12-14 hours of bright, direct light daily. A south-facing window or a dedicated grow light works best.
Feeding and Fertilization: A Delicate Balance
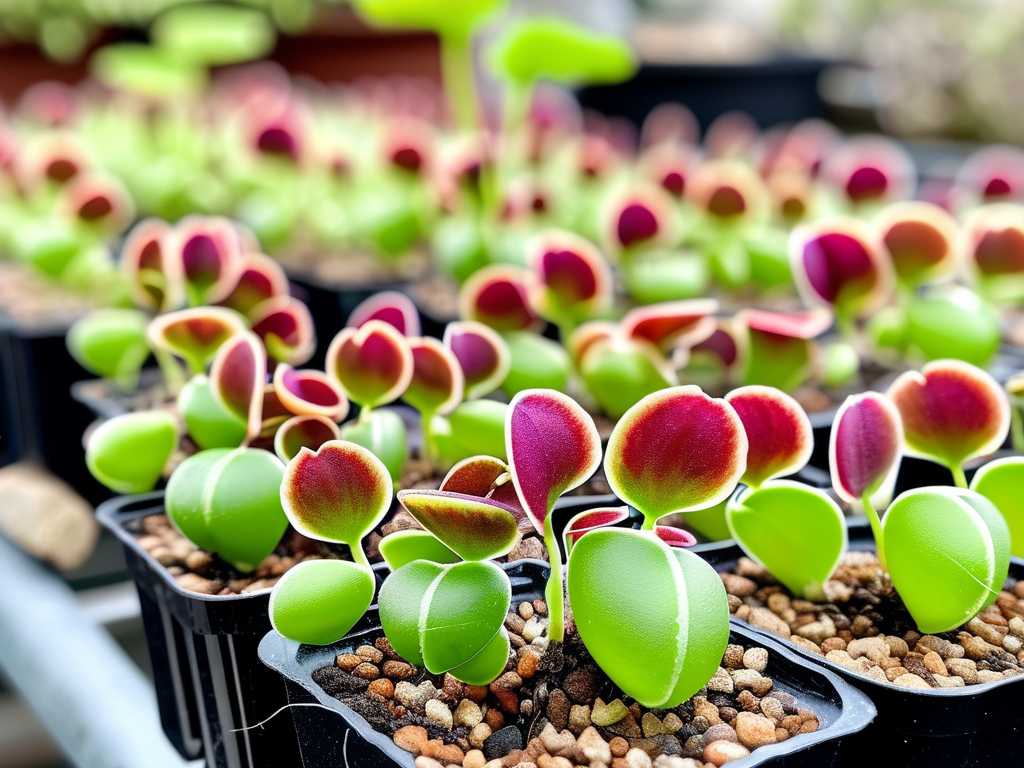
You do not need to fertilize the soil. In fact, it's harmful. Their nutrition comes from insects. For my seedlings indoors, I faced Problem #3: No Insects. Without food, growth was stunted. My Solution: Every 2-3 weeks, I would take a single, tiny dried bloodworm (fish food) or the leg of a small insect, and using moistened tweezers, gently place it on one or two leaves of the largest seedling. The reaction was fascinating! The leaf slowly curled over its "prey." This targeted feeding supercharged their growth. Over-fertilizing or using the wrong type is a classic mistake; less is definitively more.
Troubleshooting Common Sundew Seedling Problems
- No Dew: Almost always due to insufficient light, low humidity, or the wrong water. Fix the light first.
- Mold/Fungus: Increase air circulation, remove affected parts immediately, and consider a gentle fungicide. Ensure you're not over-watering.
- Stunted Growth: Check for pests like aphids (a quick spray with diluted insecticidal soap works), ensure consistent watering with the correct water type, and consider a microscopic feeding.
Frequently Asked Questions by New Growers
How often should I water my sundew seedlings? For the germination stage in a covered container, you likely won't need to water. Once transplanted, use the tray method. Keep the tray filled with 0.5-1 inch of distilled water and top it up as it evaporates. The medium will wick up what it needs.
Can I grow sundew seedlings on a windowsill? You can, but results vary. A very bright, unobstructed south-facing window might work. However, most windowsills don't provide enough consistent intensity or duration of light, leading to weak, non-dewy plants. A simple LED grow light guarantees success.
When will my seedlings look like mature sundews? Patience is key. Depending on the species, it can take 6 months to a year or more to reach maturity. The joy is in watching the gradual transformation from a tiny speck to a rosette of glistening leaves. The care you give in these first few months sets the stage for a spectacular adult plant.
Caring for sundew seedlings is a lesson in attention and precision. It teaches you to observe subtle changes and respond to the plant's silent cues. By providing the unwavering trinity of pure water, intense light, and the correct sterile medium, you're not just keeping a plant alive—you're engineering a slice of a specialized ecosystem on your windowsill. My journey from anxious beginner to confident grower was built on understanding these principles, learning from my early mistakes with algae and overwatering, and consistently applying the simple, non-negotiable rules that these captivating carnivores require. Start with the right foundation, be vigilant during those first critical weeks, and you'll be rewarded with the unique satisfaction of nurturing a sundew from a speck of dust to a dewy, insect-trapping jewel.





