bluename
 How to Use Sphagnum Moss for sundew care: My Step-by-Step Guide to a Thriving Carnivorous Plant
I remember staring at my first, newly purchased sundew with a mix of awe and anxiety. Its glistening, sticky tentacles were mesmerizing, but the plant itself looked… fragile. I knew the standard advice: use nutrient-poor, acidic, consistently moist soil. Peat moss and perlite were the usual recommendations. But then I kept hearing whispers in the carnivorous plant community about another medium: sphagnum moss. Some growers swore it was the secret to explosive growth, while others warned of mold and rot. Frustrated by the conflicting information and my own plant’s sluggish progress, I decided to run a real-world experiment. I would transition several of my sundews to pure, long-fibered sphagnum moss and document everything over two weeks. This guide is the result of that hands-on trial, the mistakes I made, and the surprisingly effective solutions I found.
Why Sphagnum Moss Can Be a Game-Changer for Sundews
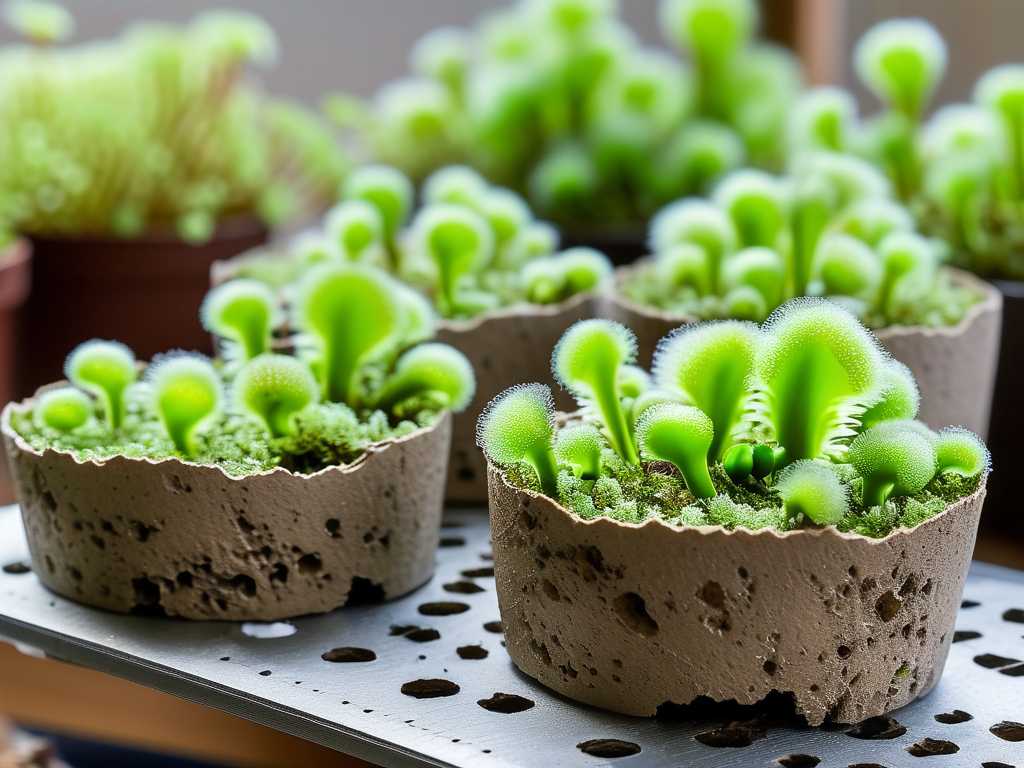
Before we dive into the “how,” let’s talk about the “why.” Sundews (Drosera) are bog plants that have evolved in environments where soil nutrition is almost nonexistent. They get their nutrients from insects. Their root systems are primarily for water absorption and anchorage, not nutrient uptake. This is where sphagnum moss for carnivorous plants shines.
Unlike peat moss (which is dead, decomposed sphagnum), long-fibered sphagnum moss is often alive or minimally processed. It creates an airy, well-draining structure that prevents the dreaded “soggy feet” while holding a tremendous amount of water—like a sponge. It’s naturally acidic, inhibiting bacterial growth and mimicking the sundew’s native habitat. As noted by experts in the carnivorous plant society, a well-maintained sphagnum medium can promote stronger root development and more robust leaf growth compared to compacted peat mixes.
My Materials and Preparation: Setting the Stage
I selected three sundews for this trial: a hardy Drosera capensis, a more temperamental Drosera adelae, and a tiny Drosera spatulata. My goal was to see how different types reacted.
Here’s what I gathered:
- Premium Long-Fibered Sphagnum Moss: I chose a high-quality, horticultural-grade brand. Avoid moss treated with fertilizers or wetting agents.
- Distilled or Reverse Osmosis Water: Tap water is a death sentence for sundews due to minerals and salts. This is non-negotiable.
- Clean Pots with Drainage Holes: I used plastic pots. Terracotta can leach minerals.
- A Large Bowl for Soaking
- Scissors
My first step was rehydrating the moss. I placed a large clump in the bowl and poured distilled water over it, letting it soak for a good 30 minutes. This made it pliable and easy to work with.
The Repotting Process: A Gentle Transition
- Removing the Old Medium: I gently removed each sundew from its existing peat/perlite mix. This required patience. I ran a stream of distilled water over the root ball to carefully wash away the old soil, minimizing root damage.
- Prepping the Moss: I squeezed out the excess water from the soaked sphagnum. It should feel like a damp, wrung-out sponge—moist but not dripping. I then fluffed it up and picked apart the long fibers.
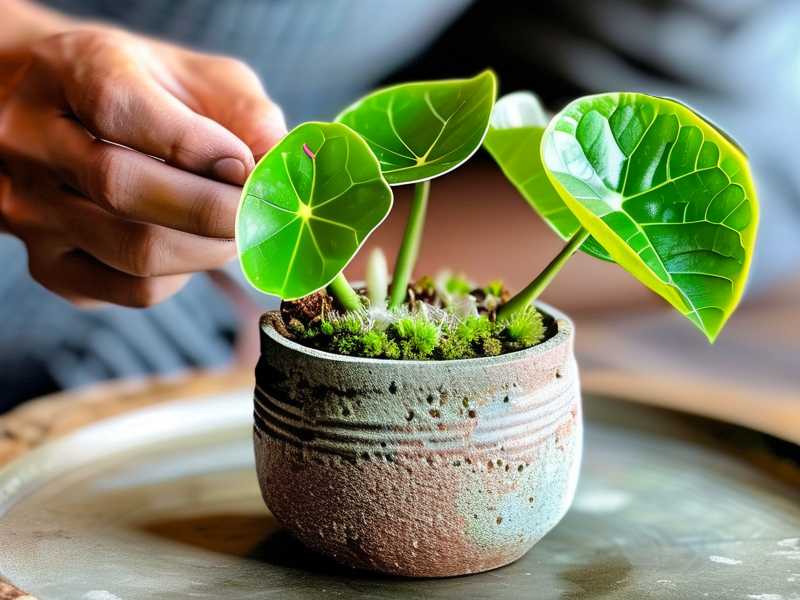
- Potting: I placed a small mound of moss in the bottom of the pot. I set the sundew’s roots on top and gently surrounded them with more moss, lightly tamping it down to provide support. I left a small space at the top for watering. The crown of the sundew (the point where leaves emerge) must stay above the moss to prevent rot.
The First 48 Hours: Initial Shock and My First Mistake
Immediately after repotting, I placed the plants in a bright, humid location with indirect light to recover. I used a humidity dome for the D. adelae. I watered them thoroughly from the top with distilled water until it ran out the bottom, and then placed the pots in their permanent tray (the tray method).
My Mistake: I made the moss too dense. In my effort to secure the plants, I packed it in. For the D. spatulata, this meant the base stayed too wet. By day two, I noticed the central growth point looked a bit dark and unhappy—a sign of potential crown rot.
The Fix: I carefully unpotted the little spatulata, fluffed the moss much more aggressively to create an airier structure, and repotted it again, ensuring the crown was perched higher. This was a crucial lesson: fluffiness is key for sundew care with sphagnum.
Week One Observations: Signs of Acclimation
After the initial scare, I settled into a routine. I kept the water in the tray consistently about 1/4 to 1/2 inch deep. The moss’s capillary action kept the upper layers perfectly moist.
- Drosera capensis: This champion showed zero signs of stress. In fact, by day 5, it was producing new, sticky dew-covered leaves at a faster rate than before.
- Drosera adelae: Under its dome, it held steady. No new growth yet, but no decline—a win for a fussy plant.
- Drosera spatulata (the repotted one): It stabilized. The darkening halted, and it began to look perky again.
The moss surface stayed clean and open. There was no algae growth, which I often battled with the peat mix.
Week Two: The Turning Point and Unexpected Benefits
This is when the experiment got exciting. The true benefits of sphagnum moss for sundews became visibly apparent.
- Explosive Root Visibility: Because I used clear pots for observation, I could see white, healthy roots beginning to explore the moss matrix. They were growing along the moist strands, visibly more active than they had been in the peat.
- Vibrant New Growth: All three plants were now pushing out new leaves. The D. capensis was practically thriving, with leaves that were larger and held more dew. The D. adelae had a new, small leaf unfurling from its center.
- Perfect Moisture Retention: Even on a warmer day, the moss in the tray method maintained perfect moisture levels at the root zone without becoming waterlogged at the surface.
However, a new challenge appeared: a faint, white fuzz on the surface of the moss in the D. adelae’s pot. It was saprophytic fungus, a common sight on constantly moist organic matter. While usually harmless, it’s unsightly.
My Solution: I carefully scraped off the top layer of affected moss with a spoon. I then increased air circulation slightly by propping the dome open for a few hours each day. I also allowed the water tray to dry out completely for one day before refilling. This disrupted the fungal growth without stressing the plant. The fungus did not return.
My Final Verdict and Ongoing Care Routine
After two weeks of close observation, the transition to sphagnum moss was a resounding success. The initial issues were due to my technique, not the medium itself. My ongoing care is simple:
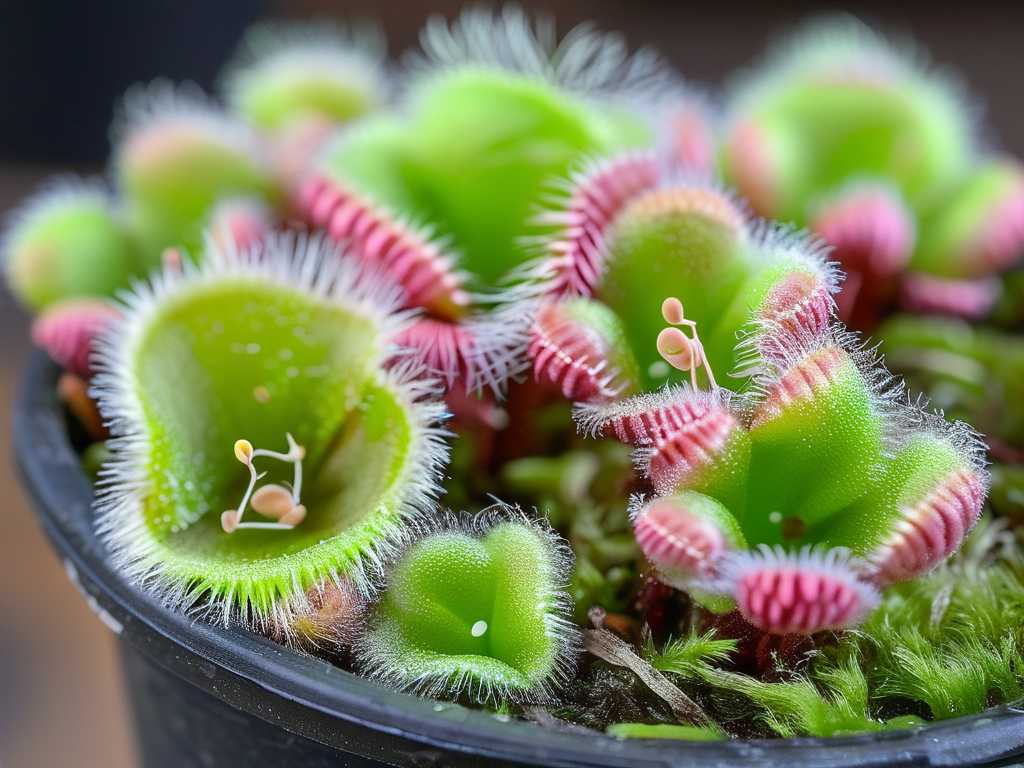
- Watering: I strictly use the tray method with distilled water, refilling when the tray is nearly dry.
- Light: They receive bright, indirect light with some gentle morning sun.
- Feeding: I occasionally feed a tentacle or two with a captured fruit fly, but the plants catch plenty on their own.
The moss provides a stable, ideal microenvironment that seems to reduce overall stress on the plant, allowing energy to go into growth rather than survival.
Frequently Asked Questions
Can I mix sphagnum moss with other materials? Absolutely. Many growers successfully use a 50/50 mix of sphagnum moss and perlite for even more aeration. My experiment with pure moss was to test its limits, but a mix is an excellent and perhaps more forgiving starting point.
How often do I need to replace the sphagnum moss? Long-fibered sphagnum moss breaks down very slowly. With proper care, it can last 1-2 years before it compacts and needs refreshing. You’ll know it’s time when it starts to look matted and loses its fluffy texture, affecting drainage.
Is there a difference between sphagnum moss and peat moss for my sundew? Yes, a significant one. Peat moss is acidic and nutrient-poor but is a dense, decomposed product. Sphagnum moss (especially long-fibered) provides structure, aeration, and superior moisture control. Think of peat as soil and sphagnum as both soil and a moisture-management system. For optimal sundew growing medium, many advanced hobbyists now lean toward high-quality sphagnum.
Transitioning my sundews to sphagnum moss transformed my approach to their care. It moved me from a place of constant worry about moisture levels to one of confidence. The two-week journey had its moments of panic—the packed moss, the fleeting fungus—but each problem had a logical solution. The results, visible in the vigorous new growth and radiant health of my plants, speak for themselves. If you’re looking for a medium that supports resilient, thriving sundews, investing the time to master sphagnum moss is undoubtedly worth the effort.